Mother’s Day Macaron Gift Box: Painted Flower Tutorial
Published September 22, 2021 · Updated September 3, 2026
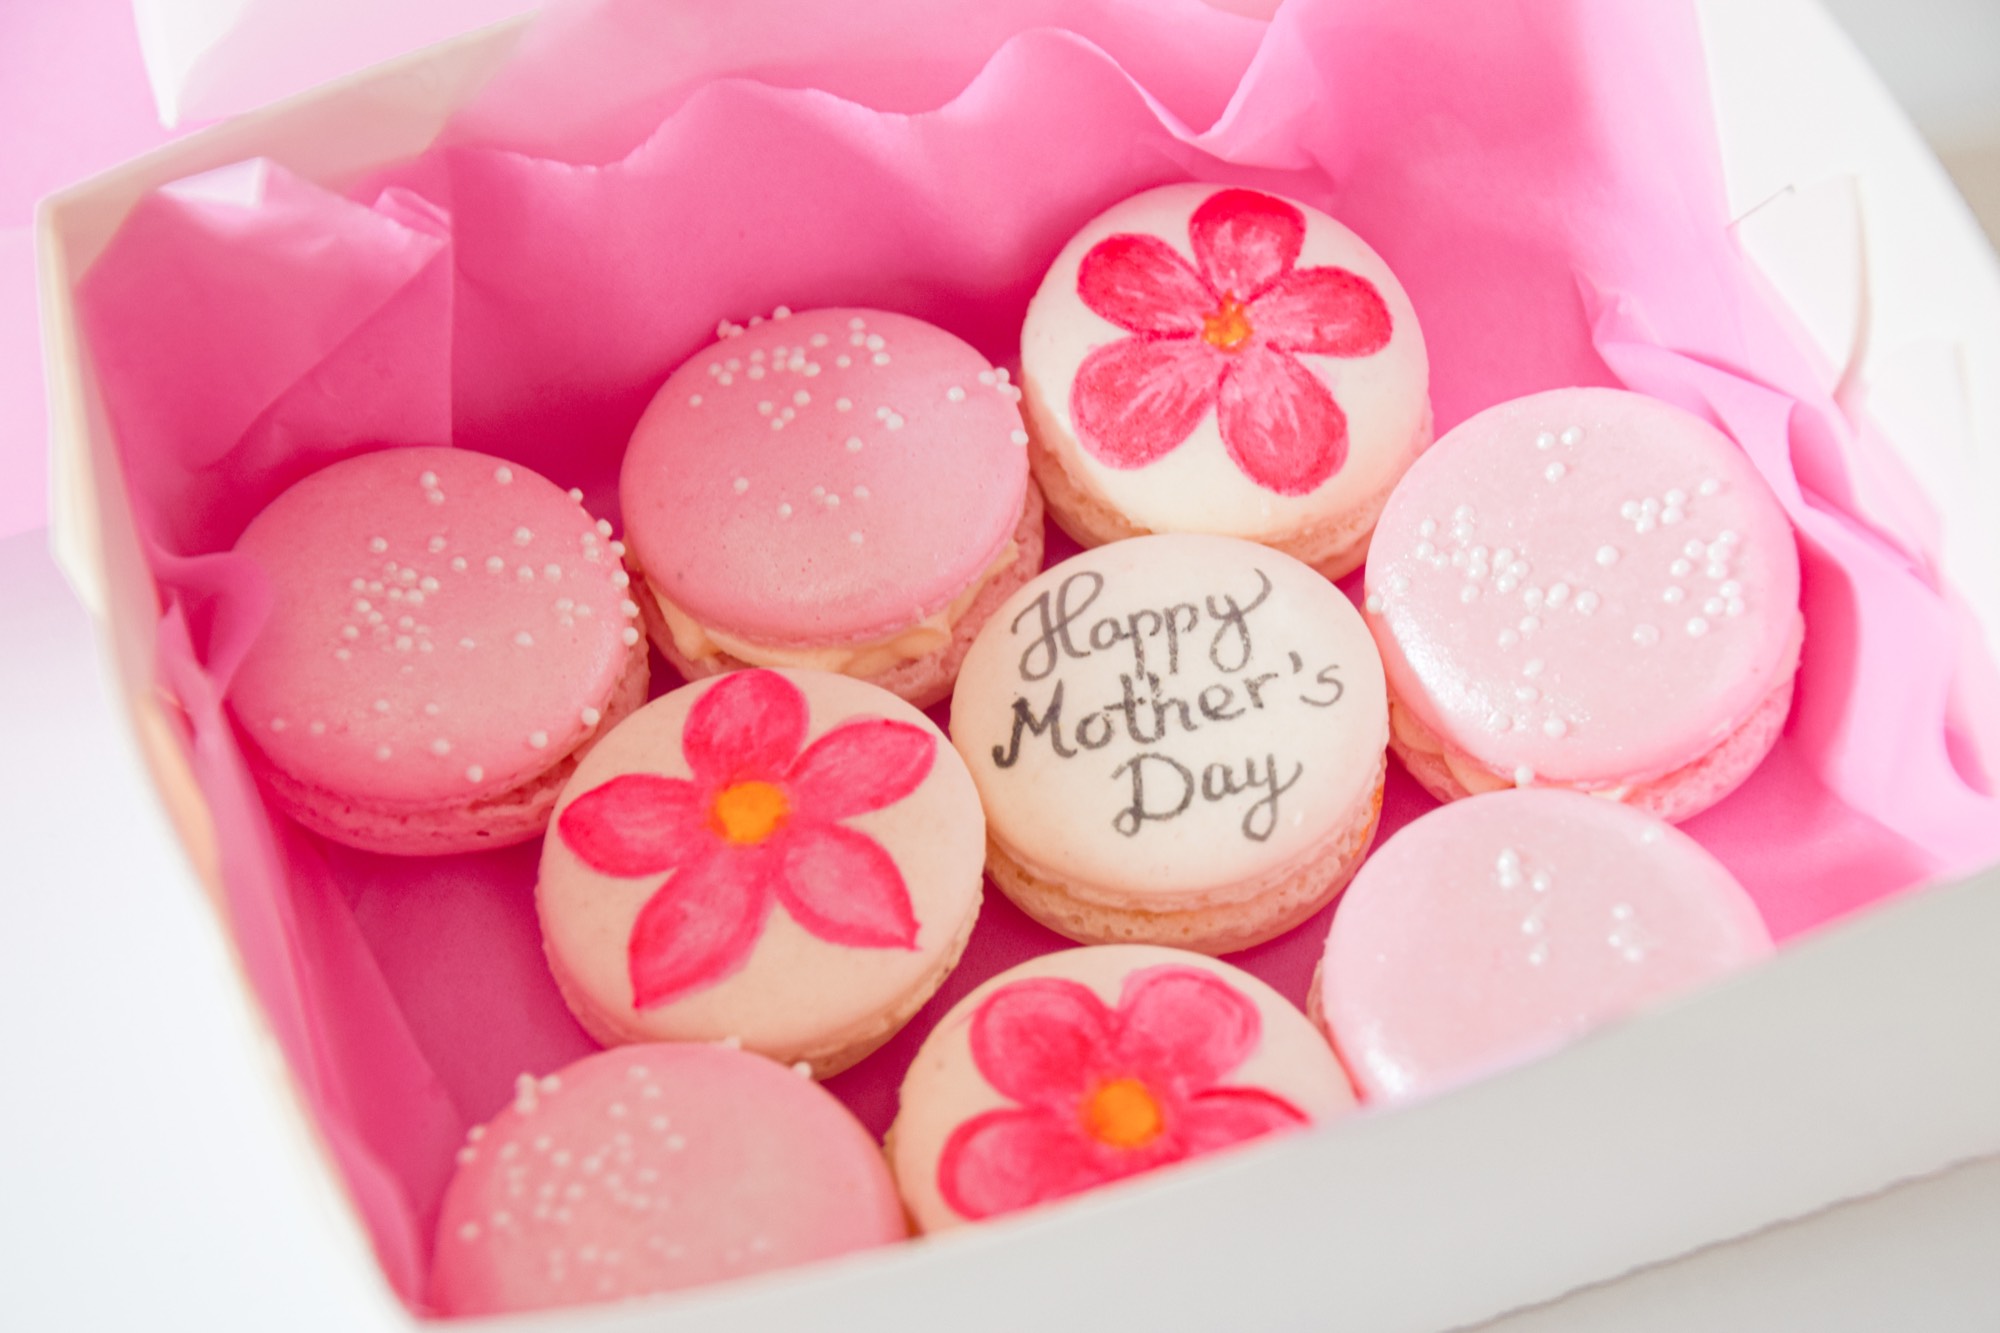
A Mother’s Day macaron gift box feels personal because you can match the flavors, colors and message to the recipient. This tutorial focuses on decorating finished shells with edible watercolor flowers, assembling the macarons and packing them without putting craft materials in contact with the food.
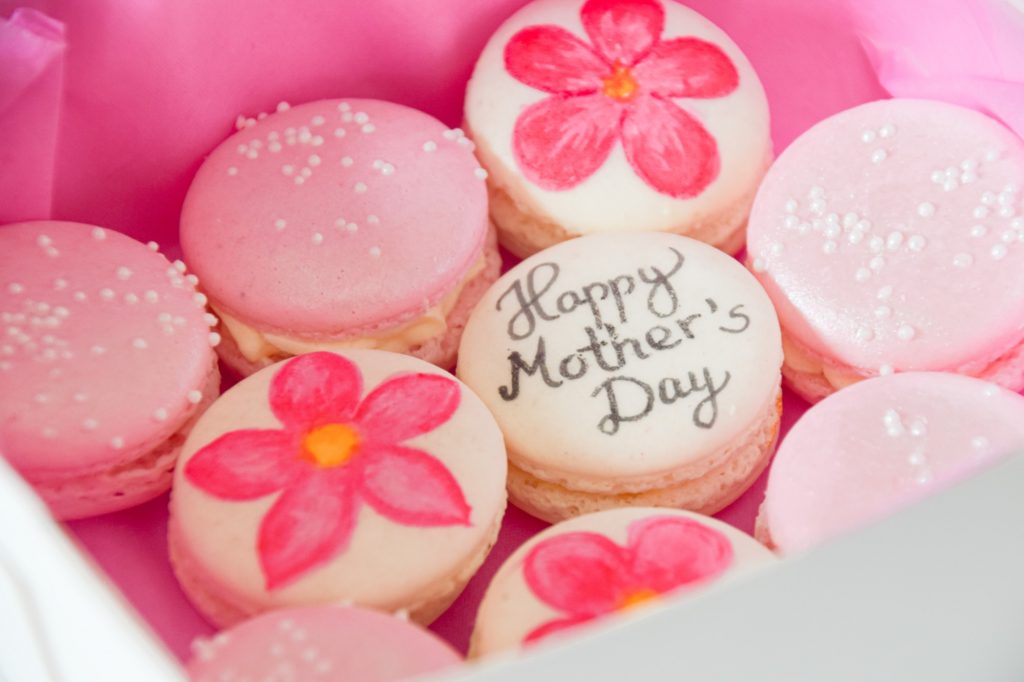
Mother’s Day macaron gift box at a glance
| Stage | What to do | Plan ahead |
|---|---|---|
| Shells | Bake smooth, light-colored macaron shells | Use a tested macaron recipe and let shells cool completely |
| Decoration | Paint only with products specifically labeled edible | Decorate before filling so the shells are easy to handle |
| Filling | Choose a tested filling the recipient enjoys | Follow that recipe’s refrigeration and storage instructions |
| Gift box | Use clean food-safe packaging and a liner | Keep glue, flowers and other craft supplies outside the food area |
| Delivery | Keep perishable fillings at 4°C/40°F or colder | Give the recipient storage instructions |
1. Bake smooth macaron shells
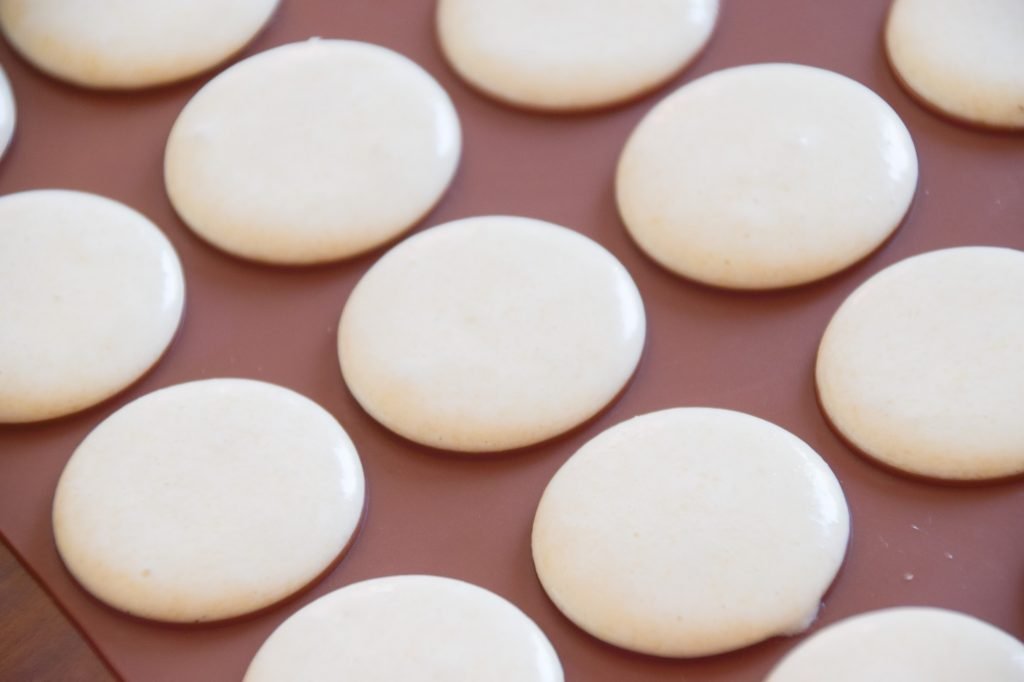
Start with a macaron recipe you already know works in your kitchen. Pale shells make pastel flowers and handwriting easier to see. My Italian macaron recipe explains the complete shell method; the decoration here begins only after the shells are fully baked and cool.
2. Gather food-safe decorating supplies
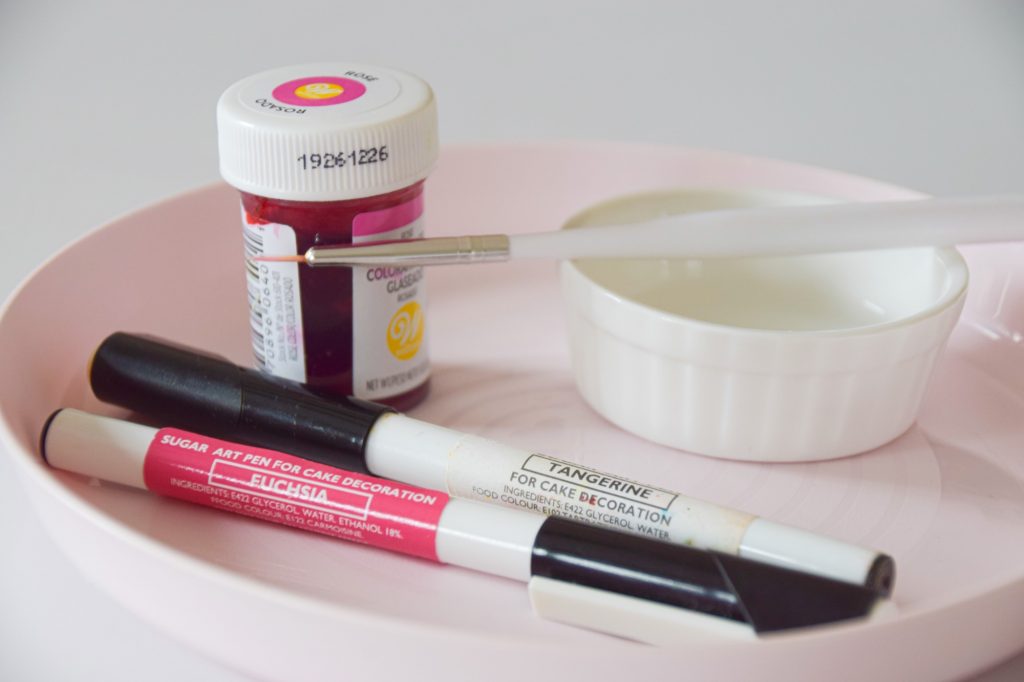
- Edible food markers in the colors you want.
- Gel or liquid food color specifically labeled for edible use.
- A small brush reserved only for food decorating.
- Two small food-safe dishes: one for color and one for clean water.
- Paper towel for removing excess liquid.
- Completely cooled, unfilled macaron shells.
The word “non-toxic” does not mean a craft product is edible. The FDA advises bakers to use decorative products directly on food only when the label says they are edible and provides an ingredient list. Never use a paintbrush that has held ordinary paint or other craft materials.
3. Paint watercolor flowers on the shells
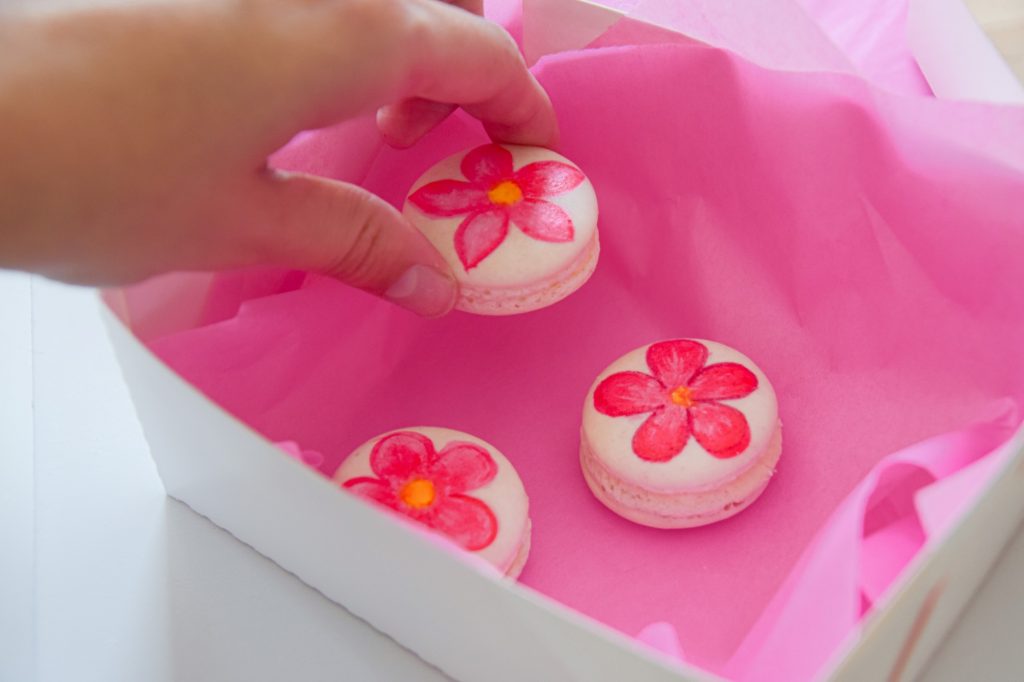
- Plan the pairs. Set matching shells together and decorate only the top shell of each pair.
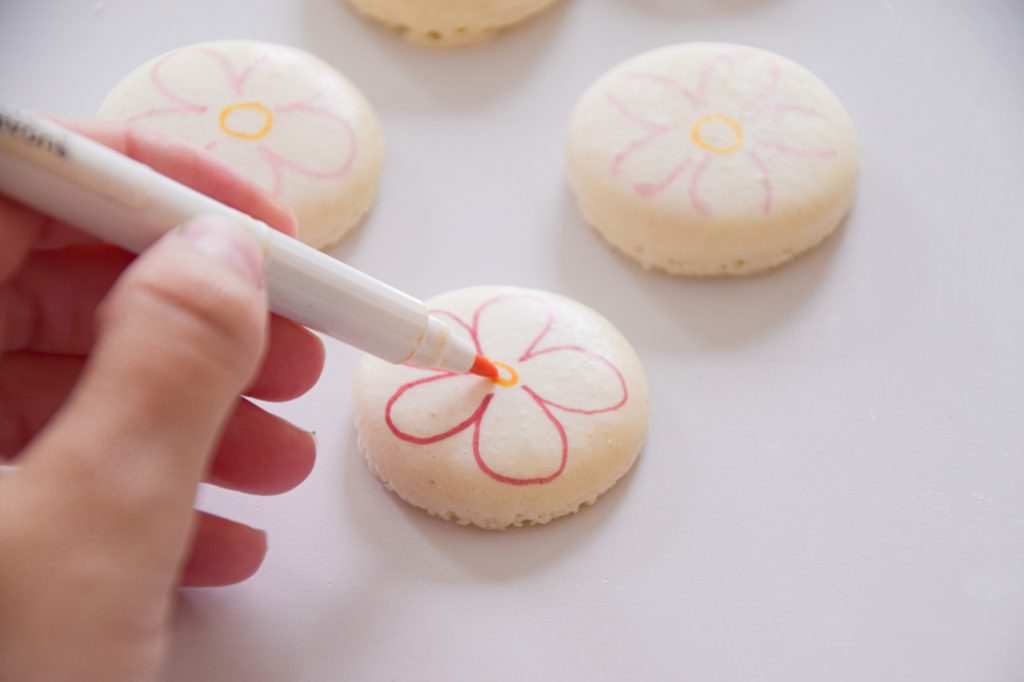
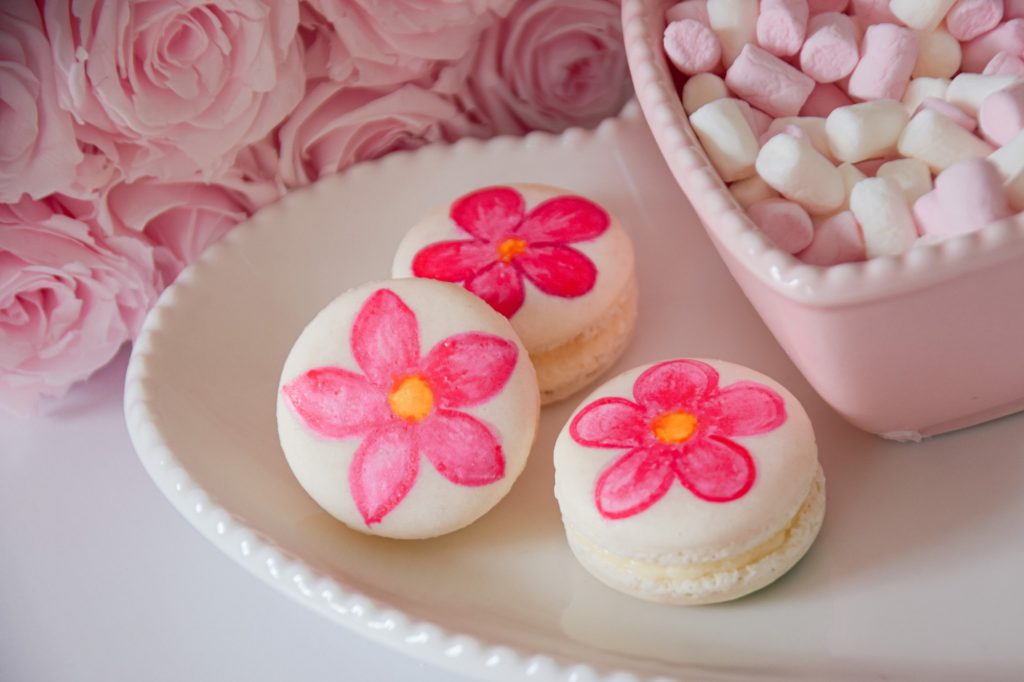
- Draw the outline. Use an edible marker to sketch a few petals and a small center. Light, imperfect lines suit the watercolor look.
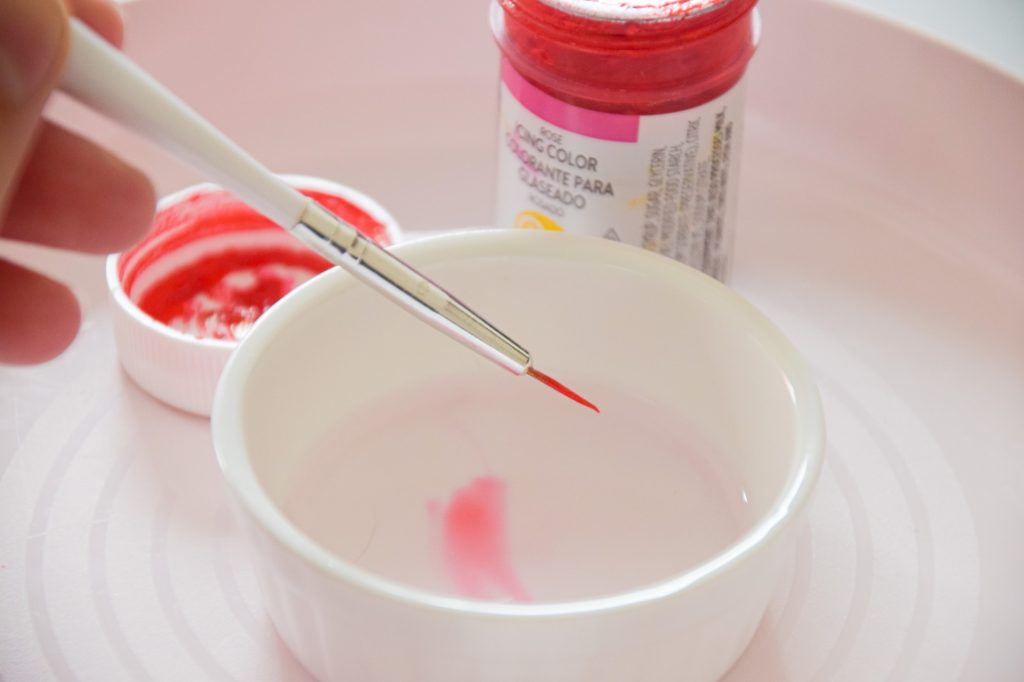
- Dilute a tiny amount of color. Place food color in a dish and add water one drop at a time.
- Blot the brush. The brush should be damp, not dripping. Too much water can dissolve the shell’s surface.
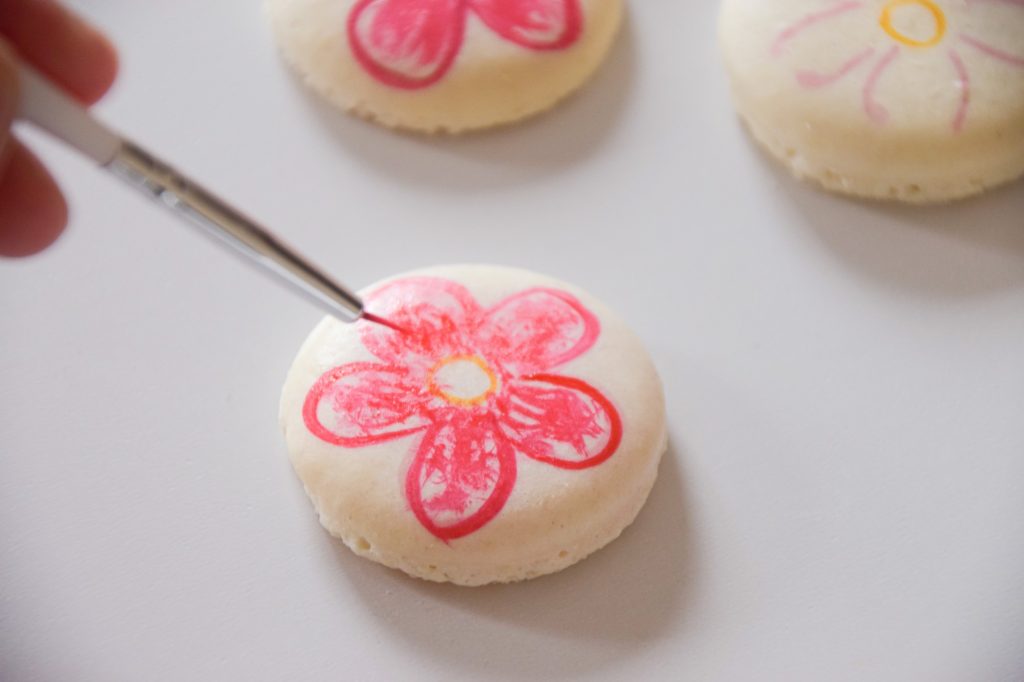
- Build color gradually. Brush from the center of each flower toward the edge and let the first layer dry before adding depth.
- Dry completely. Leave decorated shells uncovered in a clean, dry place until the surface no longer feels tacky.
4. Add a short personalized message
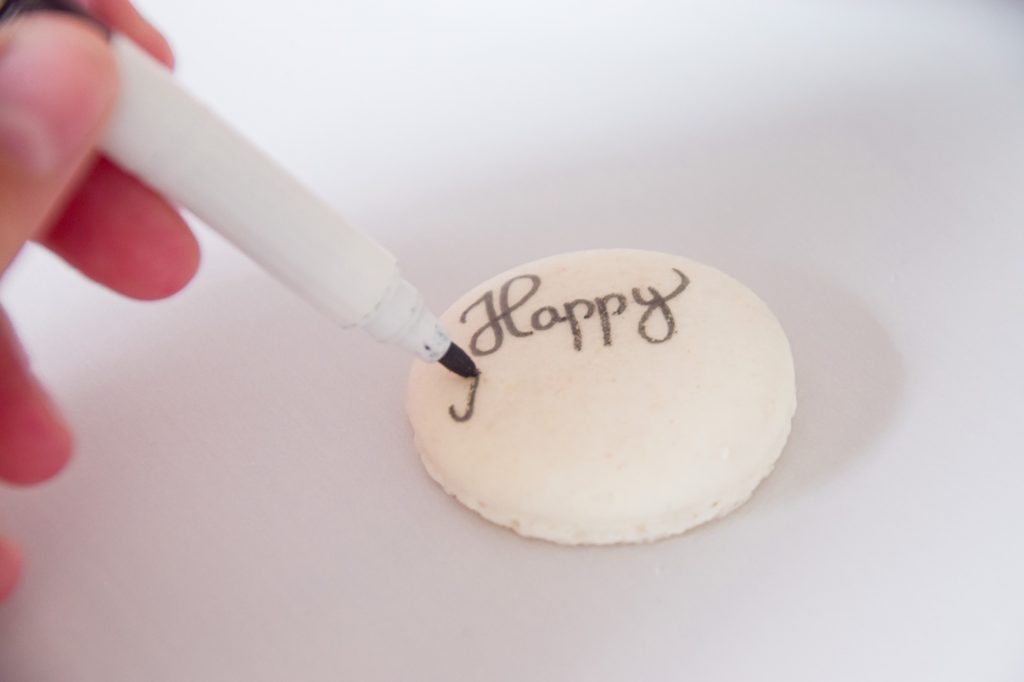
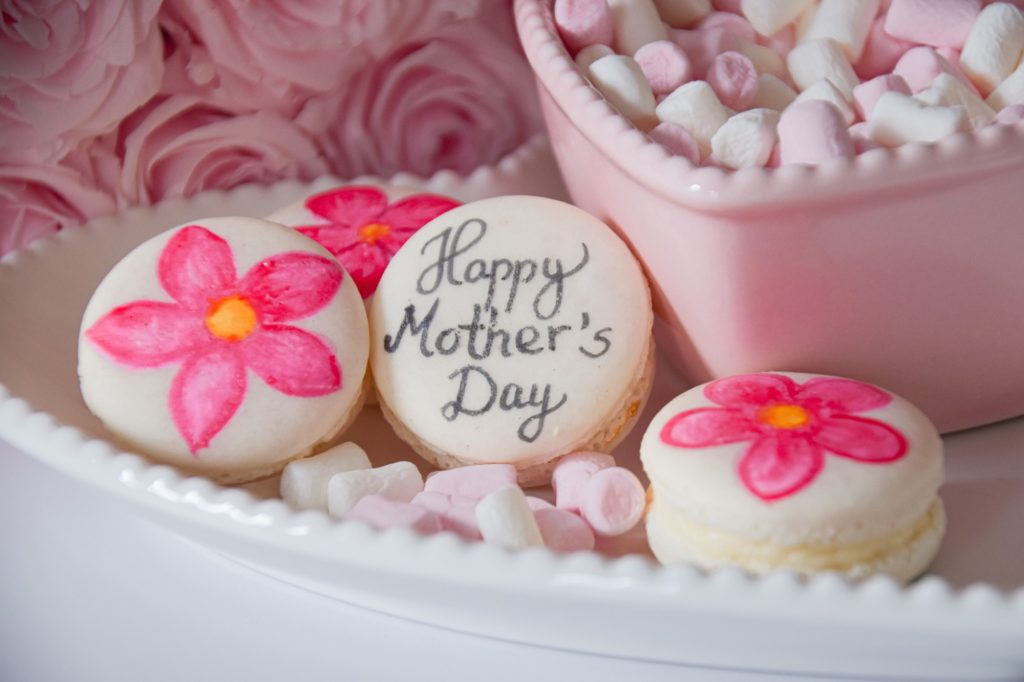
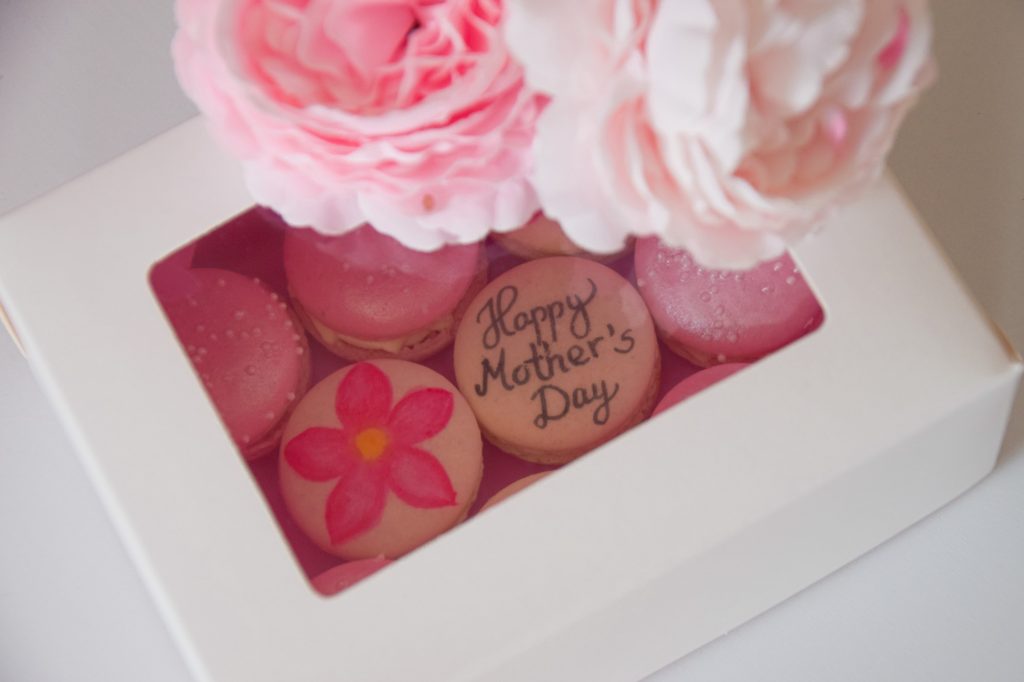
Write the message on paper first, then copy it with a fine edible marker. Short phrases such as “Mum,” “Love you” or initials are easier to center and read than a full sentence. Test the marker on a spare shell because oily, damp or highly porous surfaces can make ink feather.
5. Choose and pipe the filling
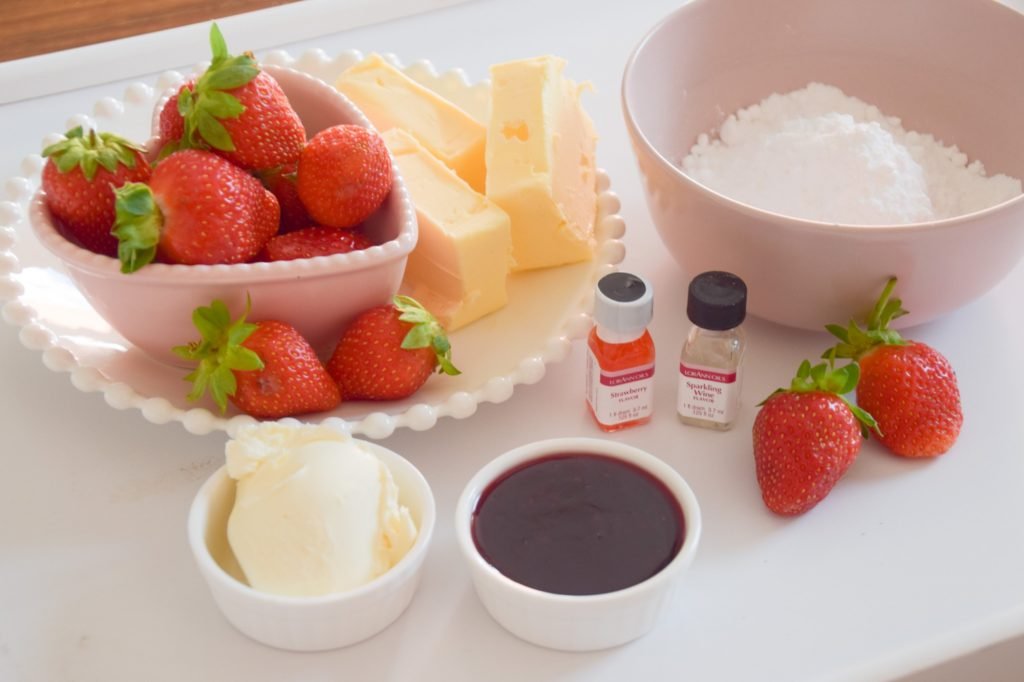
Use a tested filling rather than improvising a ratio. Buttercream, ganache, caramel and curd behave differently, especially when fruit, cream cheese or other perishable ingredients are added. Match the filling to the recipient’s preferences and allergies, pipe a moderate amount, then close each macaron without twisting the painted top.
For make-ahead planning, use the storage instructions for the specific filling and consult the filled-macaron storage guide. Do not assume every macaron is safe for the same number of days.
6. Build a food-safe gift box
- Choose a clean box made for food and sized so the macarons do not slide or stack under pressure.
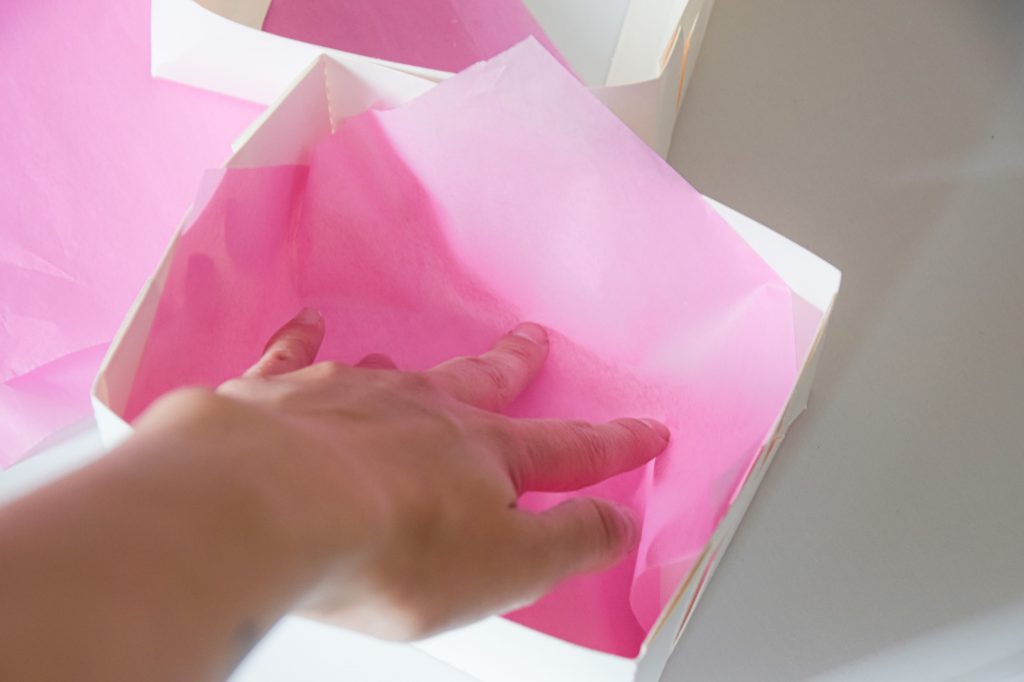
- Use a food-safe liner or macaron insert. Decorative tissue paper is not automatically approved for direct food contact.
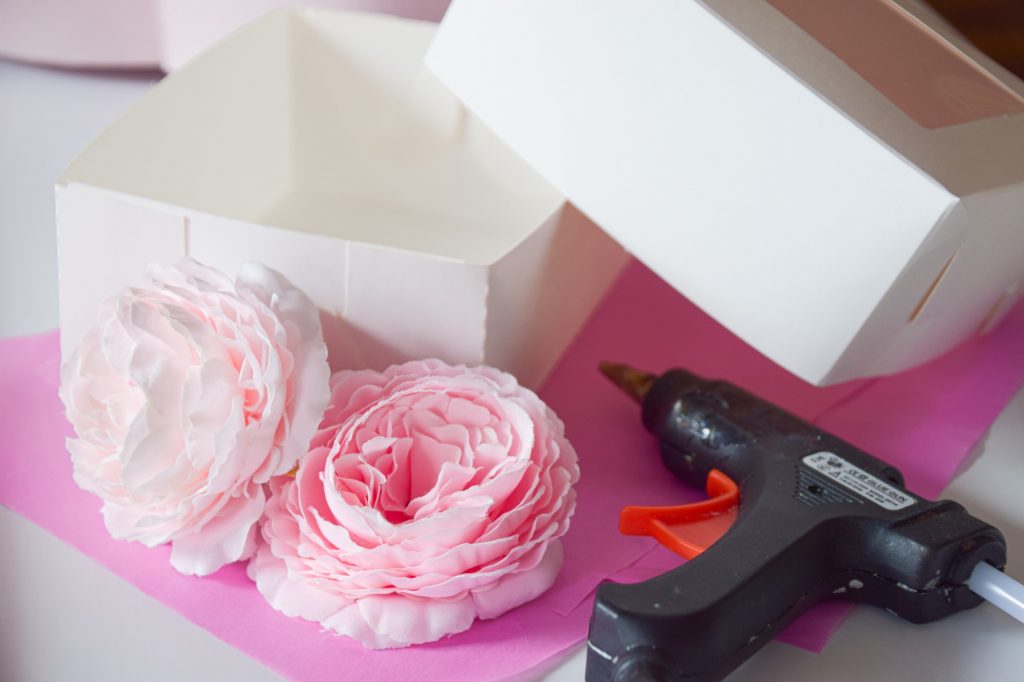
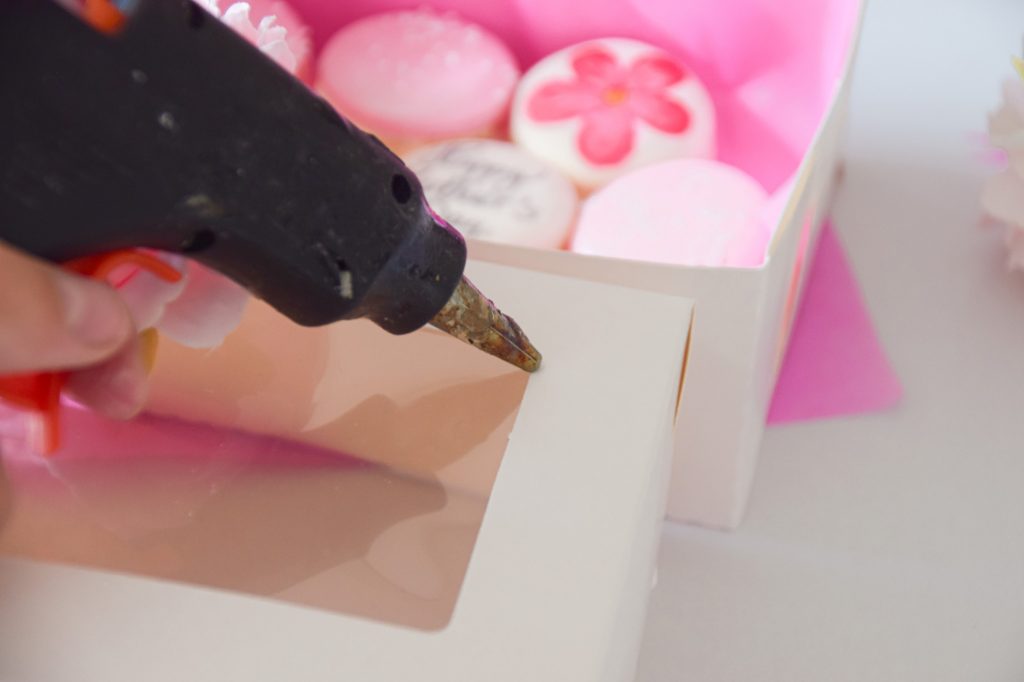
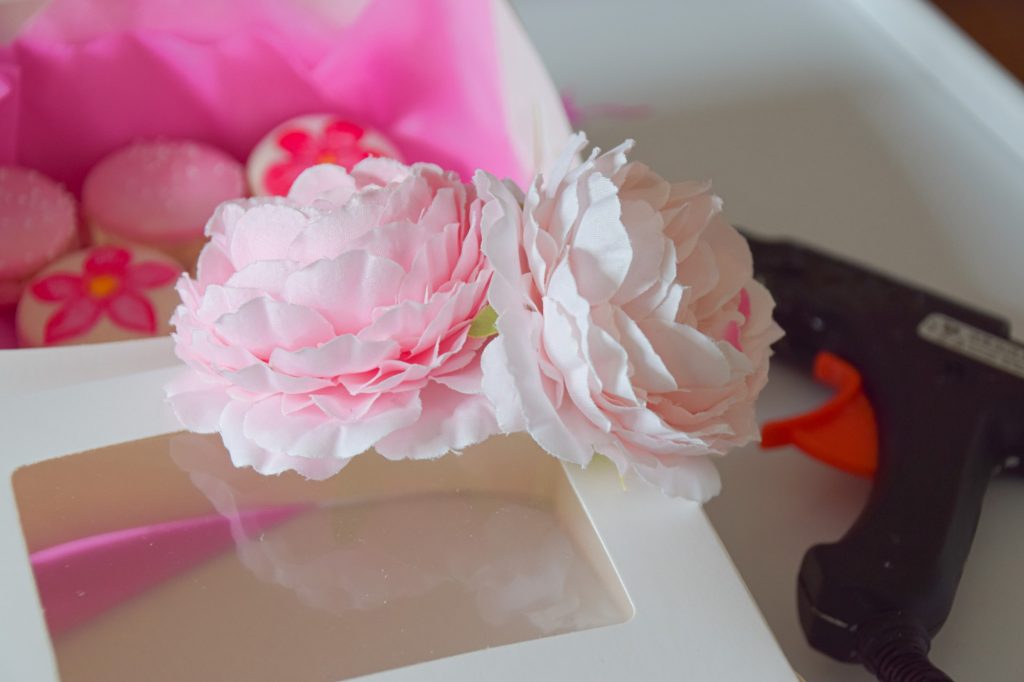
- Attach ribbons, labels and artificial flowers only to the outside of the closed box.
- Keep hot glue, loose glitter, wire, staples and flower stems completely separate from the macarons.
- Add a note naming the flavors, major allergens and required storage temperature.
Storage and safe transport
If the filling requires refrigeration, keep the box at 4°C/40°F or colder and transport it in an insulated bag with cold packs. The FDA advises refrigerating perishable food within two hours, or within one hour when the air temperature is above 32°C/90°F. Tell the recipient to refrigerate the box promptly and follow the filling recipe’s use-by guidance.
Simple make-ahead schedule
| When | Task |
|---|---|
| Earlier | Prepare any durable decorations for the outside of the box and print the flavor/allergen note. |
| Before filling | Bake, cool and paint the shells; allow the edible decoration to dry completely. |
| According to your filling recipe | Fill and mature the macarons under the specified refrigerated conditions. |
| Gift day | Pack the cold macarons, add the storage note and transport them with appropriate temperature control. |
A beautiful box is only part of the gift: clear ingredient, allergen and storage information makes it more thoughtful and useful.
Belli xx