Red Macarons with Candy Canes for Christmas
Just because candy canes are a classic during the holidays doesn’t mean we want to eat a lot of them. They taste good, but usually, you just don’t want to have more than one.
One of the great things about the holiday season is all the many different sweets you can get. Want an alternative to peppermint candy canes? Here are some red and white macarons for you!
Try to make these cute candy cane macarons and you can go without having an actual candy cane! These macarons are also perfect as a gift to someone special.

Tools and ingredients for making candy cane macaron shells
Tools
- Kitchen scale
- Sifter
- Whisk
- Candy thermometer
- Mixer (stand or hand mixer)
- Small saucepan
- Silicone spatula
- Two large bowls (glass or stainless steel)
- Piping bags
- 1 small bowl for white batter
- Silicone mat/parchment paper
- Toothpicks
Ingredients
- 4 oz (115 g) Almond flour
- 4 oz (115 g) Powdered sugar
- 4 oz (115 g) Granulated sugar
- 1 oz (30 ml) water
- 1,7 oz (50 g) Egg whites part 1
- 1,4 oz (40 g) Egg whites part 2
- Red Food Coloring Pen
- Red Food Coloring
This amount of batter should produce about 30 macarons (60 shells).
Making a batter for candy cane macarons
To make these cute candy cane macarons, you will need two colors of batter – most of the batter should be colored bright red. I recommend using AmeriColor Super Red Soft Gel Paste for beautiful vibrant red color.
The other part of the batter should remain white. You don’t need any extra color for it as the batter is naturally warm white. You only need a little bit of the white batter – a few large spoons.
TIP: I have put together a comprehensive recipe for baking perfect homemade macarons with the Italian method. It goes into detail on every step of the process and should help you increase your success rate! I highly suggest you take the time to read this post thoroughly as well.
Once the macaron batter is almost ready, separate a little bit of it into a small bowl – it will be the white batter for piping the little candy canes. Fold it until the batter is ready, then place it into a small piping bag and cut a small hole in it.
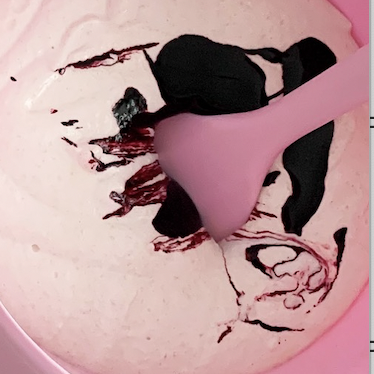
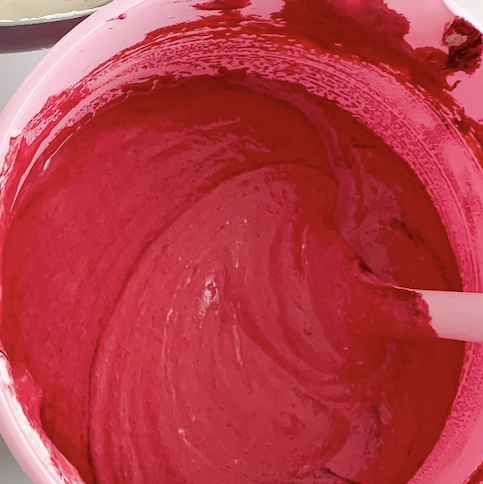
Now, let’s move to the other part of the batter – add a few tablespoons of red coloring to it. If you want to get a vibrant red color, you will need quite a lot of color. Otherwise, the batter will turn out pink. The amount depends on the food color you have.
Piping the little canes on top of the shells
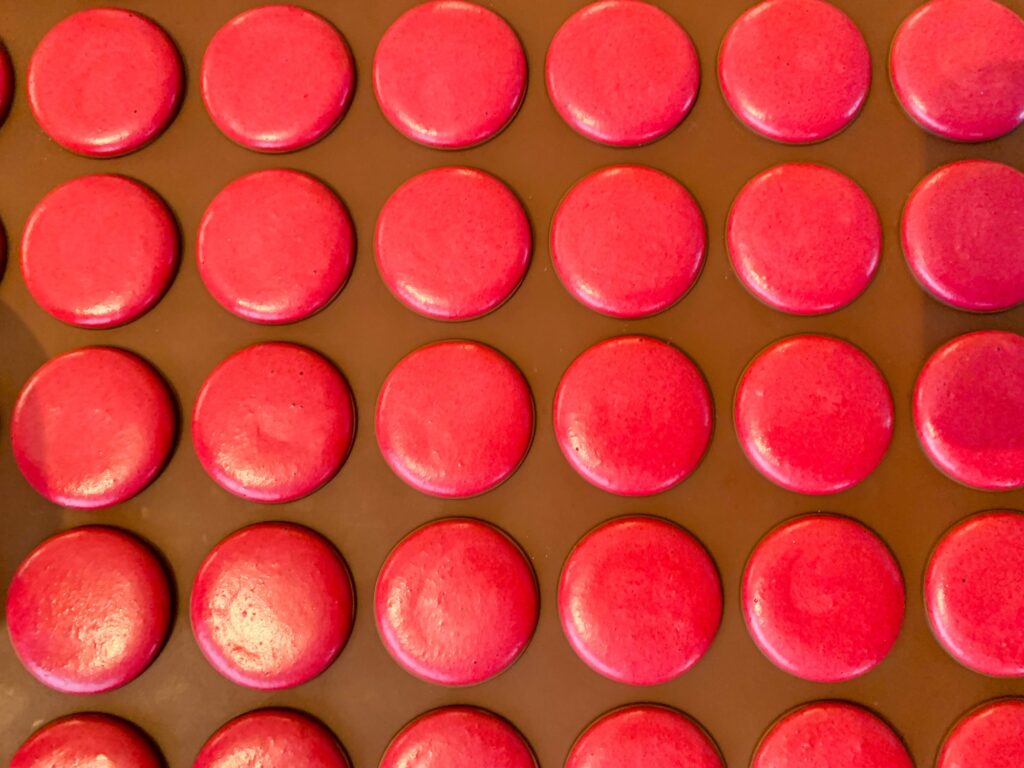
Using the red batter, pipe the basic round-shaped macarons as you usually do. Do it at a 90-degree angle.
Once all the red batter is piped out to the baking mats, let them sit for about 10 minutes for them to dry. Drying is important for these candy cane macarons as you want to pipe the white little candy canes on top of the red shells.
If the red batter is not dried, the little white candy canes will spread and the outcome will be a mess.
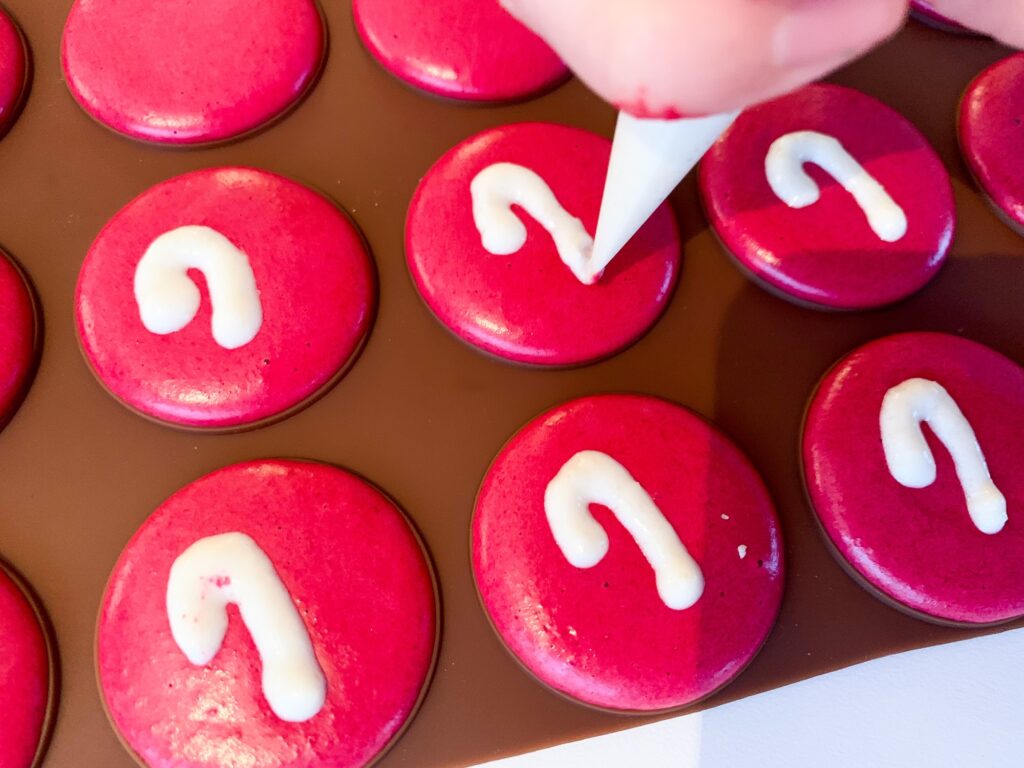
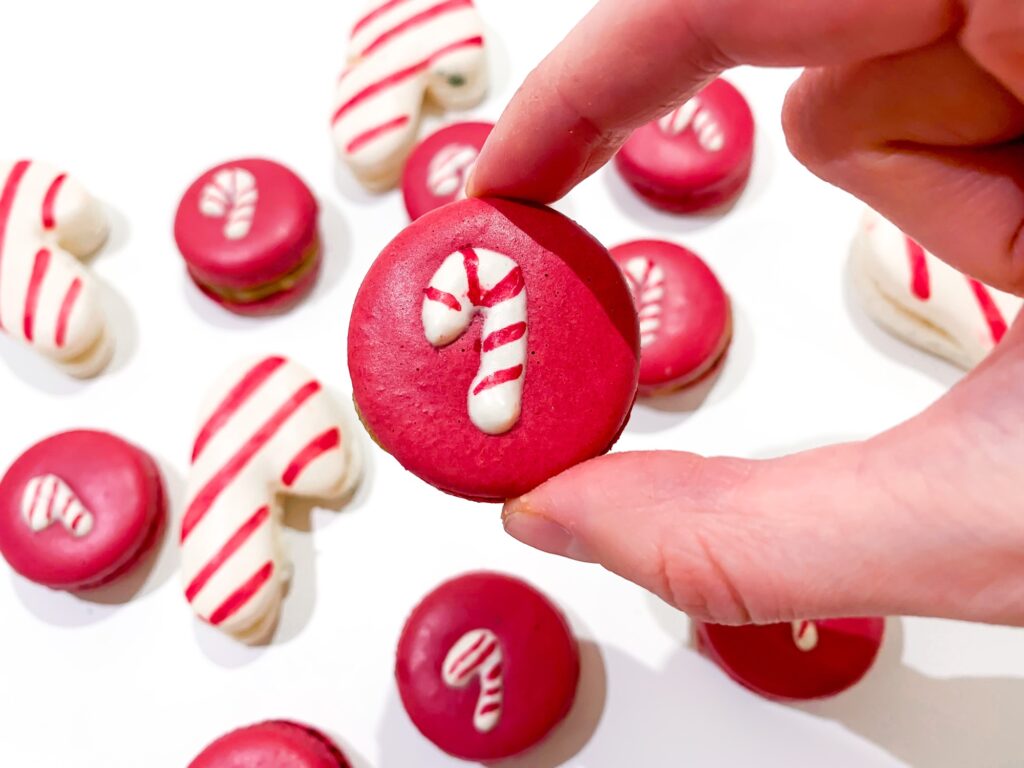
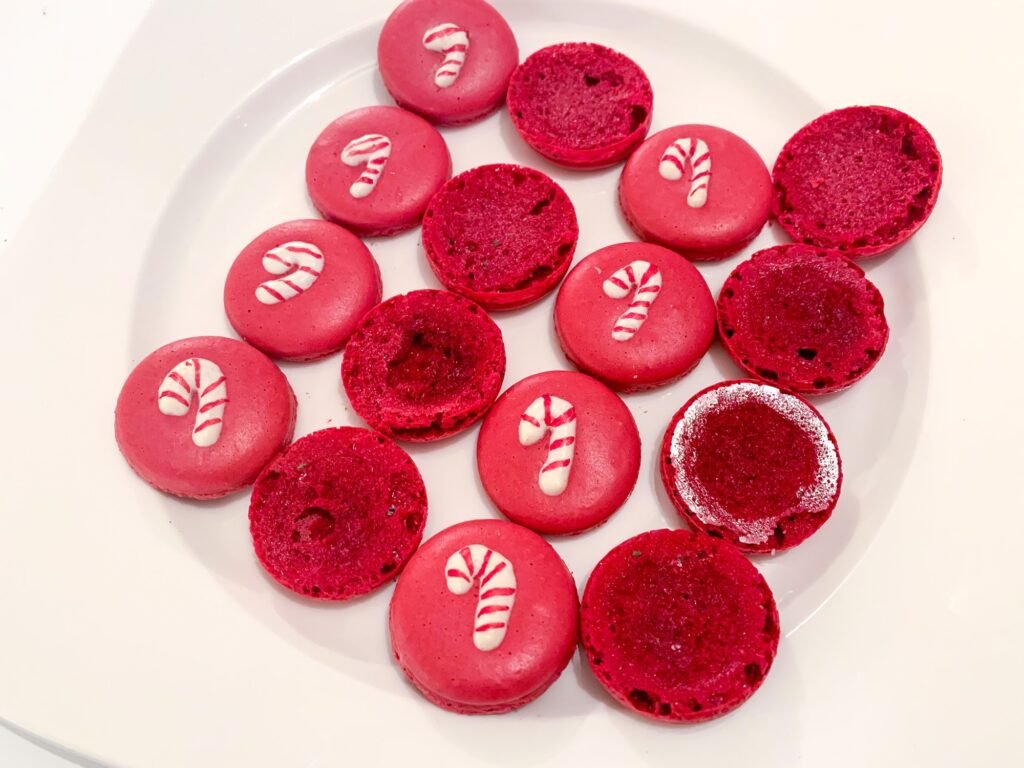
When the shells are dried a little, start piping the white candy canes on them. Pipe them like drawing the letter J upside down.
Pipe the candy canes only on half of the macaron shells – later you will sandwich two shells together. You don’t need to spend additional time piping the candy canes on the bottom shells as no one will see them anyway. Of course, if you prefer to have canes on both sides, it’s totally fine.
See the picture below on how to pipe the little candy canes.
Baking the candy cane macaron shells
Turn on the oven. I am using a convection oven and fan mode. Set the temperature to 250°F (120°C). Bake each mat for 20 minutes.
As each oven is unique, you may need to experiment with the baking time. Well-baked macarons should not be wobbly when pushed with a finger. However, you will learn over time what works best for your oven!

Why not use real candy canes on top of macarons?
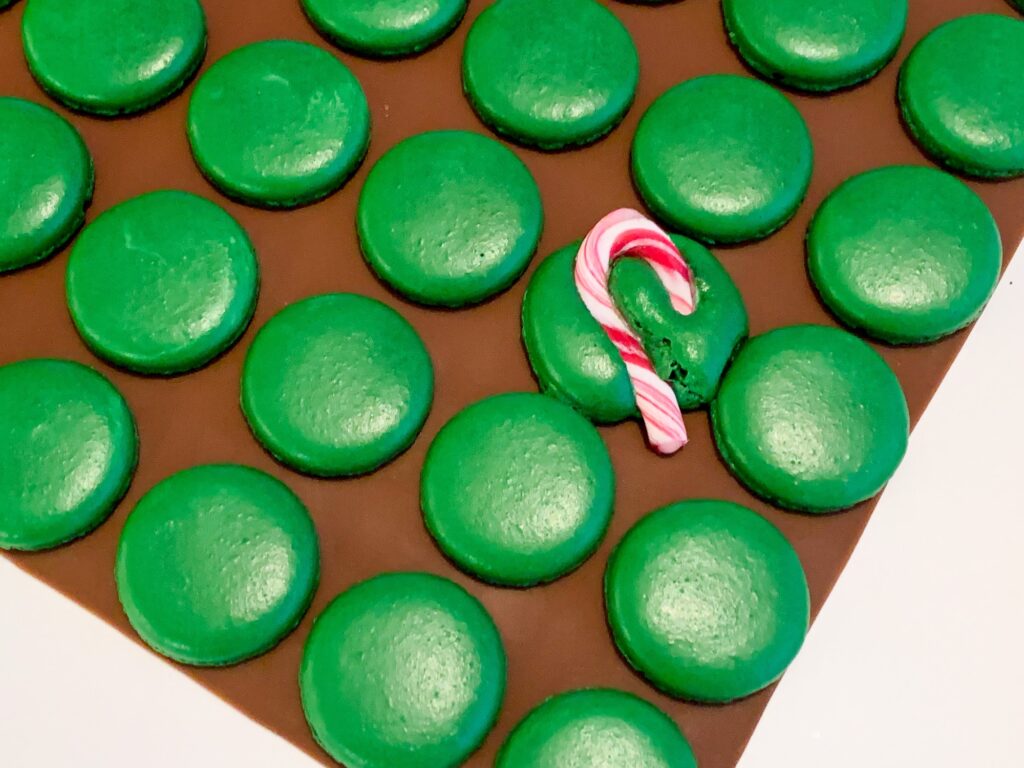
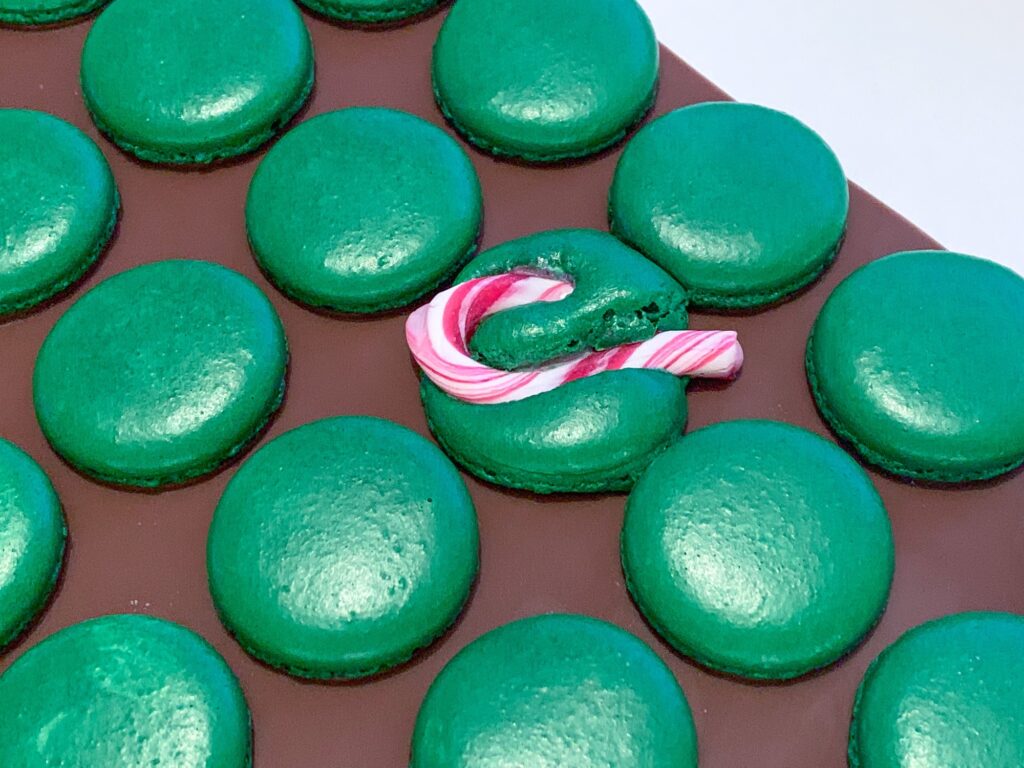
And here is a little experiment that is obviously a huge failure. I had a lot of small candy canes at home during the holiday season and I tried to place them on the dried macaron shells. Then, I put the macarons into the oven with the candy canes on top of them.
I already kinda knew what would happen, that’s why I only added one. Even if I saw that coming, I still hoped it would work – it would have been a cute and easy way to decorate the macarons and a great way to get rid of the huge amount of candy canes I had at home.
You can learn from my mistake – putting the candy canes in the oven on top of the macaron shells isn’t working 🙂
Drawing the stripes on the candy canes
Once the macarons are done baking in the oven, take them out and remove them from the baking pan. Slide the shells on the table or cabinet to let them cool down.
When they have cooled down then pair the macarons! Find the perfect partner for each macaron shell and try sandwiching them together. By using a red food coloring pen, draw the stripes on each candy cane on macaron shells!
Be gentle and do not push too hard, or you can break the macaron.
TIP: Sometimes it is hard to get the macarons off the silicone baking mat as they tend to stick to the mat. In that case, I recommend putting the silicone mat with the macarons into the freezer! Wait around 30 minutes and take them out. Remove the macarons fast from the silicone mat before they start to warm up. With the help of your fingers, gently press on the bottom of the silicone mat to help the macarons get off.
Salted caramel sauce filling for candy cane macarons
You can make the filling of your choice – whatever is your favorite! Usually, I would make candy cane macarons with a peppermint filling. But this time the person I gave the macarons is a huge salted caramel fan. That’s why I decided to make a salted caramel filling for these cute candy cane macarons.
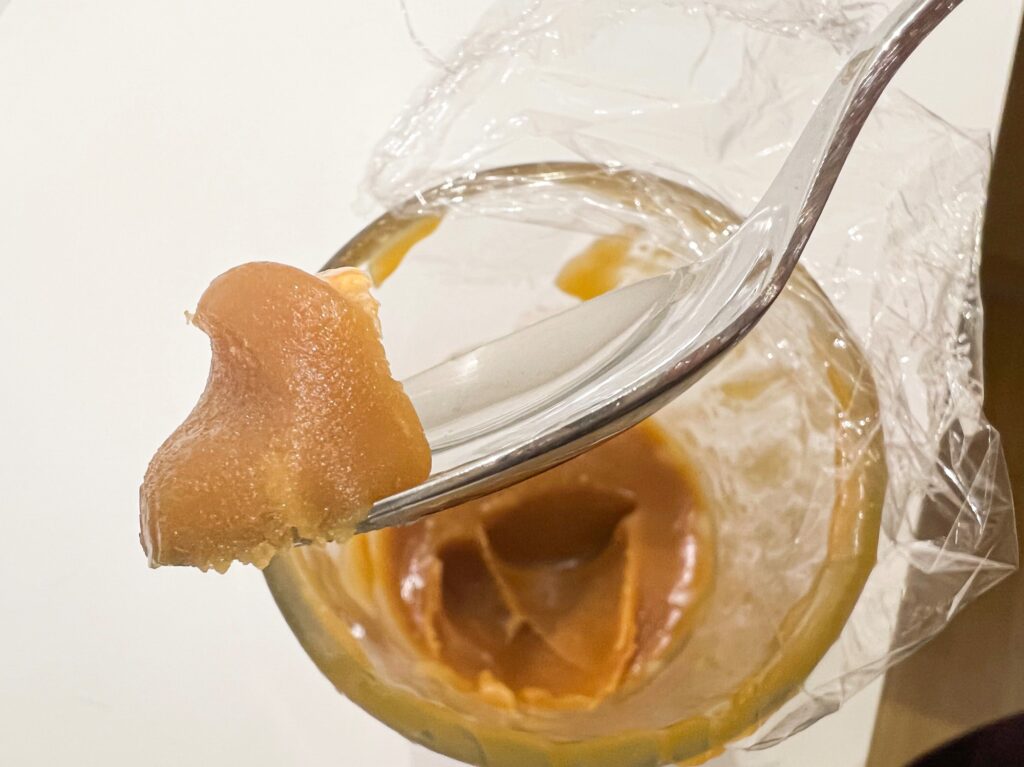
Here comes the quick recipe on how to make the filling! I have made a blog post on how to make the best homemade salted caramel sauce filling for macarons. Check it out to see the more detailed recipe with a lot of pictures!
Tools
- Heavy-bottomed pot or saucepan
- Heatproof spatula
- Kitchen scale
- 4 little bowls to make your life easier
Ingredients
- 5/8 cup (70 g) butter
- 3/4 cup (150 g) white granulated sugar
- 1/2 cup (100 ml) heavy cream
- 1 tablespoon salt
How to make salted caramel macaron filling
To make caramel, the first step is to melt the sugar. Place it in a small heavy-bottomed saucepan with a heatproof spatula. Wait until the sugar starts to melt.
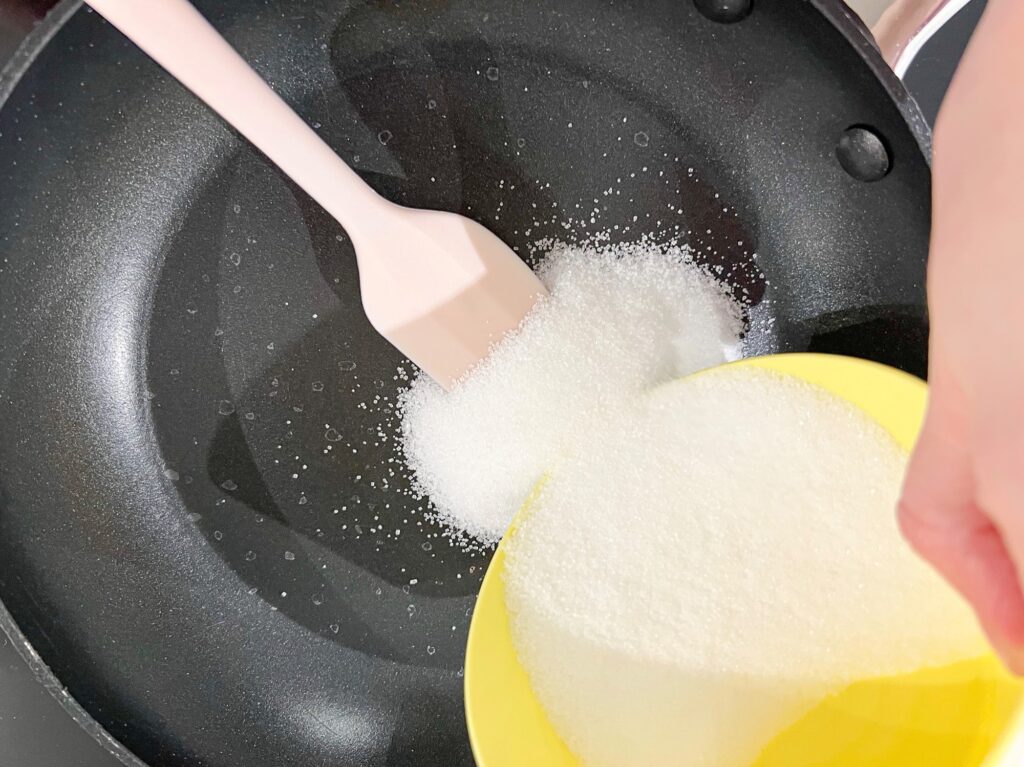
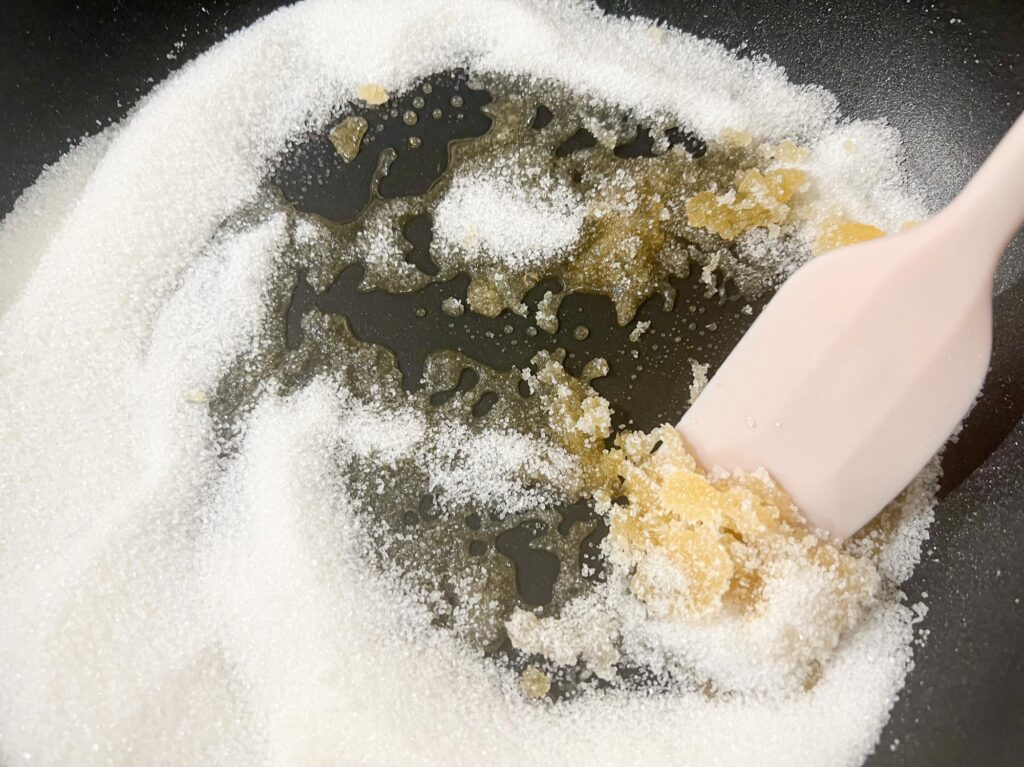
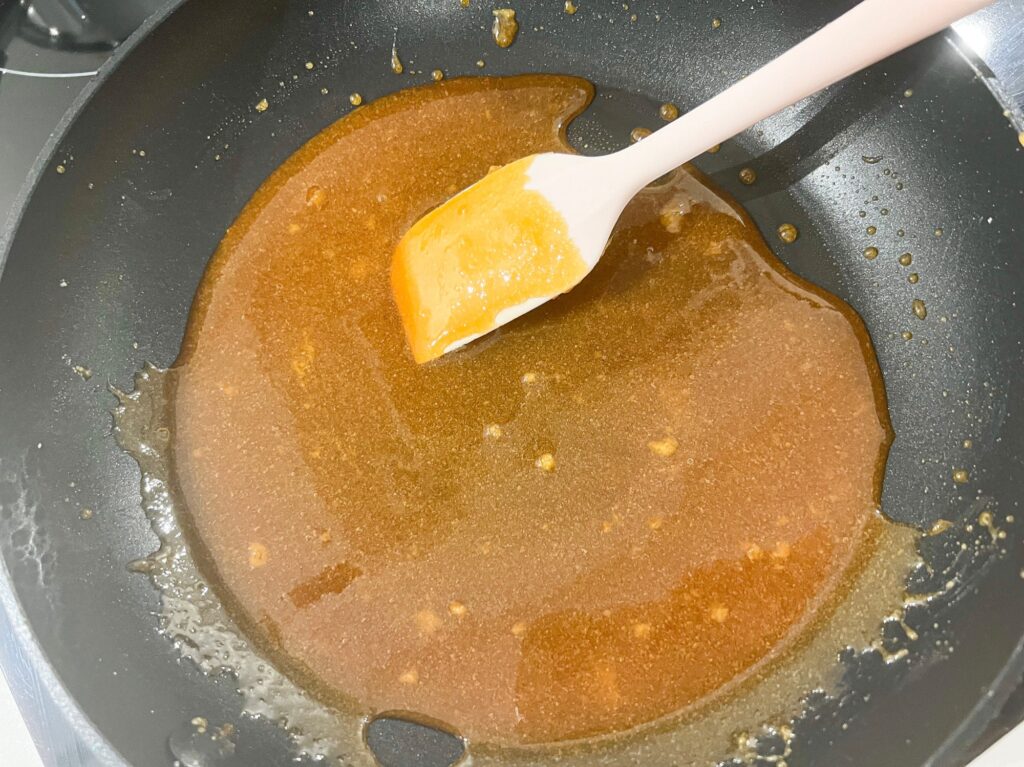
Add the butter and let the mixture cook. Now add in heavy cream and stir slowly so you can avoid any splatter.
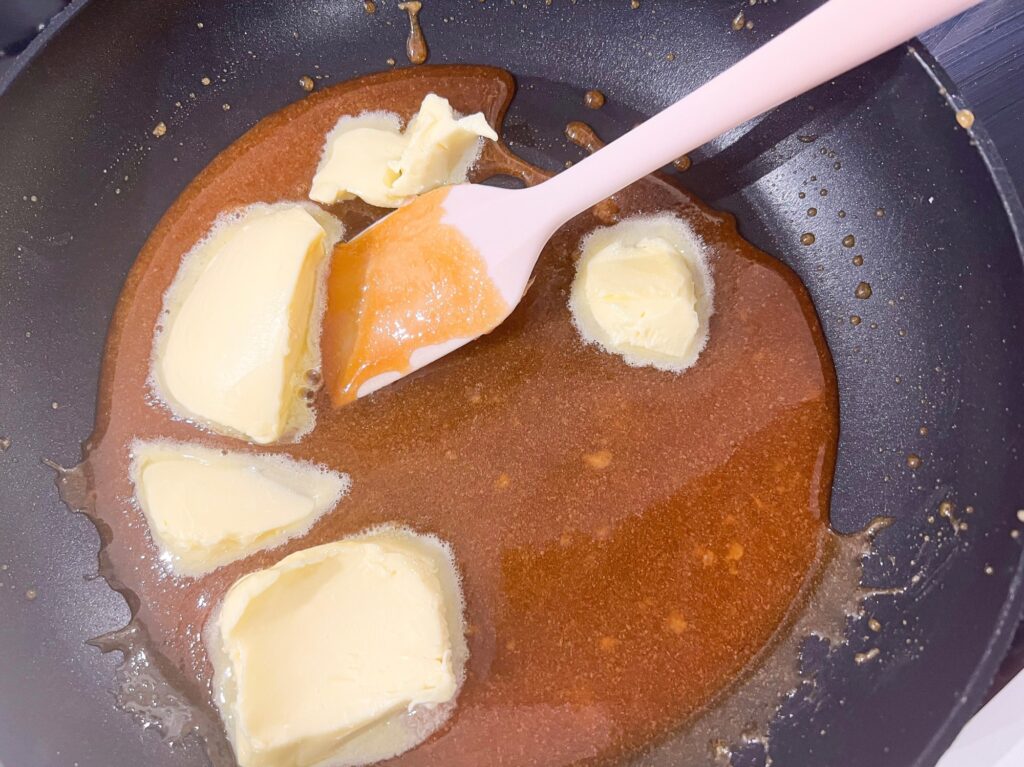
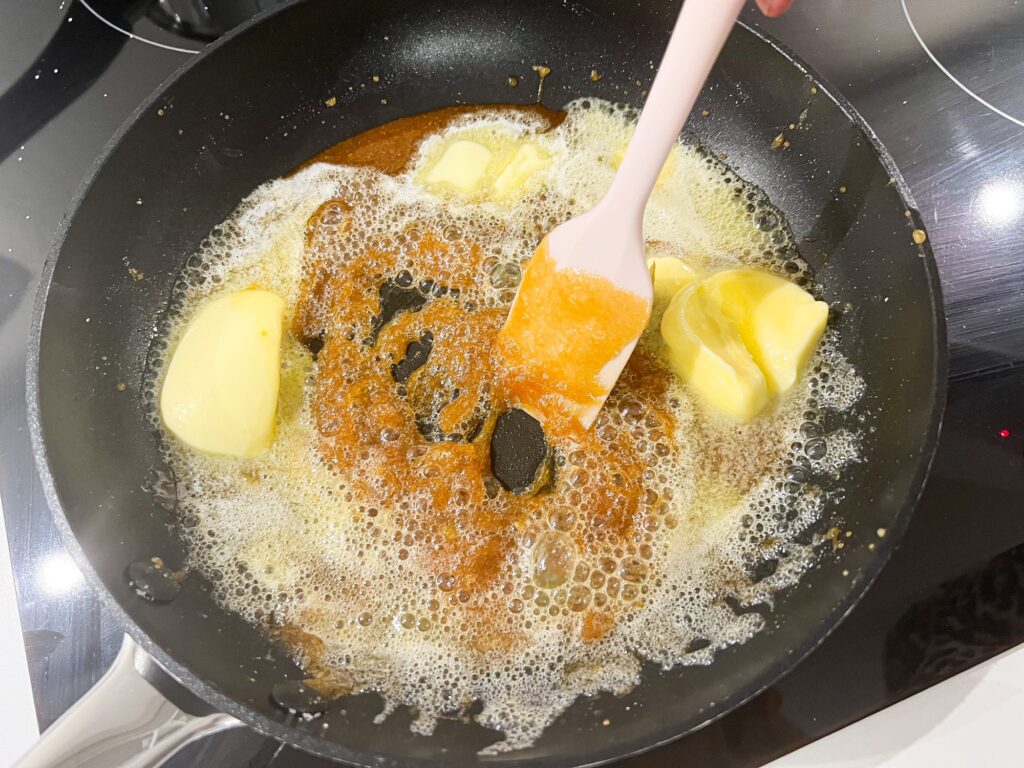
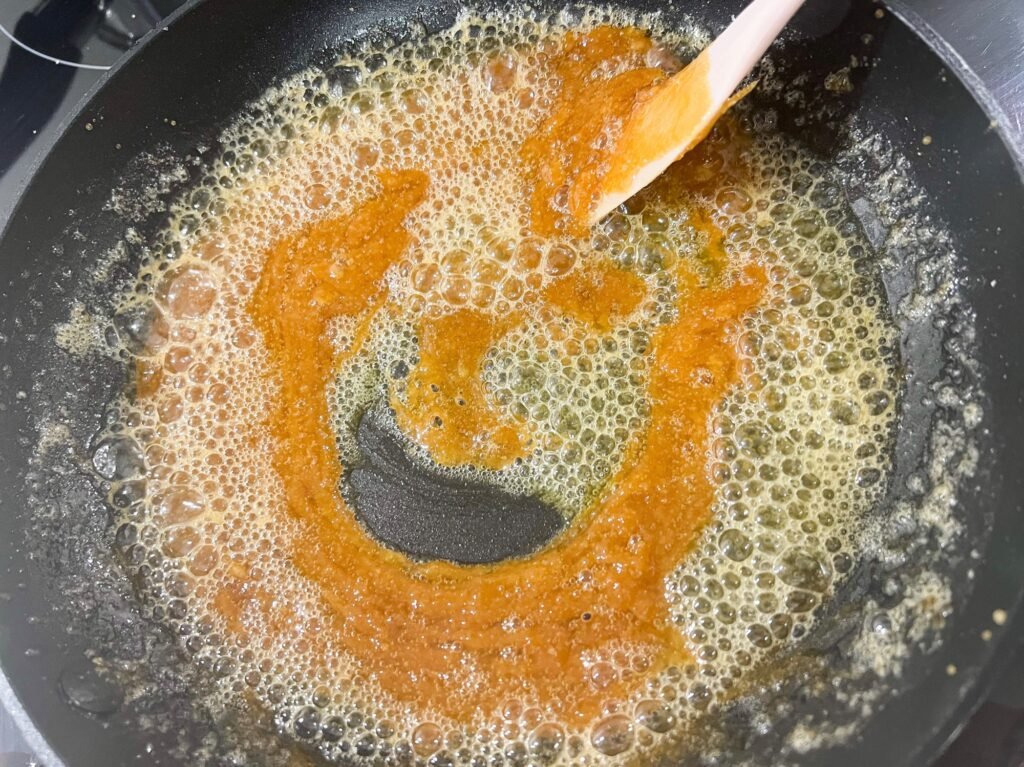
Once you add the cream, let it boil for 1 minute. Add salt, then take the pot off the stove and be careful handling the caramel as it is very hot.
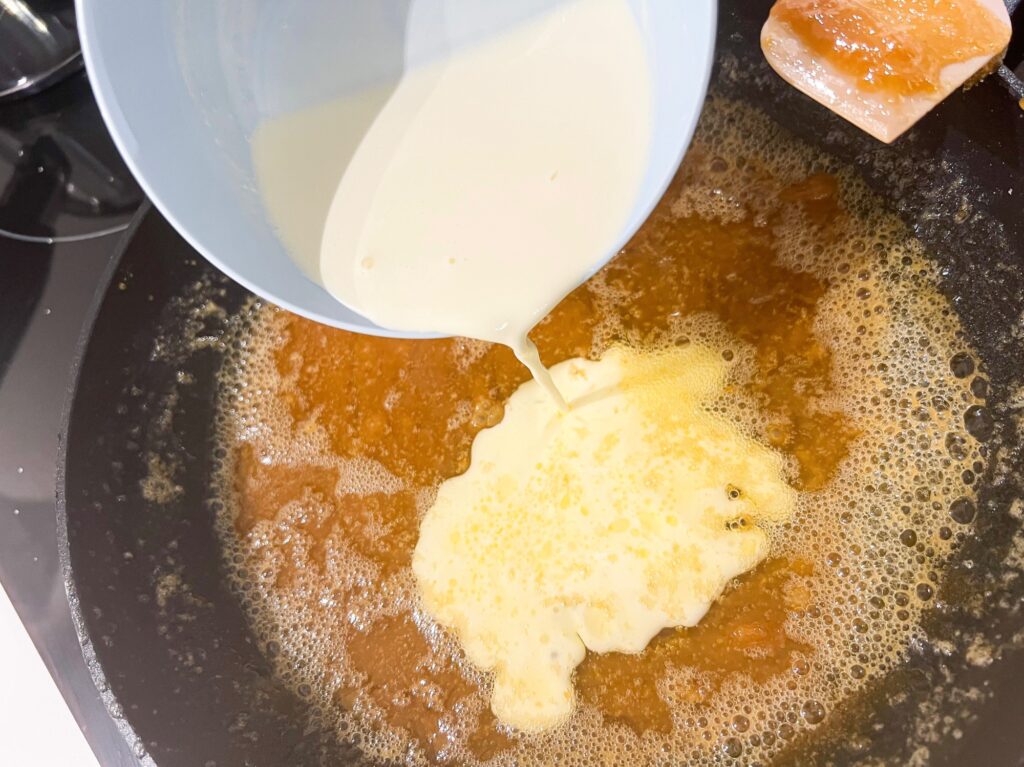
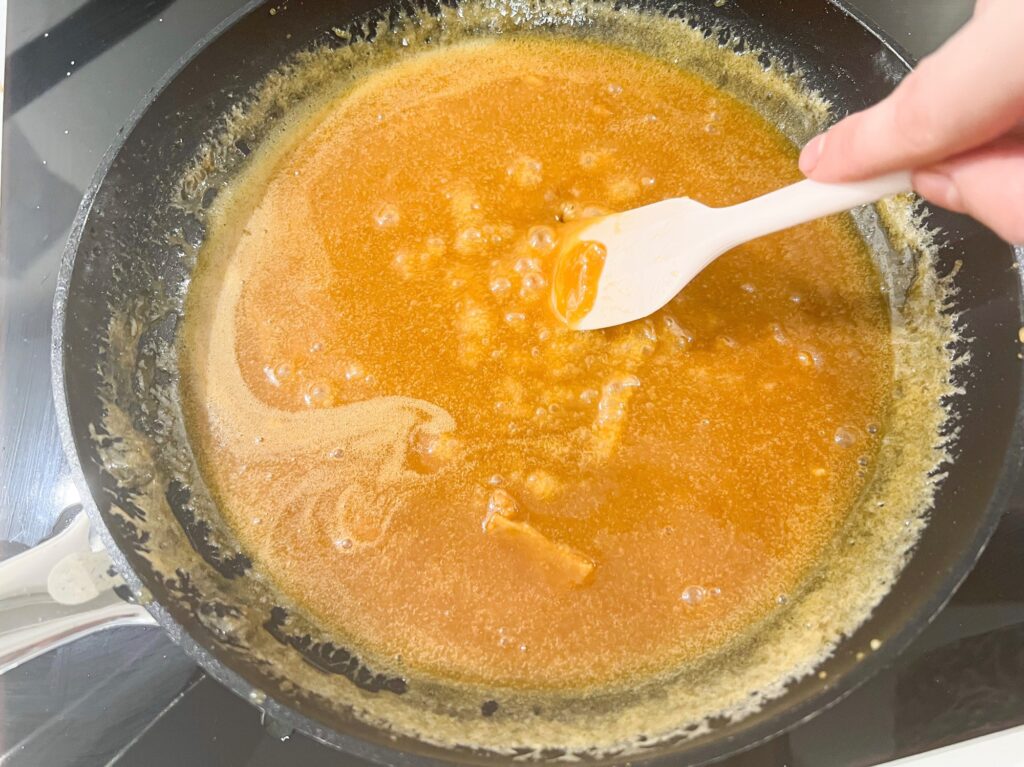
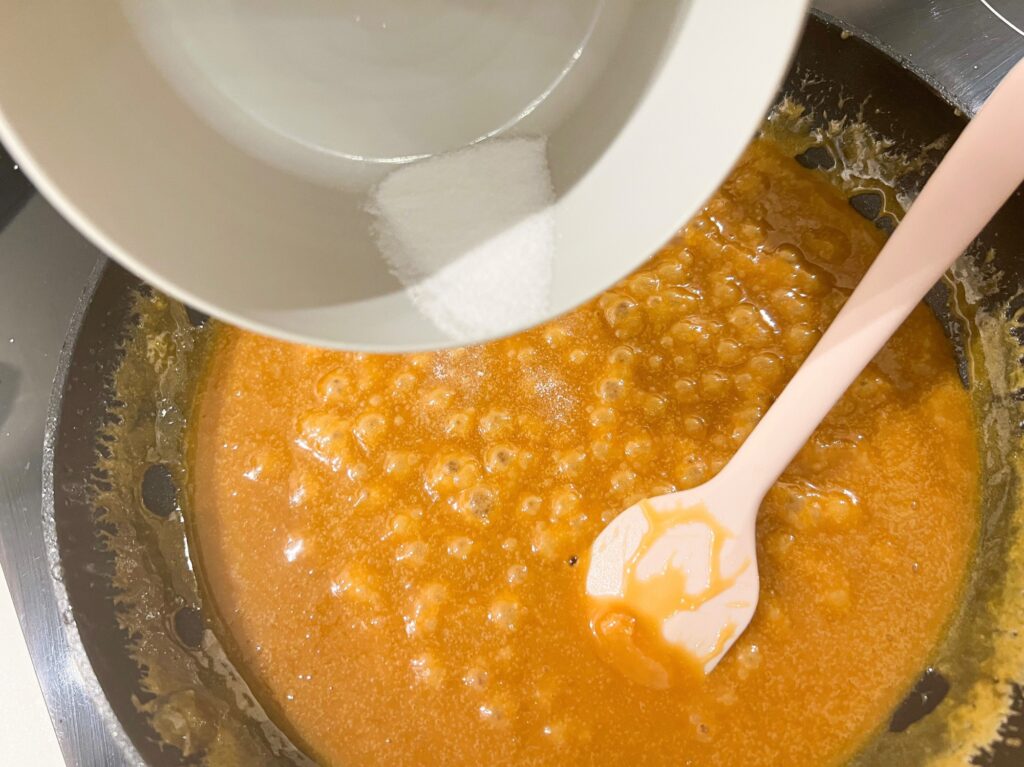
Pour the caramel into the jar or straight into the piping bag. Let it cool down in the fridge for a few hours.
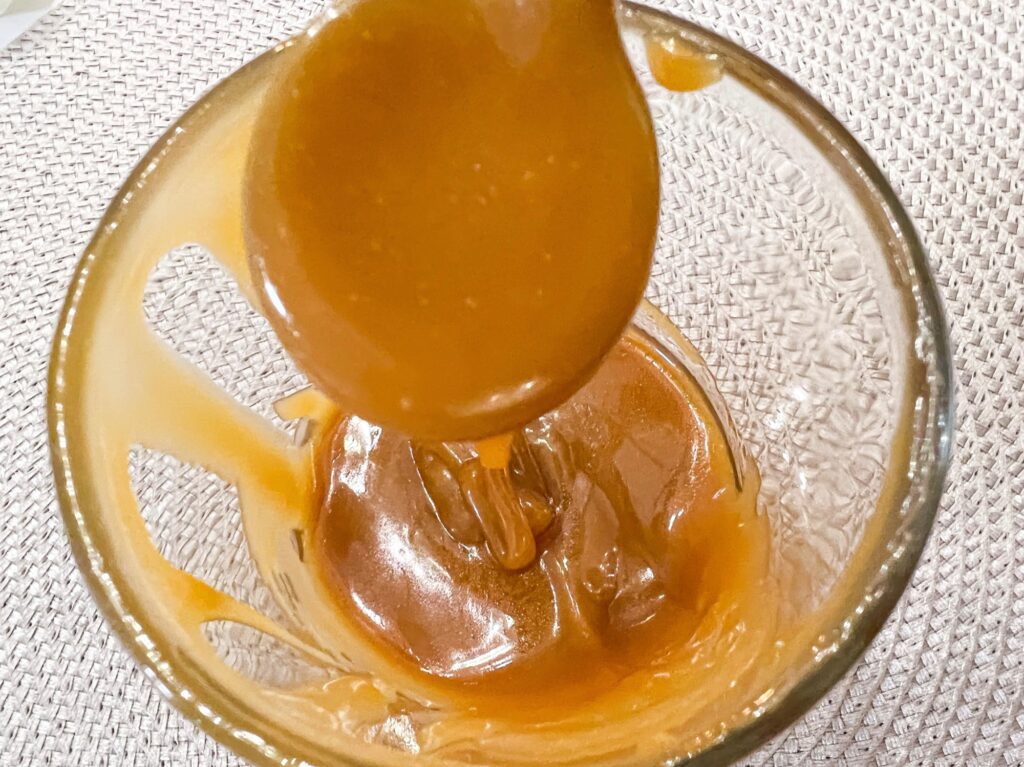

Filling the candy cane macarons
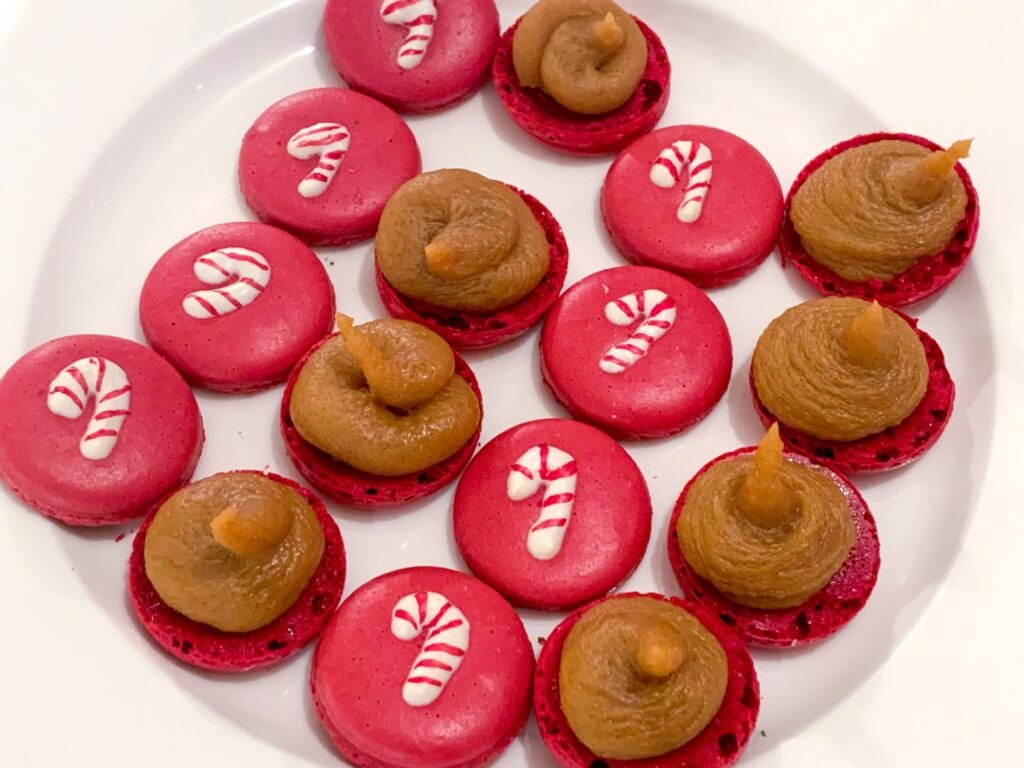
The filling process is one of the most fun parts of making macarons. The good news is that it’s also one of the easiest steps.
The only thing you really need to do is just to pipe the filling onto the one macaron shell, and gently press the other shell on top of the filling.
How to store candy cane macarons
Macarons come with a warning: they should age! This means that the cookies should mature for at least a few hours before they can be eaten. If you’re in a rush, just know that they are still delicious!
Macarons last at least a week but remember to keep them airtight in the fridge.
I’ve shared a bunch of ways to make adorable Christmas-themed macarons! Check them out in my blog if you want to make something special for somebody this holiday season. I Wish You a Happy and Sweet holiday!

Enjoy your macarons!
Belli xx
