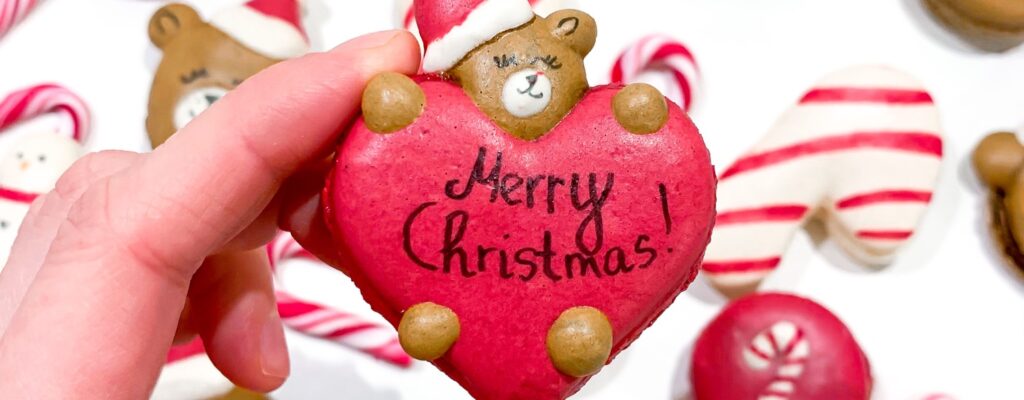
Heart-Shaped Christmas Macarons (Cutest Gift)
Me and my family have a cute tradition at Christmas time – we are baking special handmade treats as part of the presents. I really love the idea – handmade sweets are so special to give to your loved ones. You can feel the love and hard work in every bite you take.
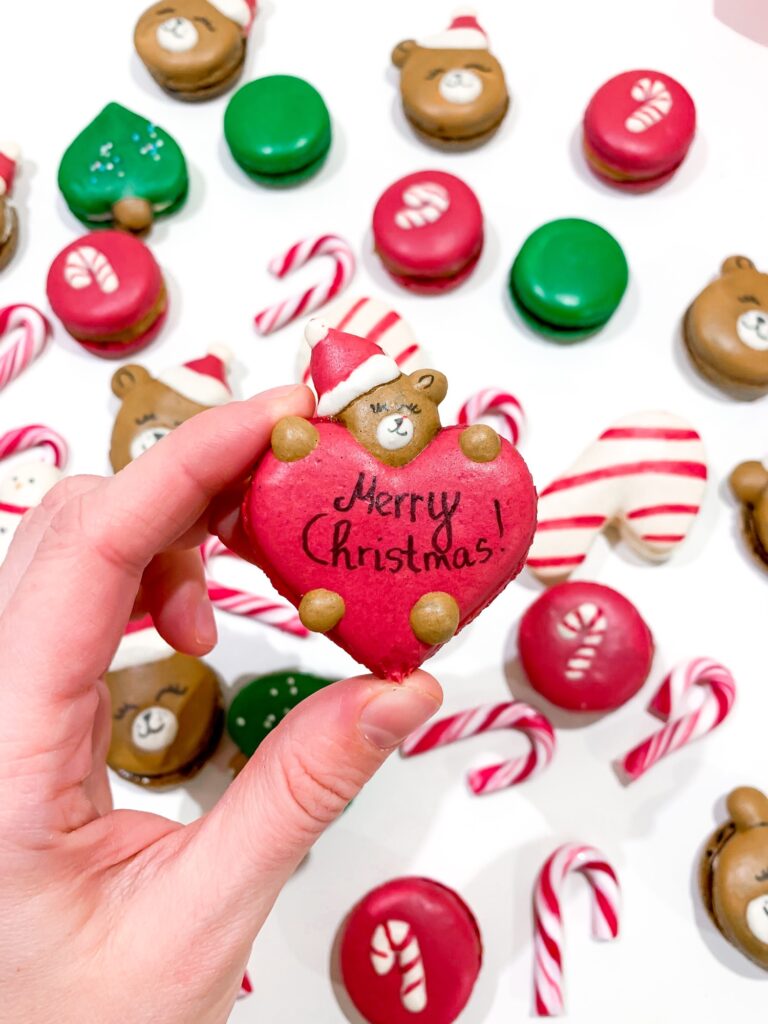
As I am obsessed with macarons, I am always making different kinds of macarons as a gift. Every year it takes me a long time to think about what kind of macarons to bake this time. Once I came to the idea to bake the heart-shaped macarons and add some cute bears with elf hats on top of the heart!
I bet you have never seen cuter Christmas-themed macarons as these little macaron bears that hold a big heart! Everyone in my family loved these, and I am sure you will love them, too!
These cute macarons will be the perfect gift idea for your friends and family. As there is plenty of room on the heart macaron, you can use the space to write a personal message or why not use the macarons as a name card for the Christmas dinner! I am sure everyone would be very impressed!
Tools and ingredients for making candy cane macaron shells
Tools
- Kitchen scale
- Sifter
- Whisk
- Candy thermometer
- Mixer (stand or hand mixer)
- Small saucepan
- Silicone spatula
- Two large bowls (glass or stainless steel)
- Piping bags
- Heart template silicone mat/parchment paper and DIY heart template
- 4 small bowls
- Toothpicks
Ingredients
- 4 oz (115 g) Almond flour
- 4 oz (115 g) Powdered sugar
- 4 oz (115 g) Granulated sugar
- 1 oz (30 ml) water
- 1,7 oz (50 g) Egg whites part 1
- 1,4 oz (40 g) Egg whites part 2
- Dark Green Food Coloring
- Red Food Coloring
- Brown Food Coloring
- Black Food Coloring Pen
This amount of batter should produce about 30 macarons (60 shells).
I have put together a comprehensive recipe for baking perfect homemade macarons with the Italian method. It goes into detail on every step of the process and should help you increase your success rate! I highly suggest you take the time to read this post thoroughly as well.
Making the batter for cute Christmas bear macarons
Follow the steps on my Perfect Homemade Macarons (Italian Method) for the perfect batter. Once you get to this point that the batter is almost ready, stop doing everything and read carefully!
Once you add the last part of the egg white fluff into the mixture, mix very slowly and carefully. You don’t want the batter to be ready as you want multiple colored macarons, right?
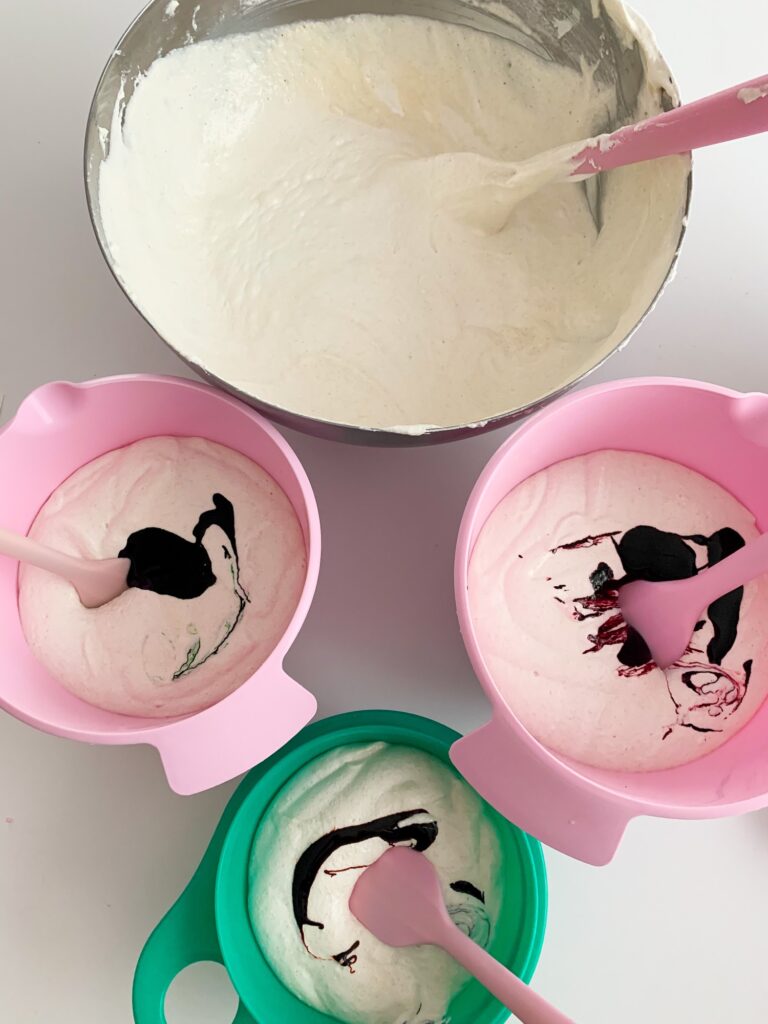
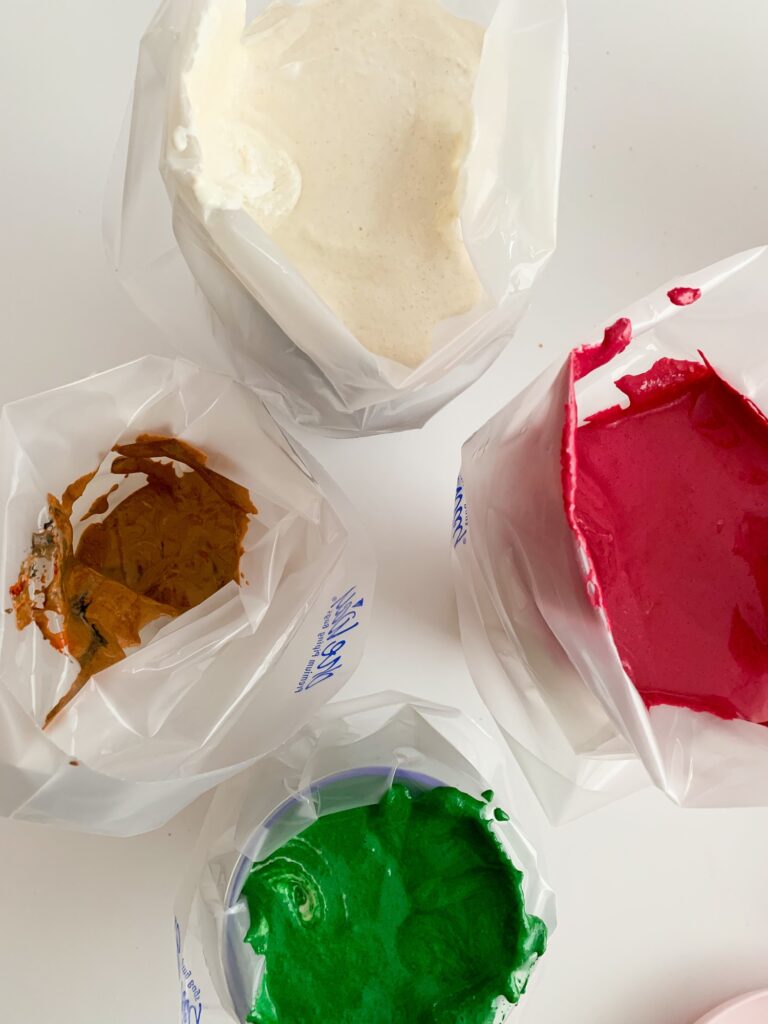
The second the batter seems even, stop mixing. Pour the white almost-ready batter into the smaller bowls – you will need 4 different bowls in total.
Take a toothpick and add color to the three bowls – add green, red, and brown. One bowl stays white – no need to add anything.
As the batter is almost ready, you need to be extra slow and gentle at this part – you want the batter to be nice and the color evenly divided. What you don’t want is to over-mix the batter. Stir slowly, and do as few folds as possible.
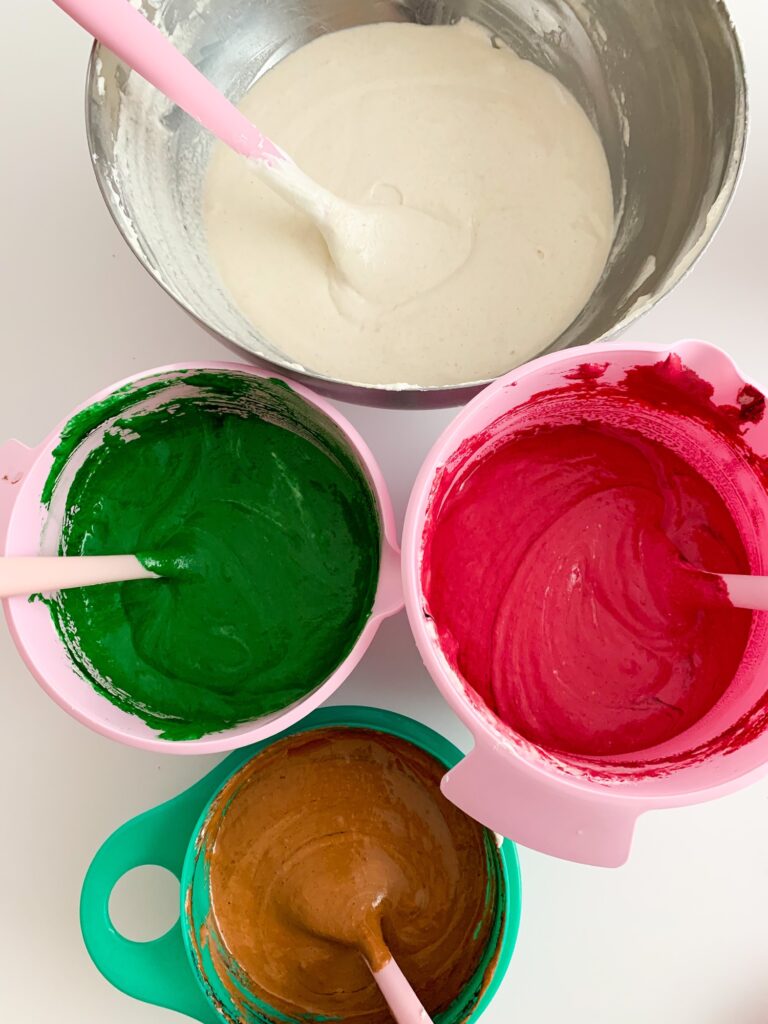
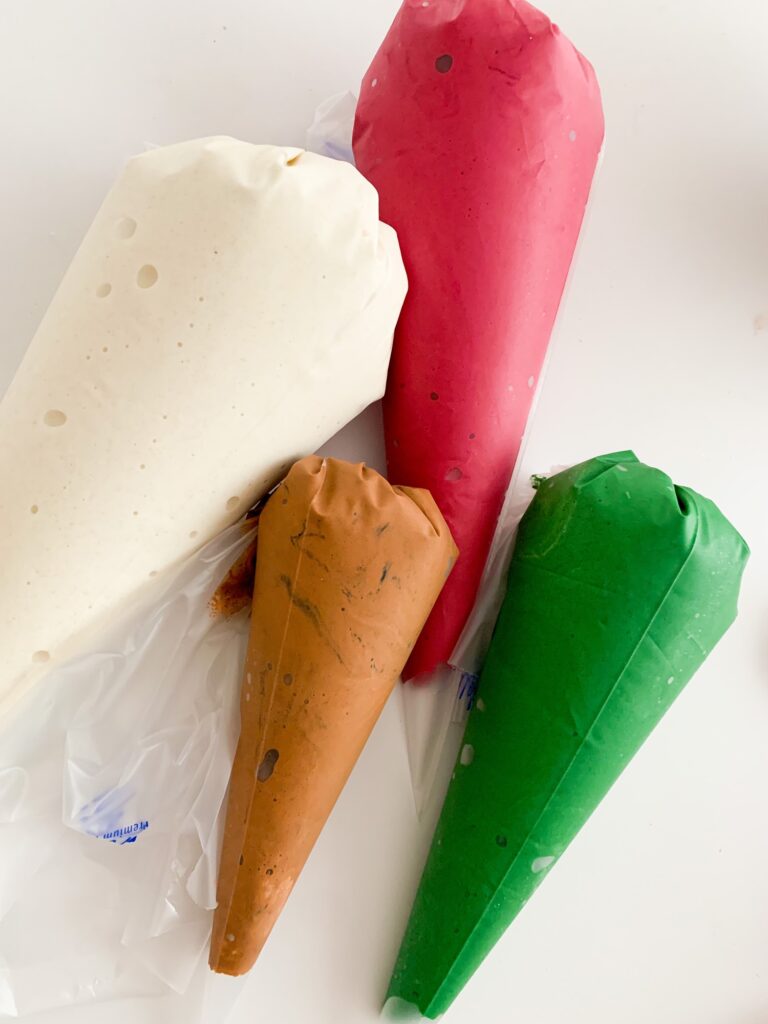
When the batter is ready – it is nice and flows from the spatula like a ribbon – place all the colors in separate piping bags.
Making your own heart-shaped macaron template
For the heart-shaped macarons, I love using a silicone mat that already has the built-in heart templates with little edge. It helps the macaron shells to turn out identical.
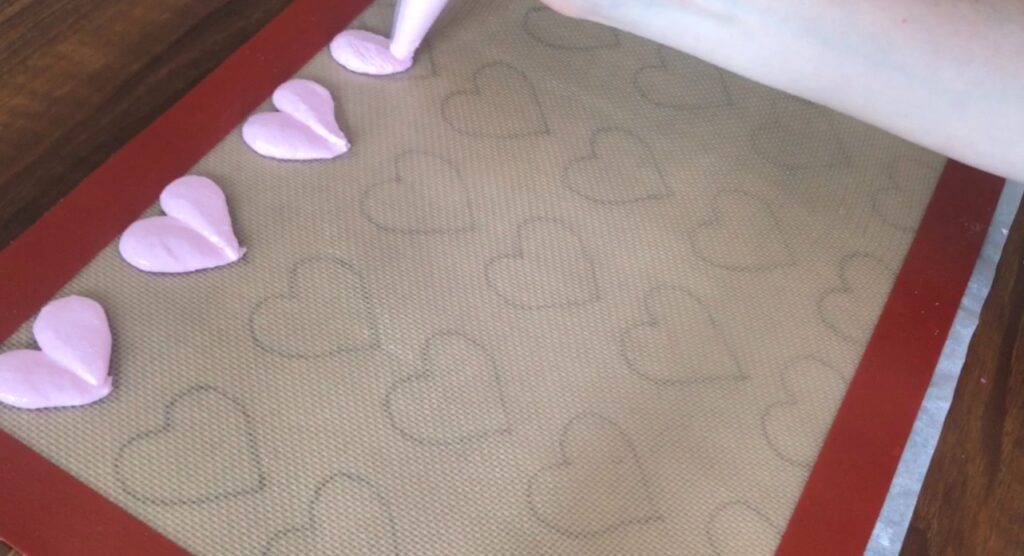
If you don’t have this kind of mat, it is totally fine! You can easily make a template by yourself. You will need a piece of paper and a dark marker – draw a heart on the paper using a dark marker. Now take a large piece of paper and place the heart template under it – if you used a dark wide marker, you should see the heart lines through the paper.
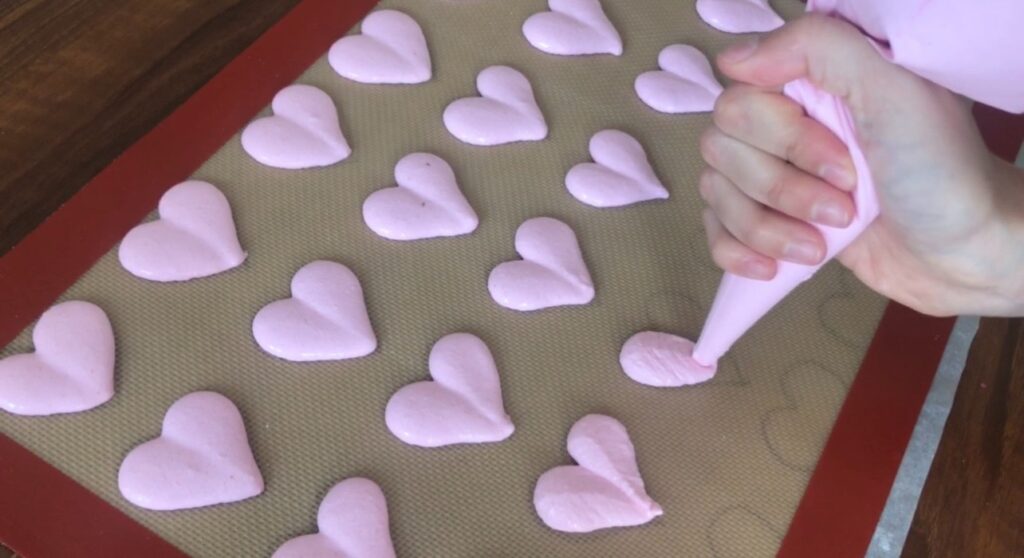
Draw identical hearts next to each other, leaving a little space between each heart. Once ready, place the paper that is full of hearts, below the see-through silicone baking mat or baking sheet. See the photos below.
Piping the heart-shaped bear macarons
At a 90-degree angle, start piping the batter onto the templates. I am using a green, red, and white batter to make the heart-shaped macarons.
Make sure to place a little bit of white and red batter in two different piping bags – one of each color should be cut into a very small hole for piping. The red color with a narrow hole is for elf hats. The white one is for the fur of the elf hat and for the bear’s face.
For brown color, also cut a narrow hole because the bear heads you are going to bake, are small. You will also need to pipe little ears and paws to the bears.
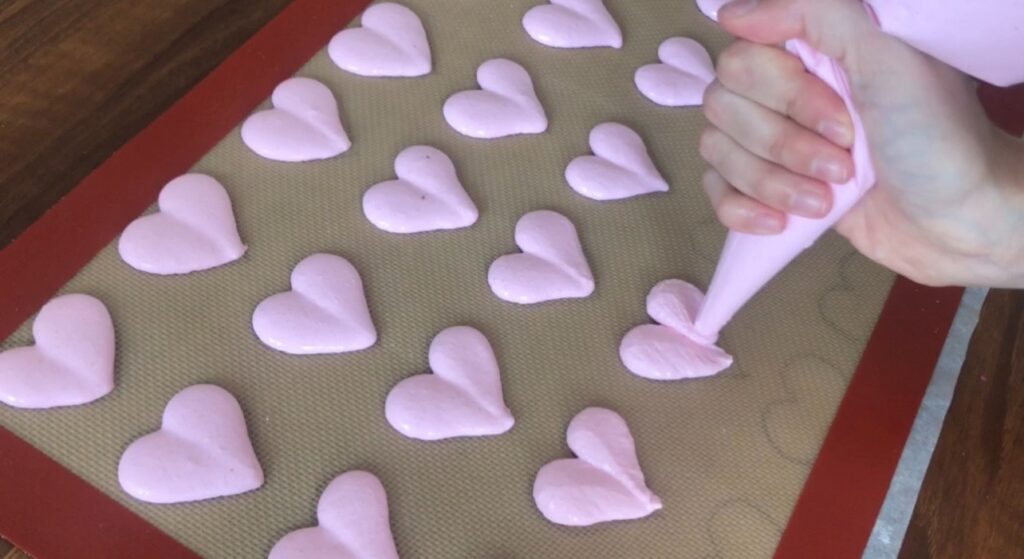
Start from the top left corner and pipe a diagonal line to the center. Apply more pressure at the top rather than at the bottom. It is suggest it do it like that, because the bottom needs to be tighter than the top.
Now it is time to move the piping bag up to the top right corner, and pipe a diagonal line back to the center, meeting the first line.
As you want to have a pointy tip, you can’t have too much batter at the bottom. To make the bottom pointier, use a toothpick and gently model the tip. Macarons will get rounder while baking, so if you want a beautiful heart-shaped shell, you need a toothpick to make the pointy tip at the bottom.
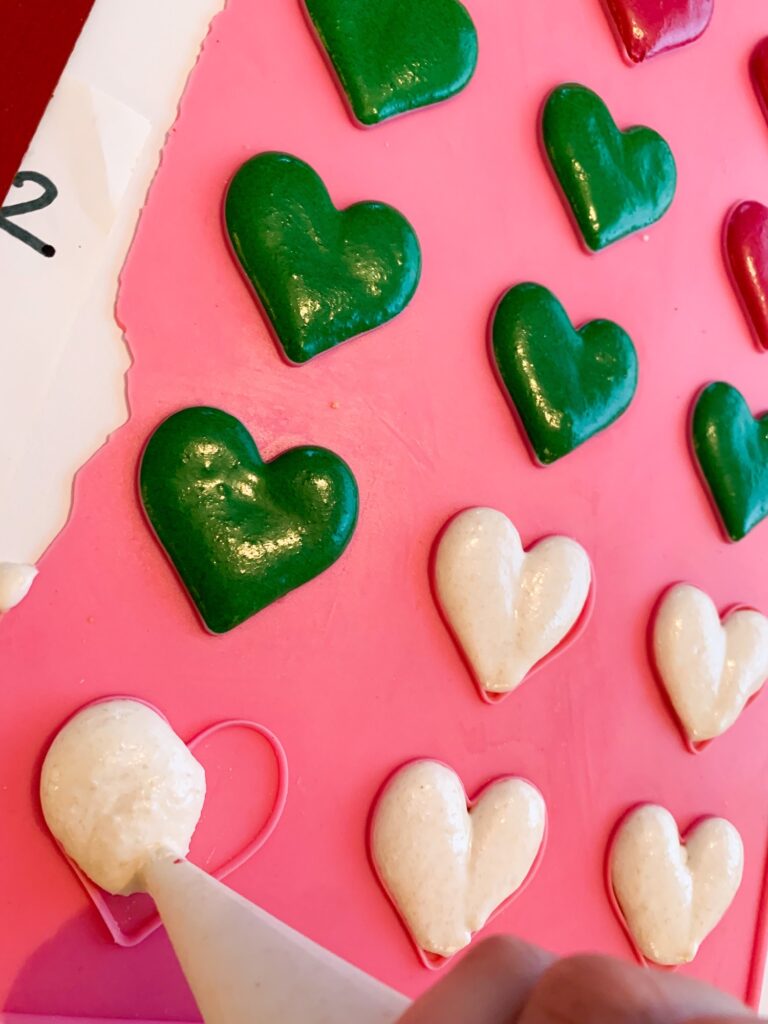
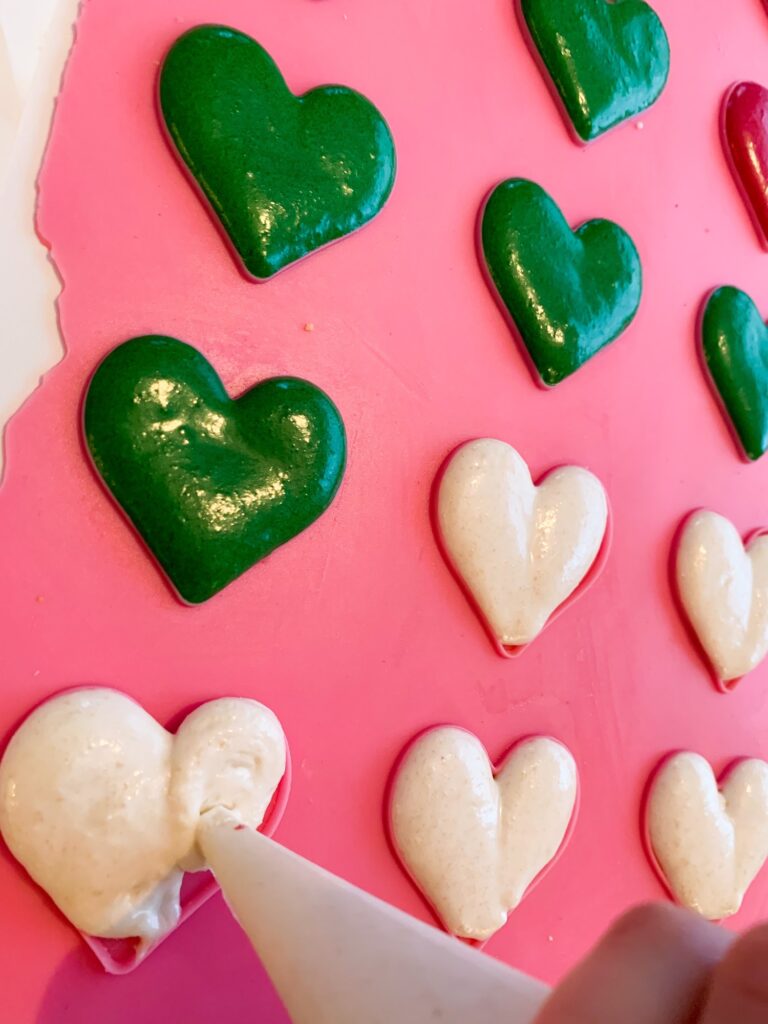
Let the hearts dry for around 5-10 minutes and then crab the brown batter. Cut a small hole to this piping bag and pipe little heads on top – between the heart bulges. Add tiny paws on top and the bottom. Do it with half of the hearts! You can just leave the bottom shells as plain hearts as I do.
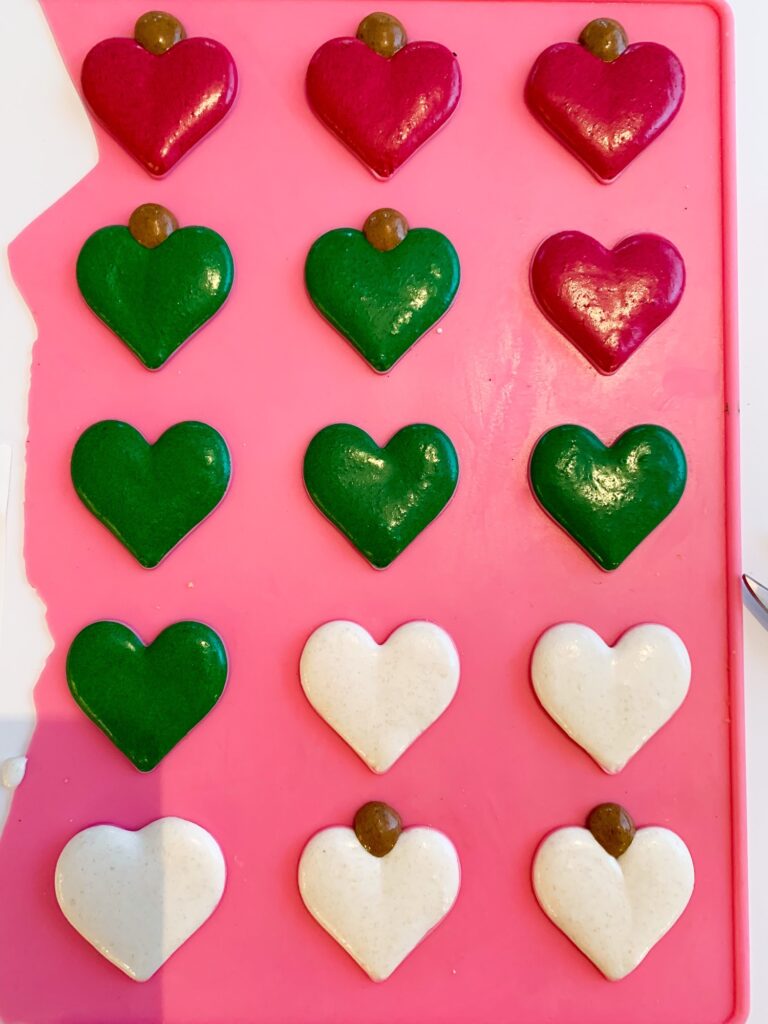
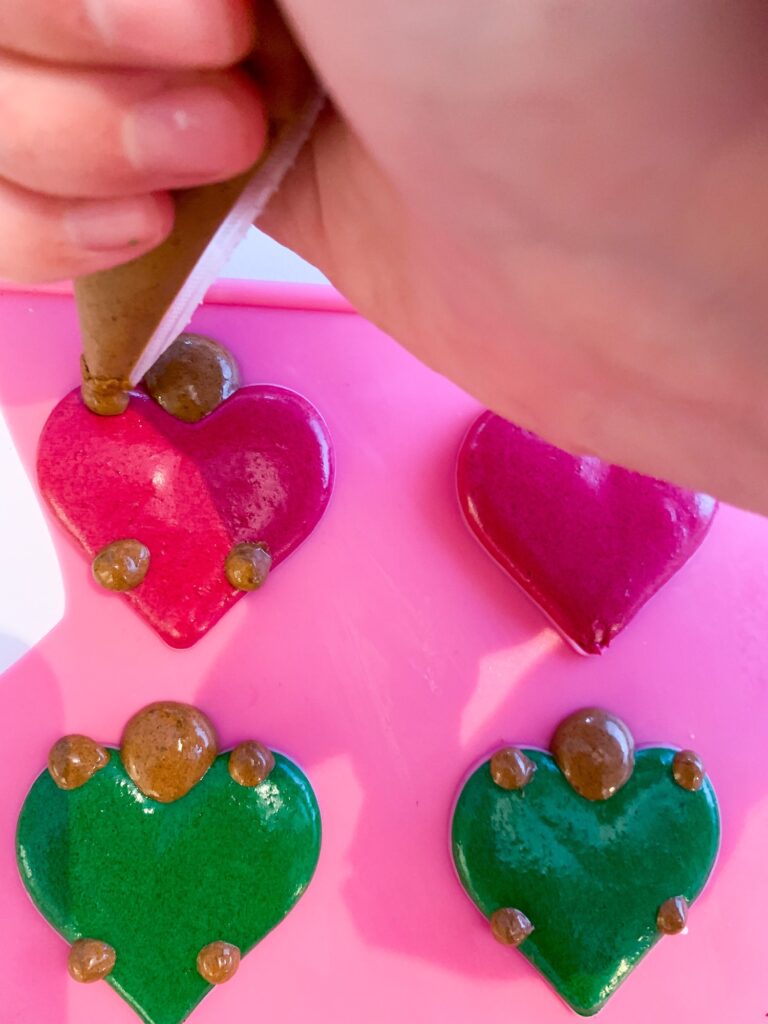
Wait another few minutes and pipe the little ears. Pipe only one ear at each bear as for the other ear it will be the cutest elf hat!
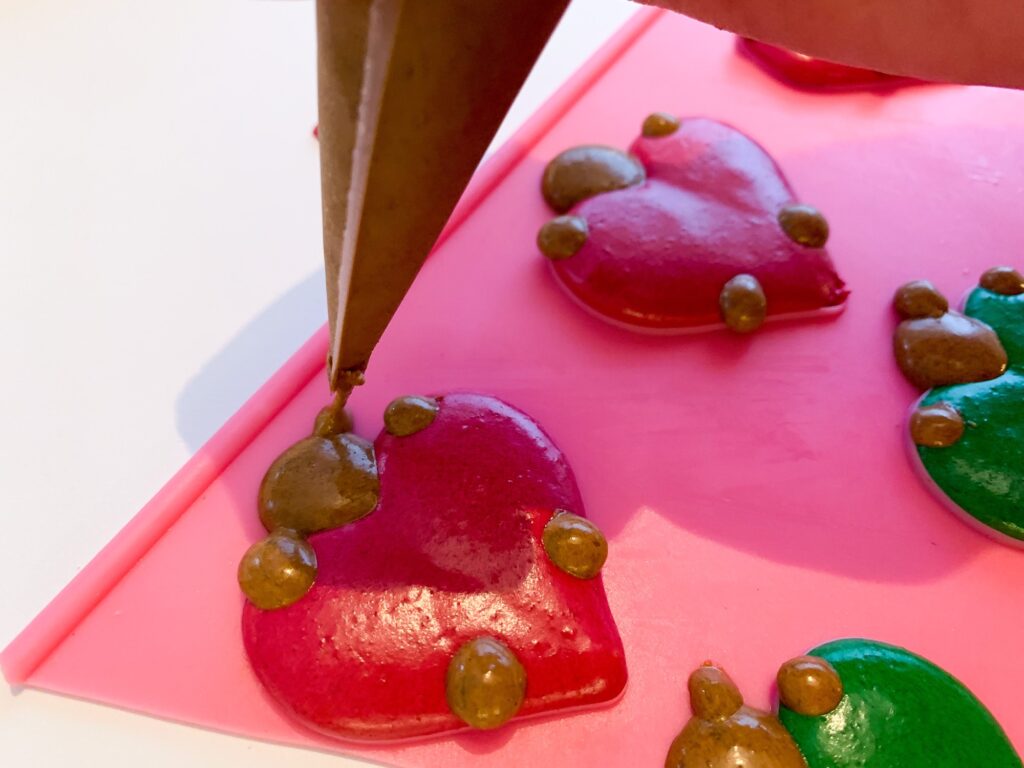
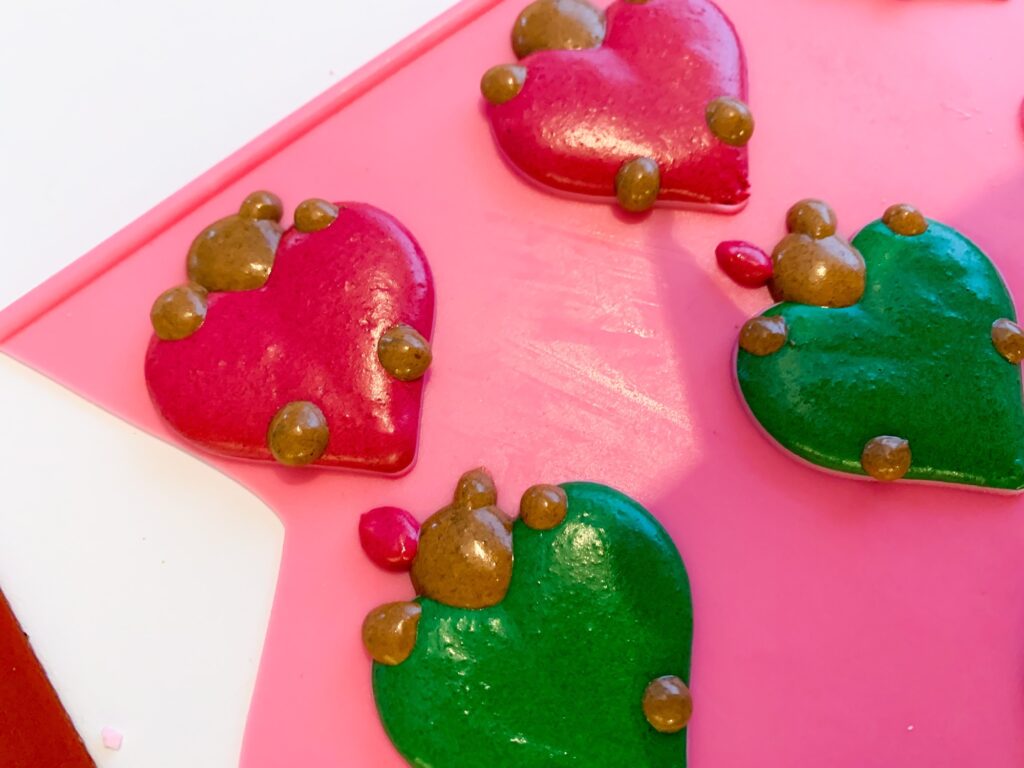
Using a toothpick, make the tiny hat pointier. Wait a few minutes and add the “fur” to the edge of the hat.
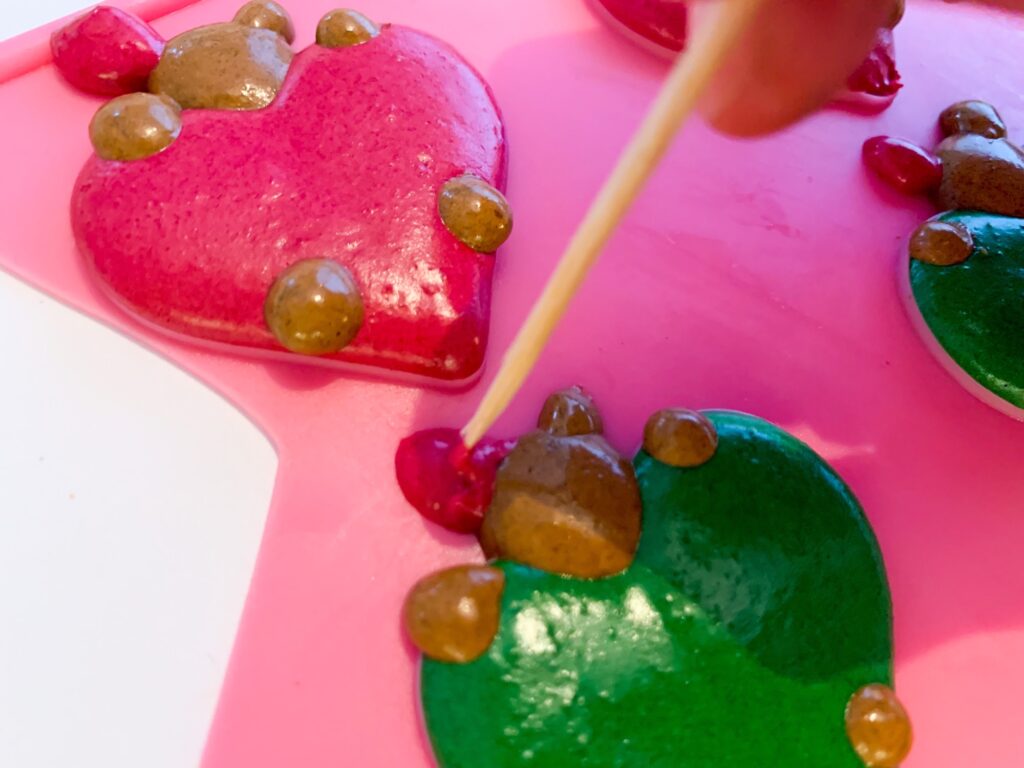
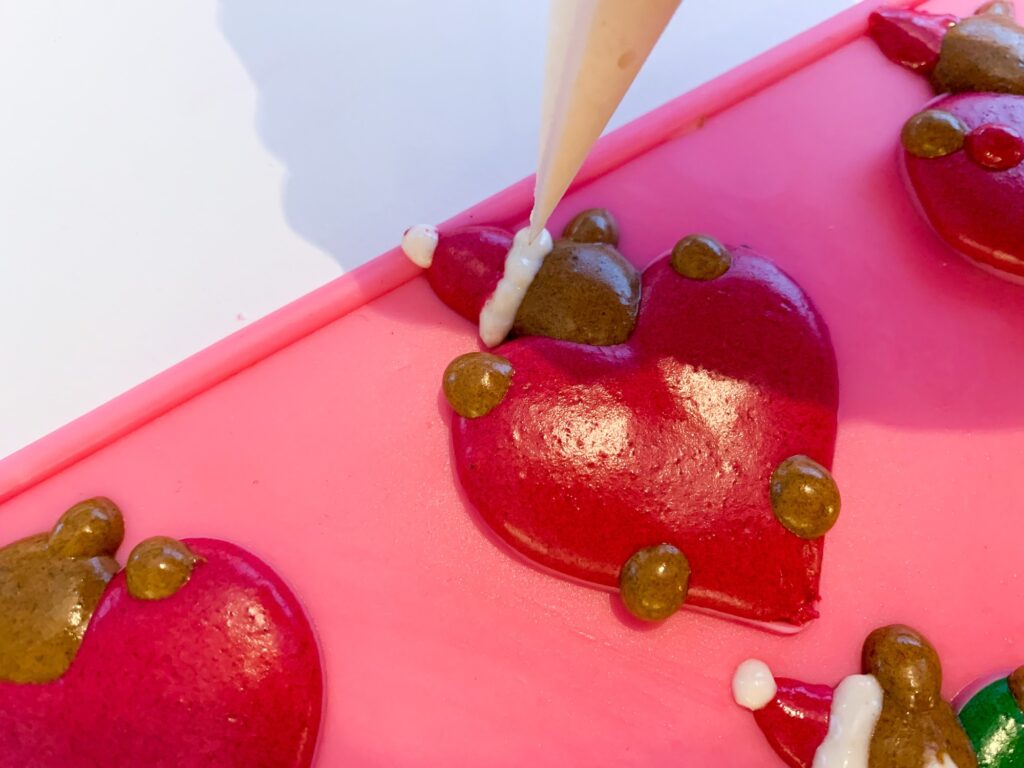
The faces should be dried at this point. Next, pipe a little white dots on the bear’s face. It will make the face way cuter later!
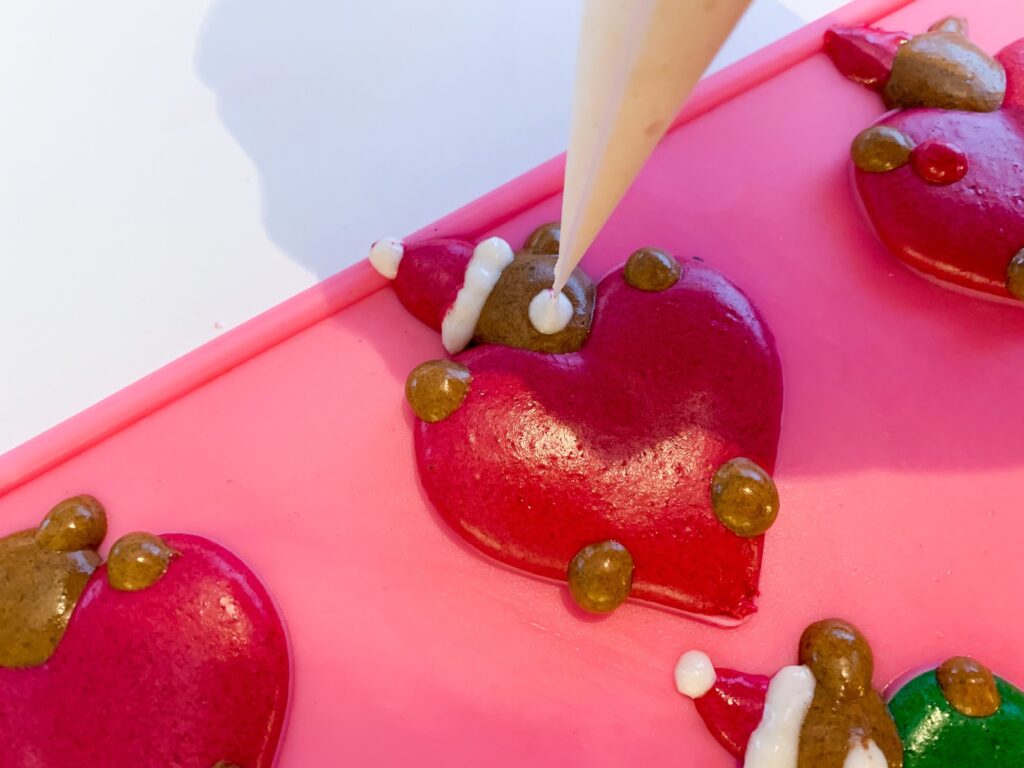
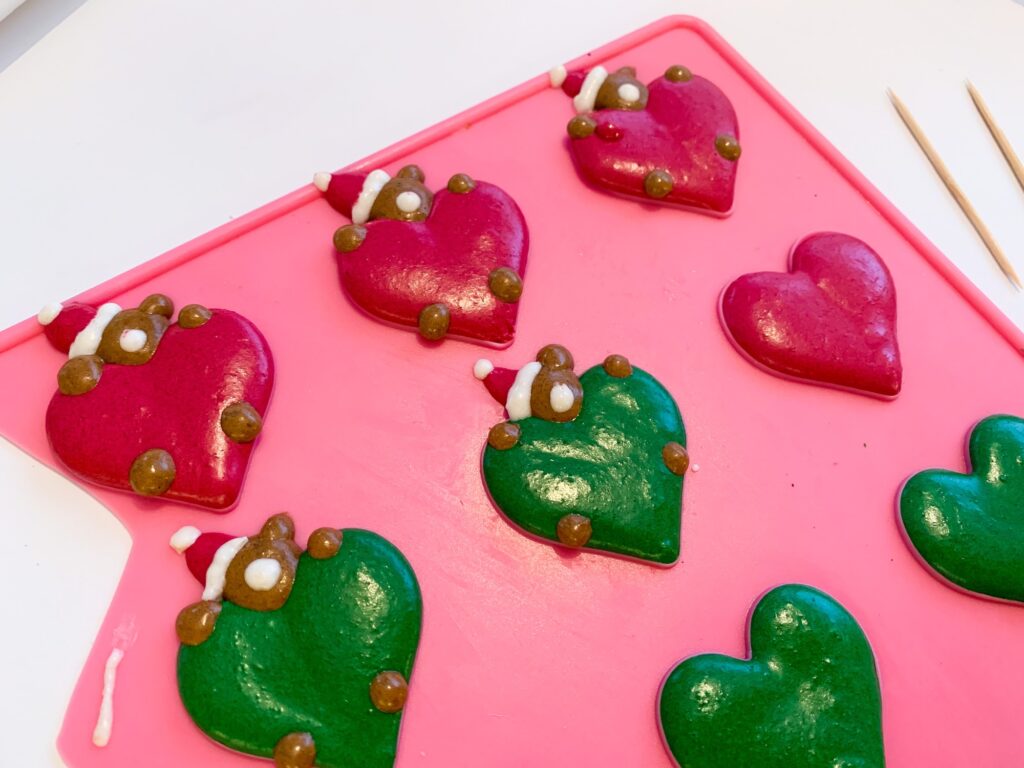
Baking the heart-shaped bear macaron shells
As it takes quite a long time to finish these cute macarons before even placing them into the oven, there is no need to wait for them for to dry before the oven – they are probably already dried and ready for oven!
Bake the macarons in the oven at 250°F (120°C). Bake each mat for 16 minutes. As every oven is a little different, you may need to bake them a few minutes less or more. The macarons should not wiggle if gently pushed with a finger.
When you remove the macarons from the oven, immediately remove them from the baking pan as well! The pan is hot and otherwise, the macarons will continue baking, and they will easily over-bake.
Let the macarons cool down before removing them from the oven. Match the plain heart shell to each bear and let’s move on to the filling part!
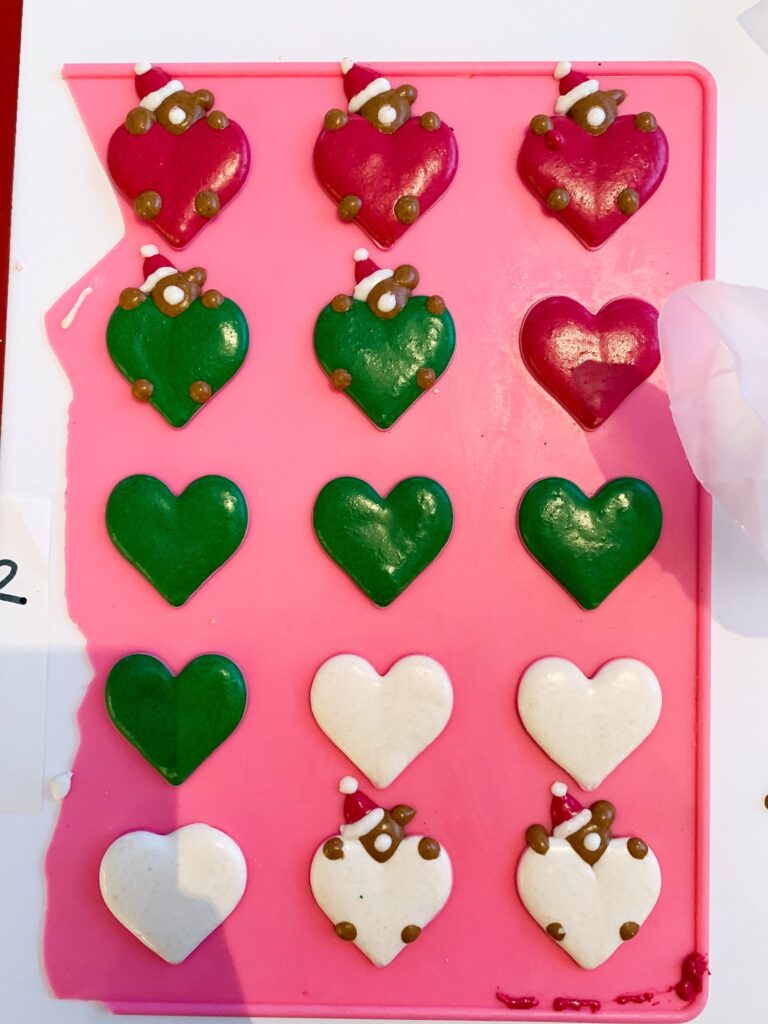
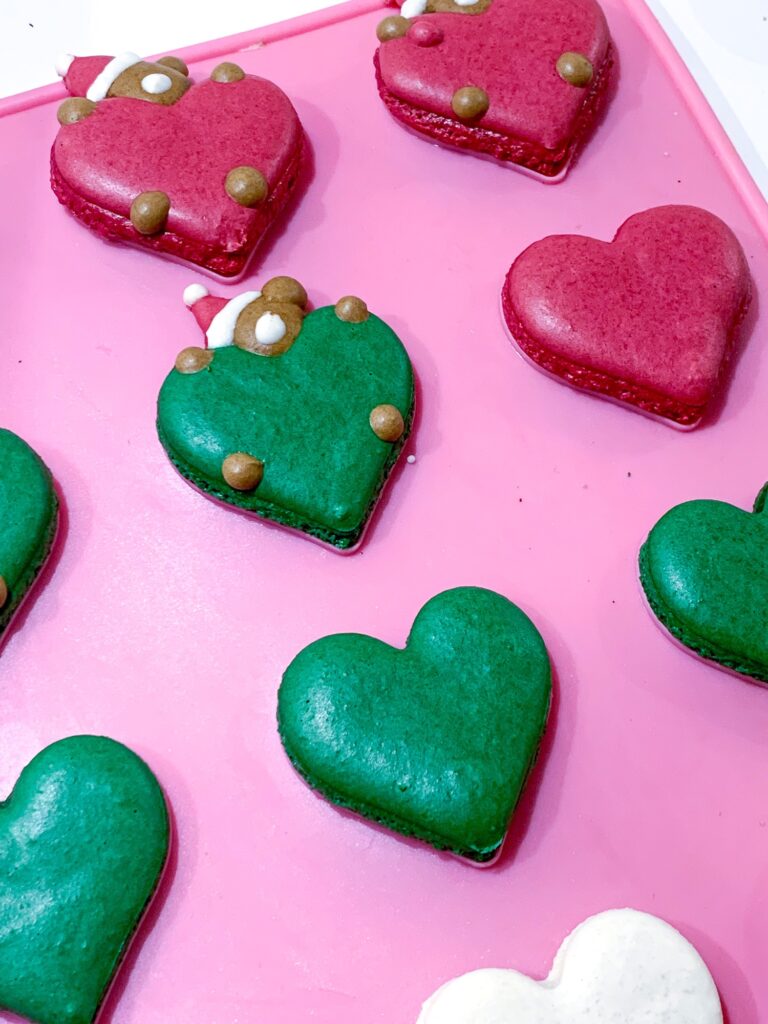
TIP: Sometimes it is hard to get the macarons off from the silicone baking mat as they tend to stick to the mat. In that case, I recommend putting the silicone mat with the macarons into the freezer! Wait around 30 minutes and take them out. Remove the macarons fast from the silicone mat before they start to warm up. With the help of your fingers, gently press on the bottom of the silicone mat to help the macarons get off.
Filling for cute Christmas bear macarons
Now it is time to make the filling! You can make whatever filling you like for these cute macarons. For this time, I made the vanilla bean cream filling.
I love to use Pure Vanilla Bean Paste to make the perfect vanilla bean filling for macarons. I use it in so many other desserts as well. For example in cakes, cupcakes, frostings, panna cottas, cheesecakes, etc. It is suitable for baking and you can even eat it straight from the jar. It is also vegan and gluten-free!
This paste is the best thing ever! It smells strong and tastes extremely good! The paste is made of all-natural ingredients which is always a bonus! It smells so good, has a very good fresh and sweet vanilla taste, and has no added sugar. This vanilla paste also has little dark vanilla bean seeds inside it which makes it even more delicious.
For the filling, just add a few tablespoons of vanilla bean paste. You can always add more if needed.
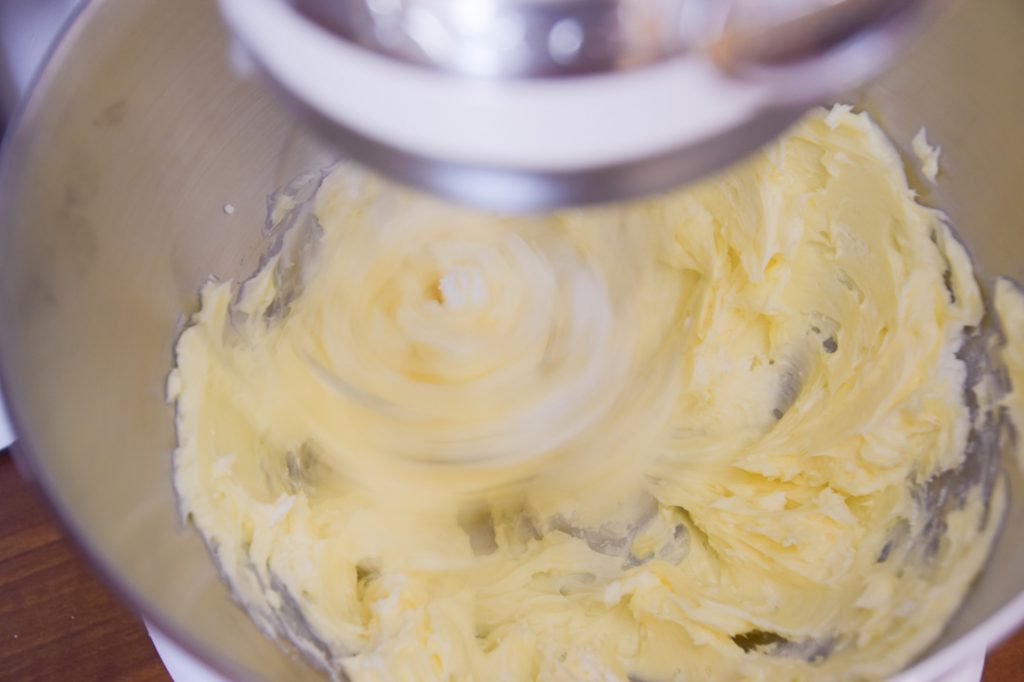
Ingredients for vanilla bean filling
- 7 oz (200 g) butter (room temperature)
- 3 oz (85 g) cream cheese (room temperature)
- 7 oz (200 g) powdered sugar
- A few tablespoons of Pure Vanilla Bean Paste
How to make filling for vanilla bean macarons
- Let the 3 oz (85 g) cream cheese and 7 oz (200 g) butter sit in a room as long as they get to the room temperature
- Put 3 oz (85 g) of softened cream cheese and 7 oz (200 g) of butter into the bowl and start whisking using a mixer. Slowly add 7 oz (200 g) of powdered sugar. Mix on high speed until fluffy and even. It takes around 3 minutes to achieve the perfect texture.
- Add a few tablespoons of vanilla bean paste to the mixture and mix for 30 seconds. Crab a toothpick or a spoon to taste the filling. Add more flavor if needed and repeat mixing.
- Take the piping bag and place the filling into the bag.
Filling the bear macarons
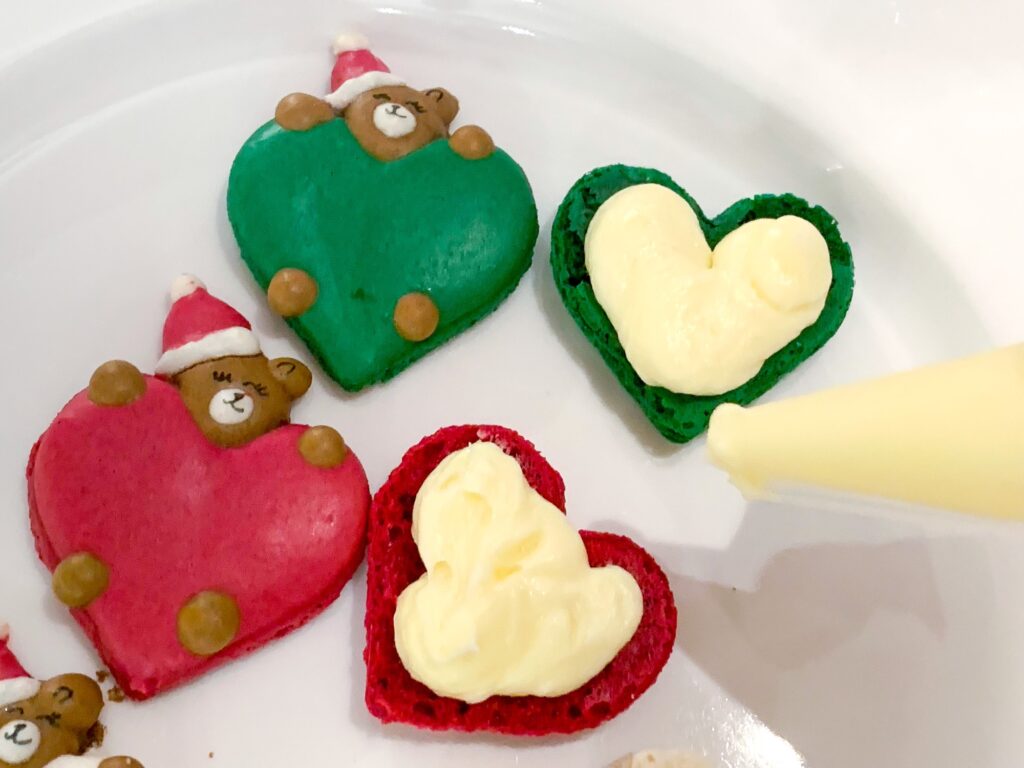
Turn the plain heart macaron shells upside down and pipe the filling on them. See the pictures below.
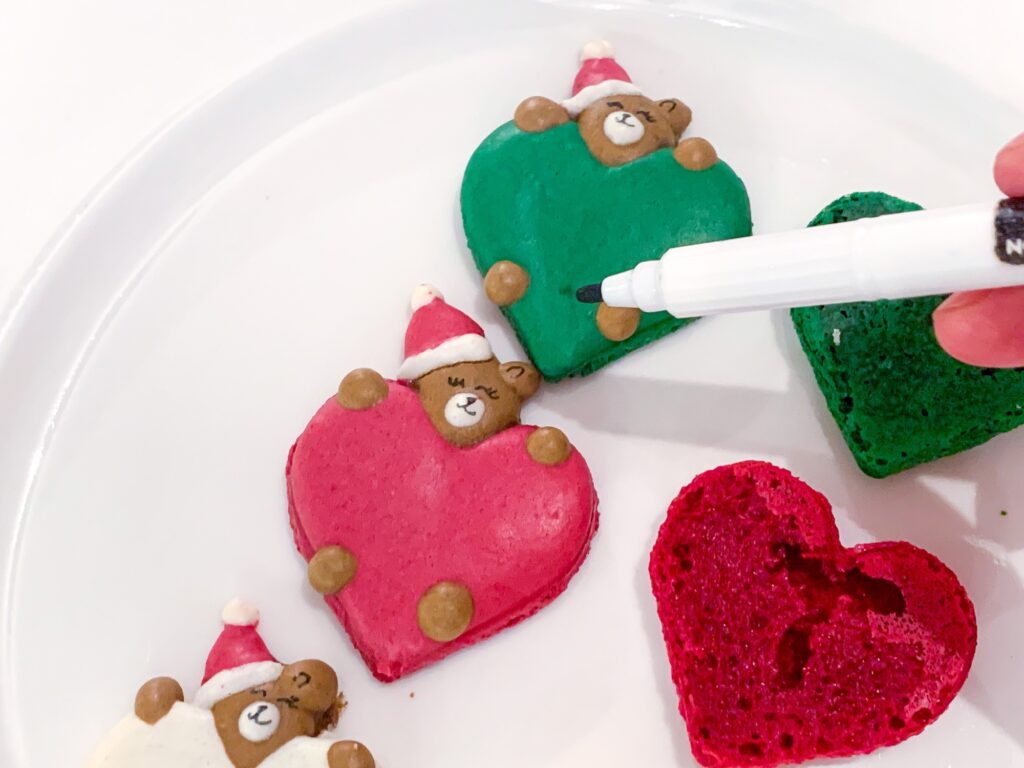
Before sandwiching the two shells together, it is a great time to write a personal message or name to the macaron shell! You can also draw the face of the little bear to make it cuter.
Slowly press the shells together. Congratulations, you just made the cutest macarons!
How to store heart-shaped bear macarons
Let the macarons mature for a few hours if possible as they taste even better when waiting a bit!
Macarons last at least about one week. Just remember to put them in an airtight container in the fridge.
If you want to gift the macarons to someone, pack them at the last minute and remind the person that they should be eaten in a week 🙂
I have made multiple posts on how to make cute Christmas-themed macarons and how to pack them! Check them out on my blog! I Wish You a Happy and Sweet holiday season!
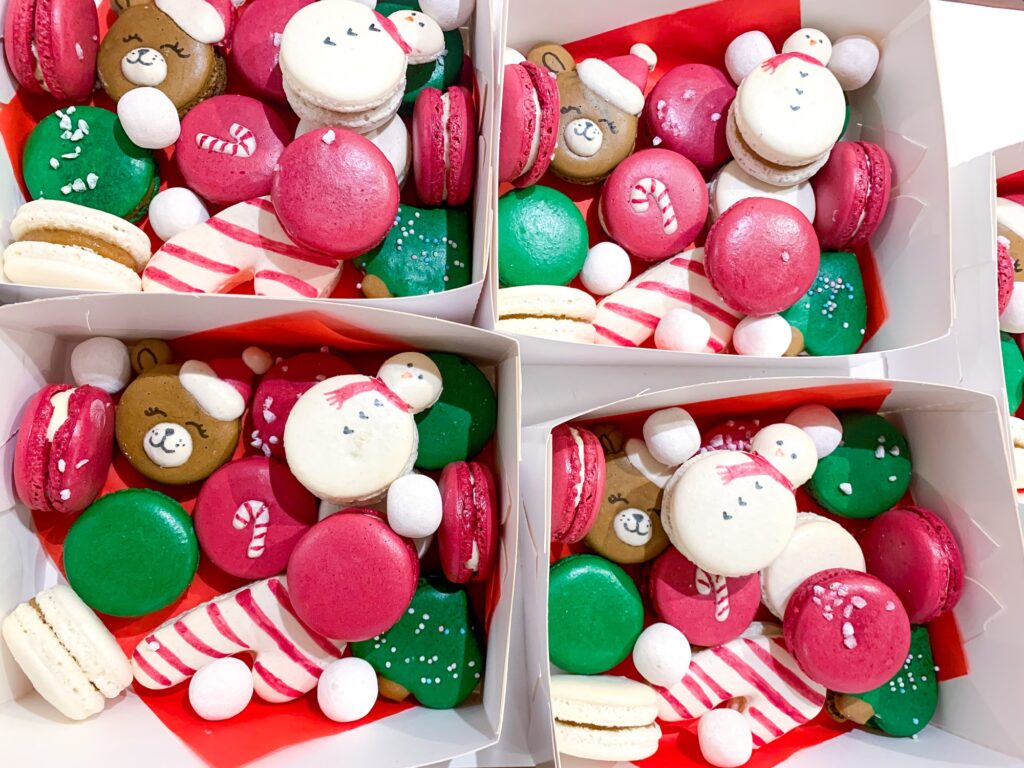
Enjoy your macarons!
Belli xx
