

Candy Cane Macarons: Red Christmas Design Tutorial
Published July 23, 2022 · Updated September 4, 2026
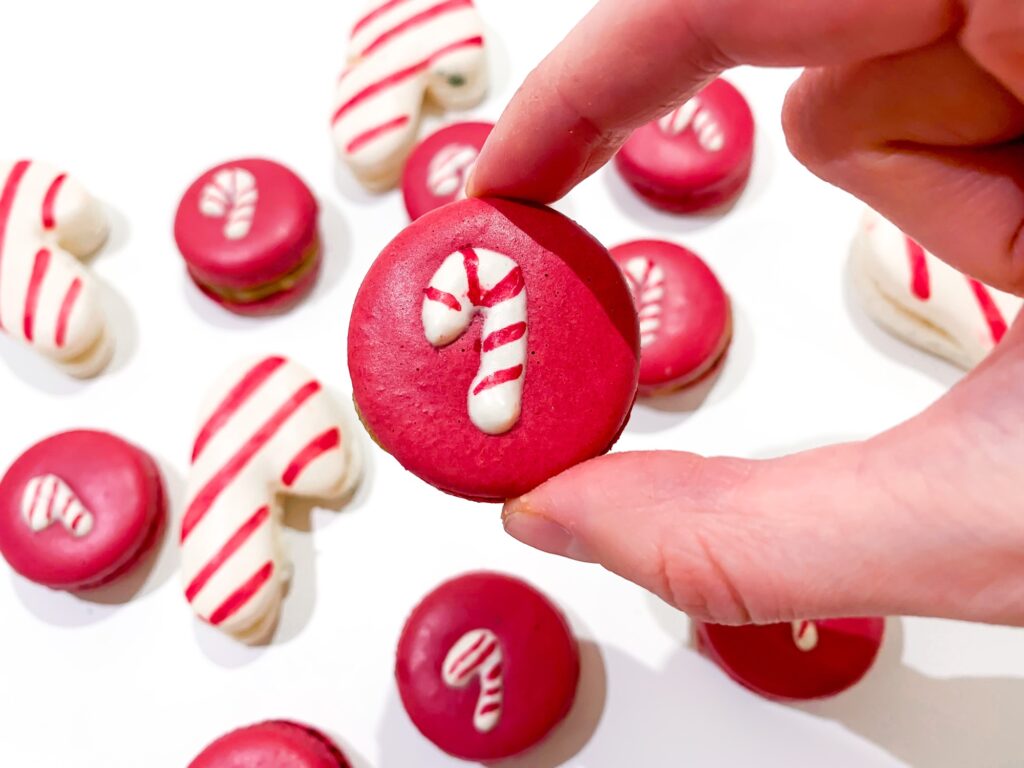
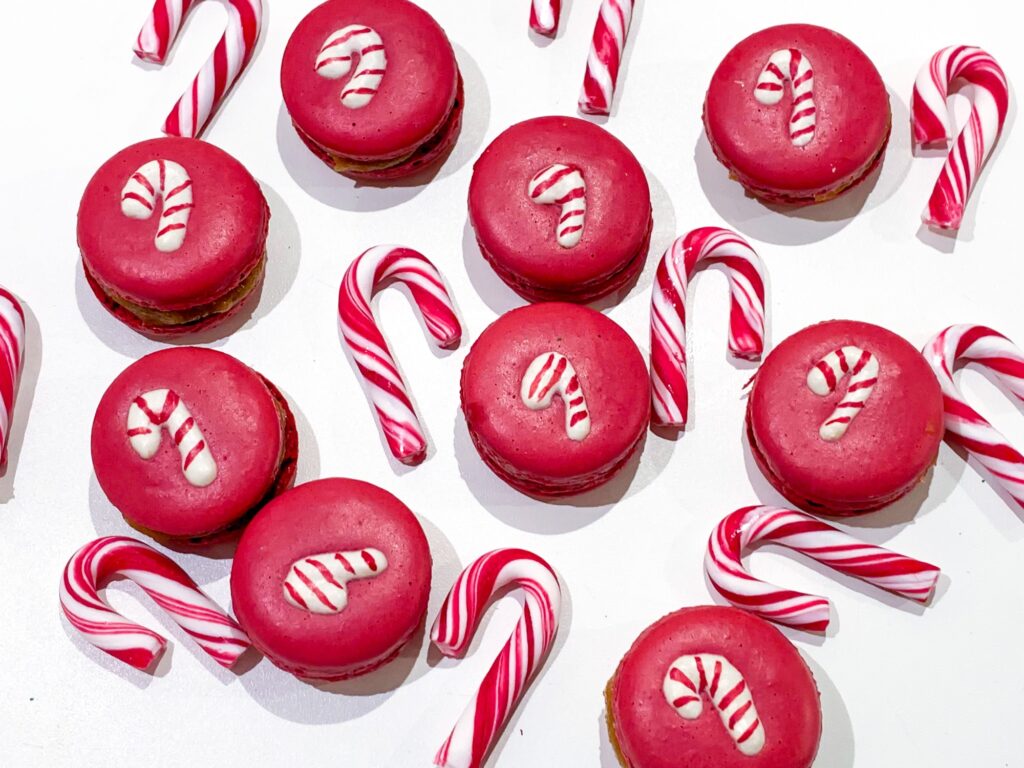
These candy cane macarons are red round shells decorated with a small white cane and edible red stripes. Use a macaron formula already proven in your kitchen, reserve a small portion of pale batter for the design, and bake according to that base recipe rather than relying on a universal temperature.
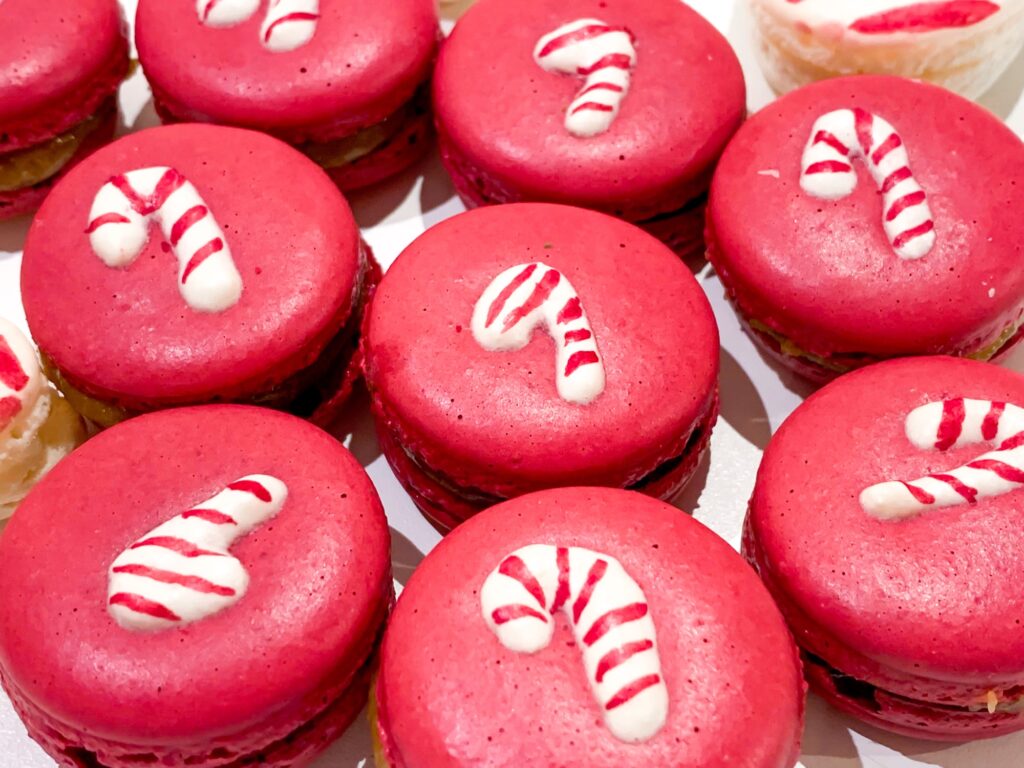
Candy cane macarons at a glance
| Stage | Main action | Important detail |
|---|---|---|
| Batter | Prepare one batch of macaron batter | Stop folding just before the final consistency if you still need to divide and color it. |
| Main shells | Color most batter red and pipe rounds | Use concentrated gel color sparingly; excess liquid can weaken batter. |
| Candy canes | Pipe a small white upside-down J on top shells | Decorate only half the shells so the others remain flat bottoms. |
| Finish | Add stripes with an edible marker after baking | The shells must be completely cool and dry. |
| Filling | Use a tested peppermint, chocolate, vanilla or caramel filling | Storage time follows the filling, not the shell design. |
Tools and supplies
- Kitchen scale and the tools required by your tested macaron recipe.
- Two piping bags: a standard bag for red shells and a small bag for the white detail.
- Parchment paper or a silicone baking mat.
- Concentrated red gel food color.
- A fine red edible marker for the stripes.
- Toothpicks for small corrections and surface bubbles.
Use products explicitly labeled edible and follow their ingredient and use directions. The FDA warns that “non-toxic” craft decorations are not automatically safe to apply directly to food.
Prepare and divide the batter
Make the batter with the complete Italian-method macaron tutorial or another recipe you have tested. Before the final few folds, move a small portion to a clean bowl for the white decorations. Continue folding each portion separately until it reaches the correct flow.
Add red gel color gradually to the larger portion. Do not copy a fixed number of spoonfuls: pigment strength varies by product, and large amounts of color can change consistency. For deeper shades, review the guide to coloring macaron shells.
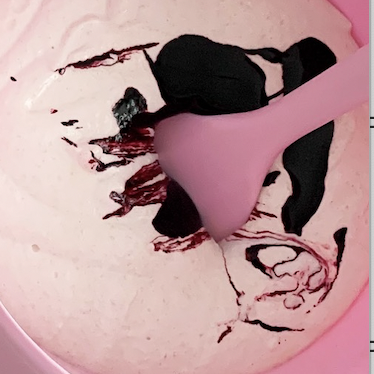
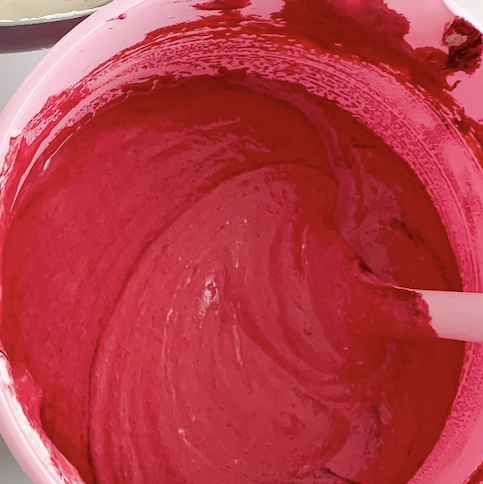
Pipe the red shells
Pipe even rounds with the red batter, holding the bag perpendicular to the tray. Tap the tray as required by your base method and pop obvious bubbles. Let the surface settle briefly before adding the white detail; it should be stable enough that the small design does not disappear, but not so dry that the two batters cannot bond.
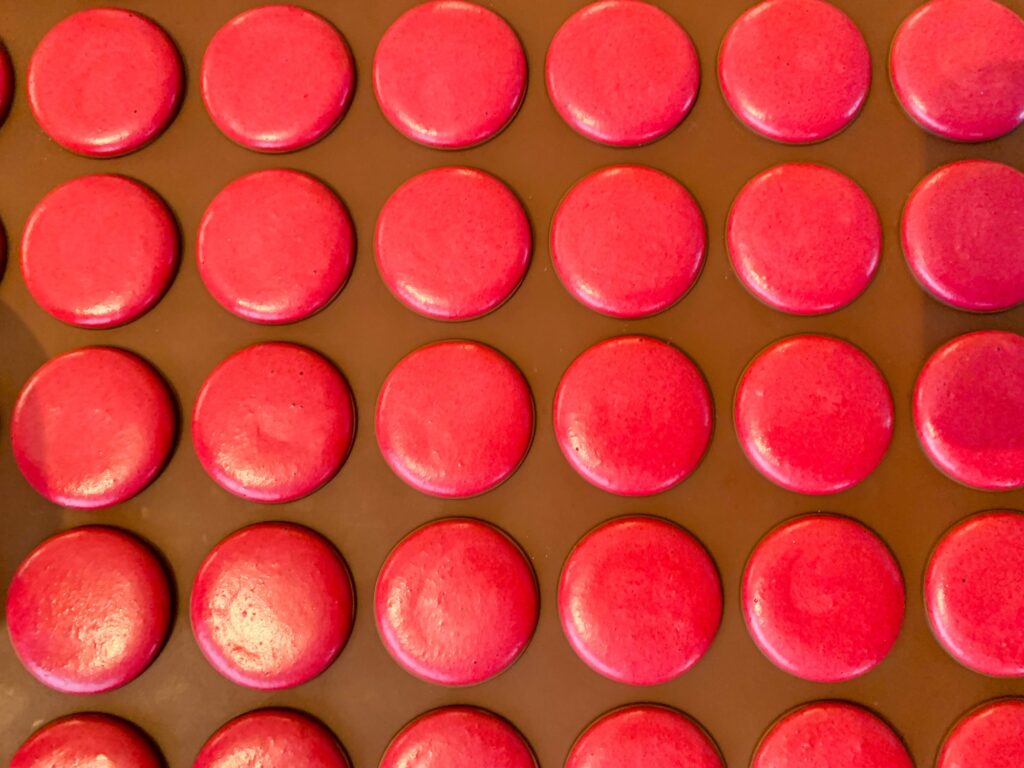
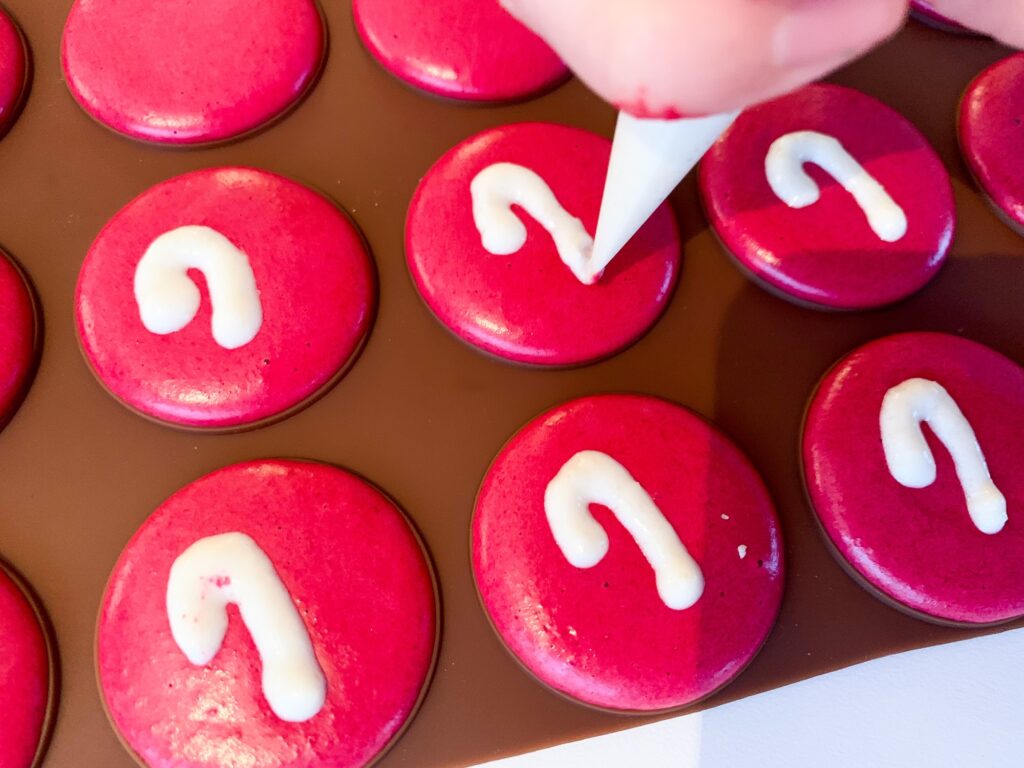
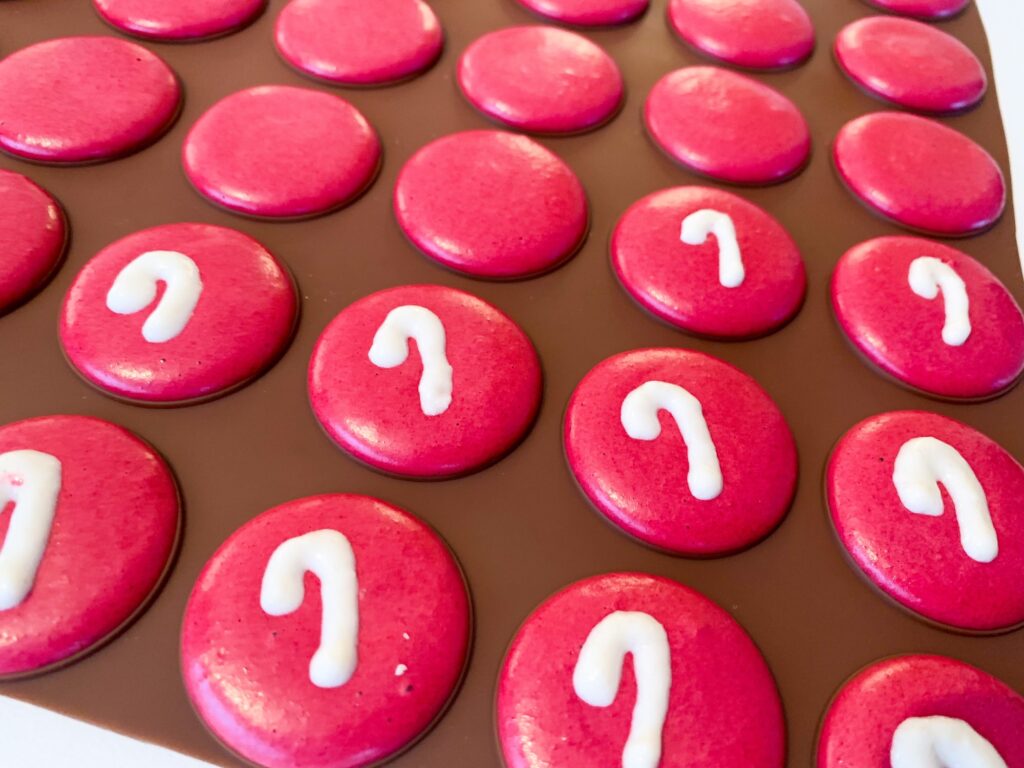
Pipe the white candy cane design
- Cut a very small opening in the white batter bag.
- On each top shell, pipe a short vertical stroke with a curved hook—like a narrow upside-down J.
- Keep the detail away from the shell edge so it has room to spread slightly.
- Use a toothpick immediately if the hook needs a sharper curve.
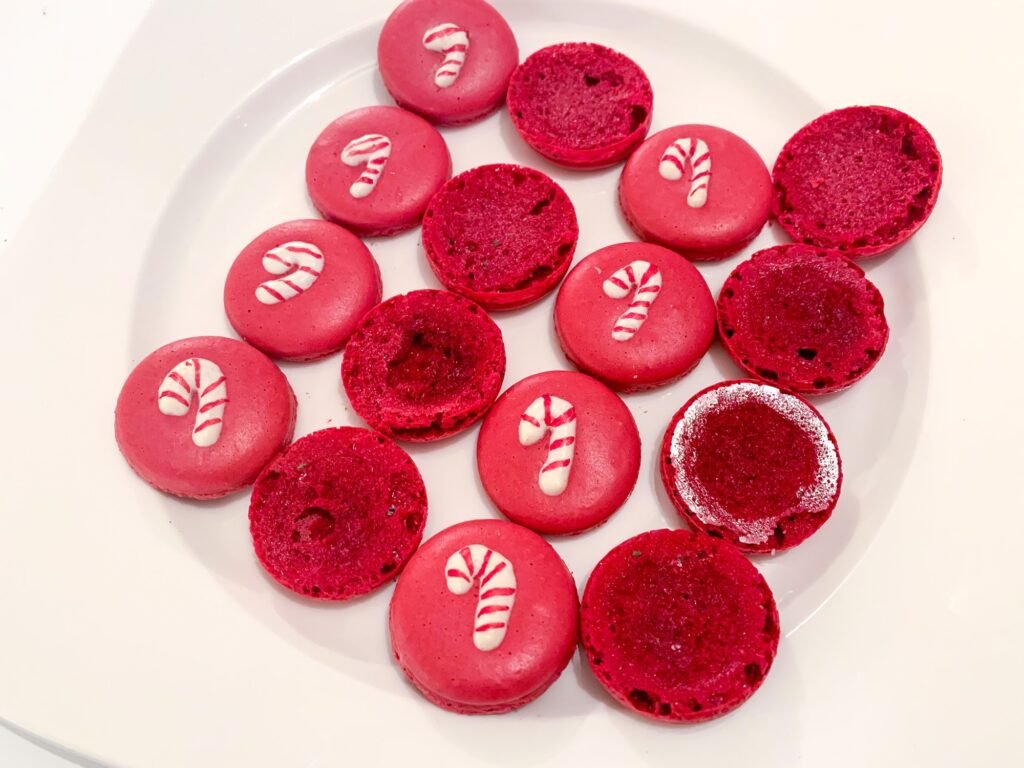
- Leave the matching bottom shells plain.
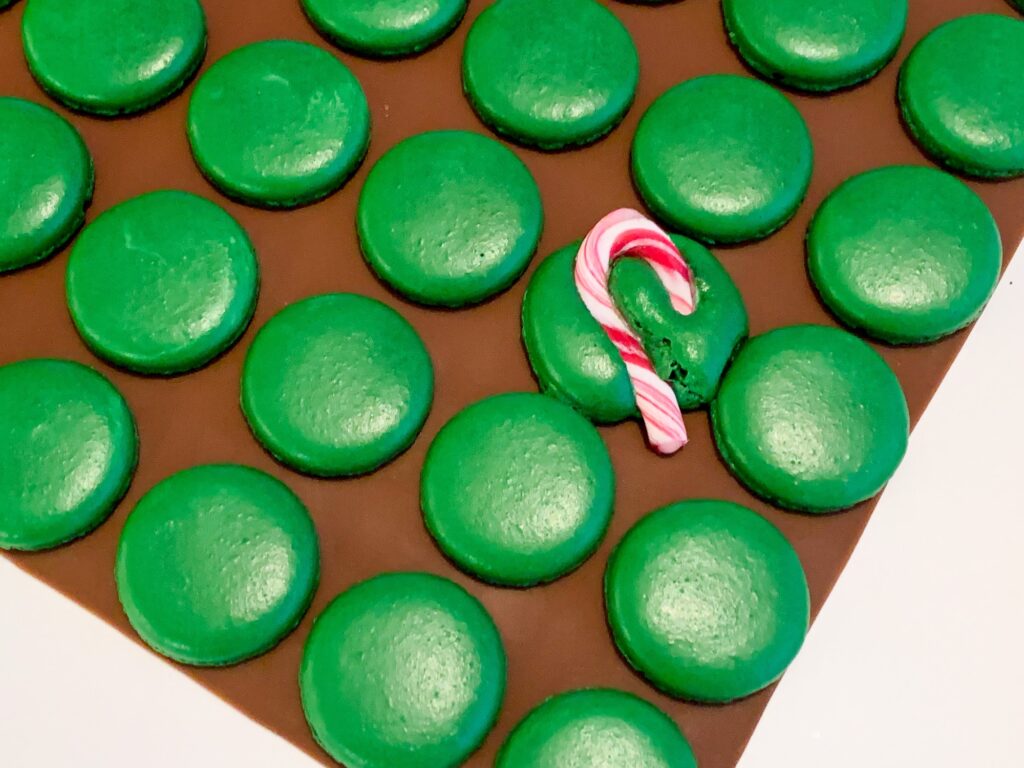
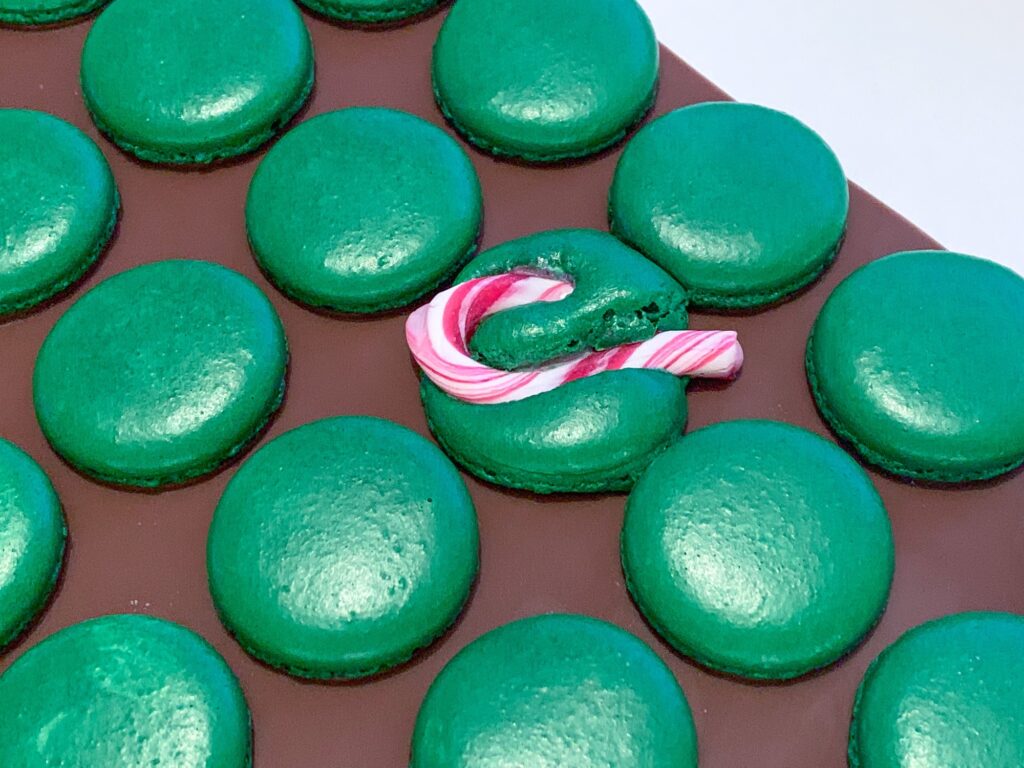
Do not bake hard candy on the shells
Pieces of real candy cane melt in the oven, can spread into sticky pools and may damage the shell surface. If you want peppermint crunch, add an appropriate ingredient to a tested filling or use a recipe that was developed for that inclusion. The piped-batter design is cleaner and more predictable.
Bake and add the red stripes
Rest and bake the tray using the settings that work for your base recipe and oven. Shape and color do not create a reliable universal time. Let the shells cool fully on their liner before lifting them. If they stick, check for underbaking or a liner issue instead of freezing the tray to force release.
Once cool, draw two or three diagonal stripes across each white cane with a fine edible marker. Test on a spare shell first and use light pressure so the marker does not crack the surface.
Choose a filling
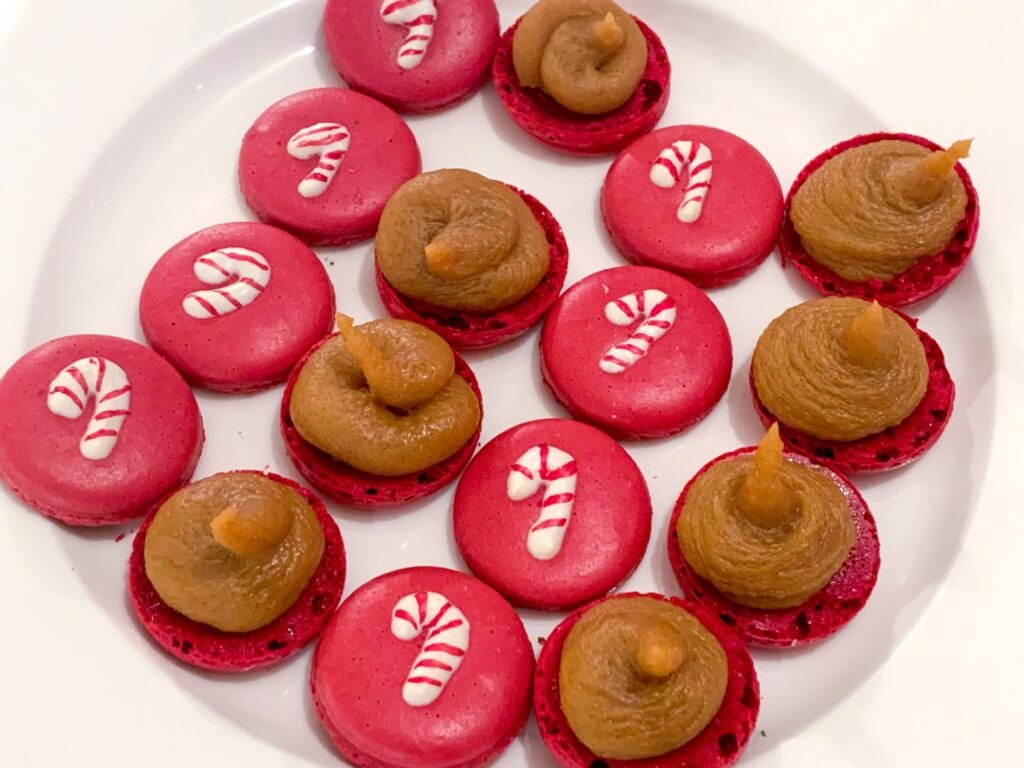
Peppermint-chocolate, vanilla, dark chocolate and salted caramel all suit the design. Use a tested recipe whose texture is firm enough to stay within the shell. This article no longer repeats the old caramel formula because its volume conversions and salt level were inconsistent; use a verified filling recipe instead.
Troubleshooting
| Problem | Likely cause | Try this |
|---|---|---|
| White cane disappears | Main shell batter was too wet or the detail was too thin | Let the piped rounds settle briefly and use a slightly thicker white line. |
| Cane cracks or detaches | The base developed a dry skin before the detail was added | Pipe the design earlier on the next tray. |
| Red batter turns runny | Too much color was added or folding continued too long | Use concentrated gel and account for every fold after dividing. |
| Marker drags | Shell is warm, damp or the marker tip is dry | Cool completely, test a spare shell and use gentle strokes. |
| Shells stick | They are warm, underbaked or the liner is unsuitable | Cool fully and review bake time and baking surface. |
Storage and gifting
Store filled macarons according to the specific filling. See the macaron storage guide for packaging and temperature principles. For gifts, include flavor, allergen and refrigeration information; do not promise a universal one-week life for every filling.
Make the design first, let the shells cool, then add edible stripes and a filling that complements the recipient’s tastes.
Belli xx