
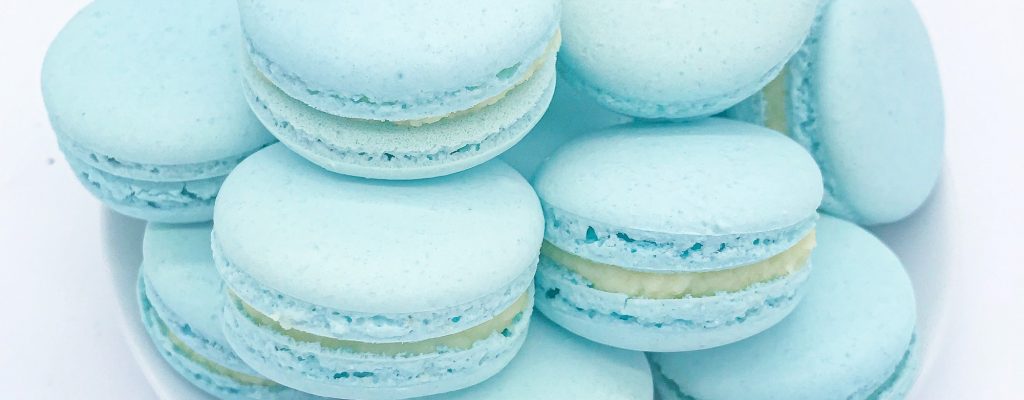
How to Make Perfect Macarons: 15 Essential Tips
Published · Updated
Learning how to make perfect macarons is less about finding one secret trick and more about controlling a repeatable process. Accurate weights, stable meringue, correct macaronage, consistent piping, and a measured oven work together.
These 15 macaron tips are designed to prevent common failures before they happen. Start with one tested recipe, record what you do, and change only one variable when a batch needs improvement.
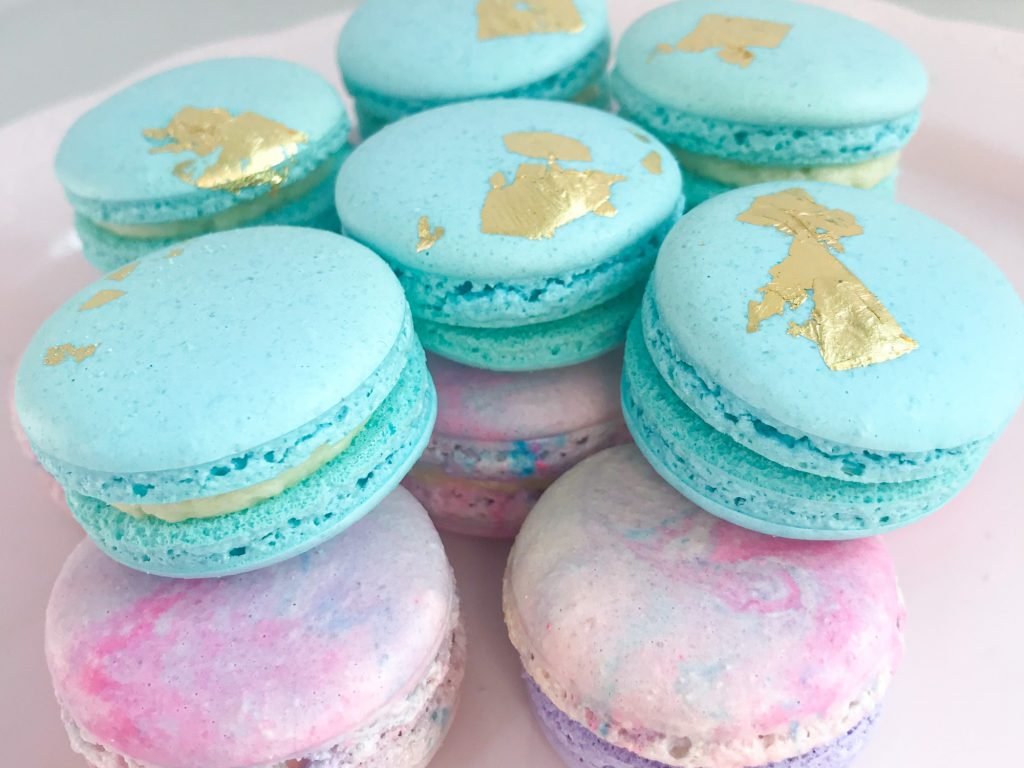
Perfect Macarons at a Glance
| Stage | What matters most | Useful sign |
|---|---|---|
| Preparation | Exact weights and clean tools | Every ingredient and tray is ready before mixing |
| Meringue | Stable, recipe-specific endpoint | Glossy foam that holds the required peak |
| Macaronage | Controlled deflation | Slow ribbon that settles gradually |
| Piping | Vertical bag and even rounds | Rounds spread slightly but keep their shape |
| Drying | Surface condition, not a fixed timer | Matte top that does not pick up batter when touched |
| Baking | Measured heat and doneness | Tops do not wobble and bases release after cooling |
1. Choose One Tested Recipe and Method
French, Italian, and Swiss macarons can all work. The best starting method is the one explained clearly with weights, visual endpoints, tray guidance, and a realistic oven range. Do not combine the ingredient ratios from one recipe with the technique or temperature from another.
- French method: granulated sugar is whipped into raw egg whites; simple equipment, but the meringue can be more delicate.
- Italian method: hot sugar syrup is streamed into whipping whites; stable meringue, but syrup temperature and timing matter.
- Swiss method: whites and sugar are heated together before whipping; stable and streamlined when the heating step is controlled.
For a complete formula, use the updated Italian macaron recipe.
2. Weigh Everything in Grams
A kitchen scale is essential because egg whites, almond flour, and powdered sugar do not convert reliably to cups or “three egg whites.” Weigh the bowl or use the tare function, and confirm the display before every addition.
- Use a scale that reads in 1-gram increments or finer.
- Keep ingredients in separate containers until each weight is confirmed.
- Do not round a large measuring error or compensate later by eye.
- If testing a smaller batch, scale every ingredient by the same factor rather than reducing only some of them.
3. Prepare the Workspace Before Mixing
Line flat baking sheets, fit the piping bag, prepare the template, weigh ingredients, and preheat the oven before beginning the meringue. Once the batter reaches its endpoint, you should be able to pipe without an unnecessary delay.
Prepare fillings ahead only when their recipe permits it. Storage time varies widely, so do not assume every buttercream, ganache, curd, or fruit filling lasts a week. Use the macaron storage guide for filling-specific handling.
4. Use Clean, Dry, Grease-Free Tools
Fat interferes with an egg-white foam, so wash and dry the mixing bowl and whisk carefully. A stainless-steel or glass bowl is easy to inspect. Wiping the bowl and whisk with a little vinegar or lemon juice can help remove residual grease; let them dry before adding whites.
A tiny amount of ordinary moisture does not automatically destroy every macaron batch, but unmeasured liquid changes the formula. Keep tools dry so the result is repeatable.
5. Use Fine, Fresh Almond Flour
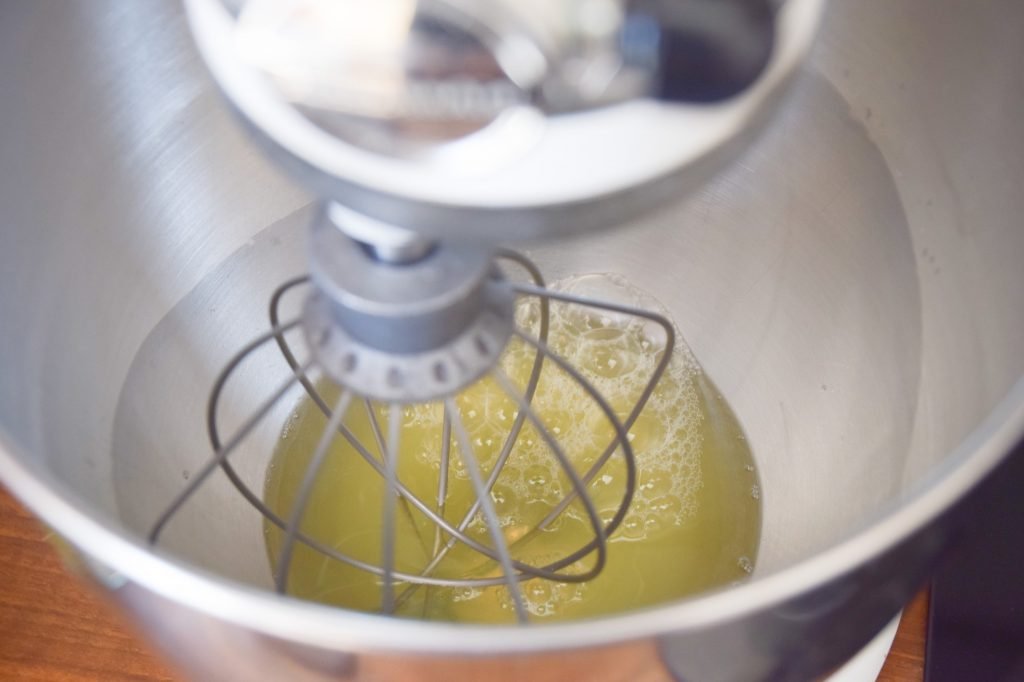
Choose finely ground blanched almond flour with a clean smell and no oily clumps. Whisk it with the powdered sugar and sift as the recipe directs. Discard unusually coarse pieces rather than forcing them through the sieve.
If using a food processor, pulse briefly with the powdered sugar. Processing almond flour by itself for too long can release oil and create blotchy or fragile shells.
6. Learn the Correct Meringue Endpoint
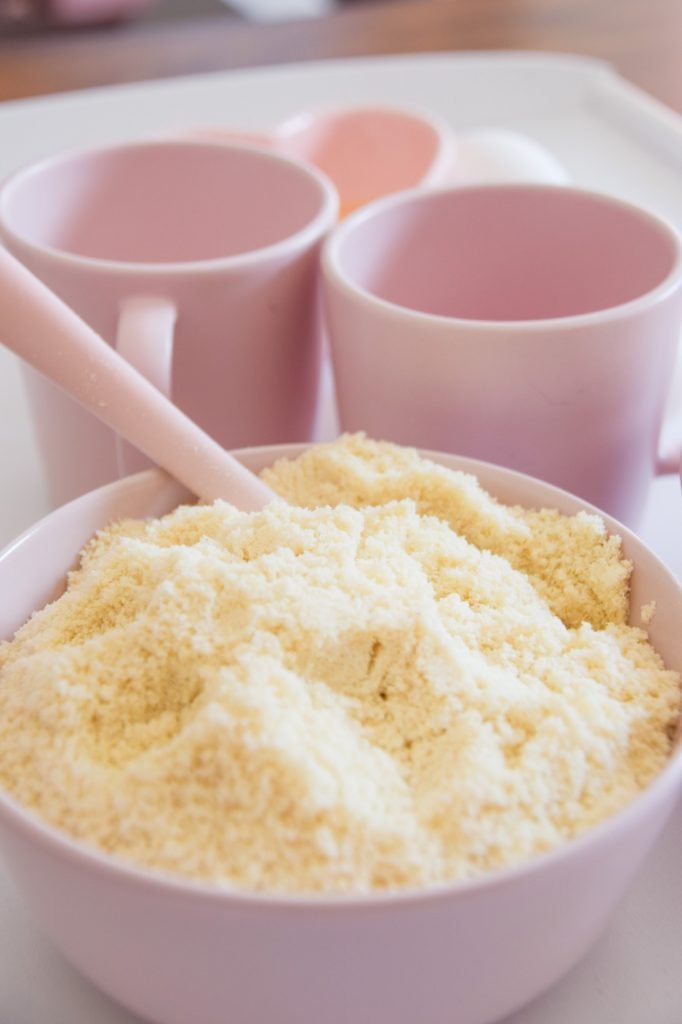
“Stiff peaks” is not enough information by itself. The meringue should be glossy, smooth, and stable at the endpoint required by the recipe—not loose and foamy, but not dry, clumpy, or cottony.
- Add sugar at the stage and speed specified by the method.
- Scrape undissolved sugar from the bowl only when the recipe instructs you to stop.
- Judge the peak, sheen, and bowl texture rather than whipping for a universal number of minutes.
- A stand mixer is convenient, but a capable hand mixer can work. The endpoint matters more than the brand of mixer.
7. Add Food Coloring Sparingly
Use concentrated gel or macaron-compatible powder so the shade needs little added moisture. Add color before the batter reaches final macaronage; late additions often lead to overmixing while you chase an even color.
Food-color formulations and strength vary. Start with a tiny amount and read Best Food Coloring for Macarons before making a deep shade.
8. Stop Macaronage at a Slow Ribbon
Macaronage combines the meringue and dry ingredients while removing some air in a controlled way. Ready batter falls from the spatula in a continuous, moderately thick ribbon. The ribbon should soften and gradually blend into the surface rather than remaining in a sharp ridge or disappearing instantly.
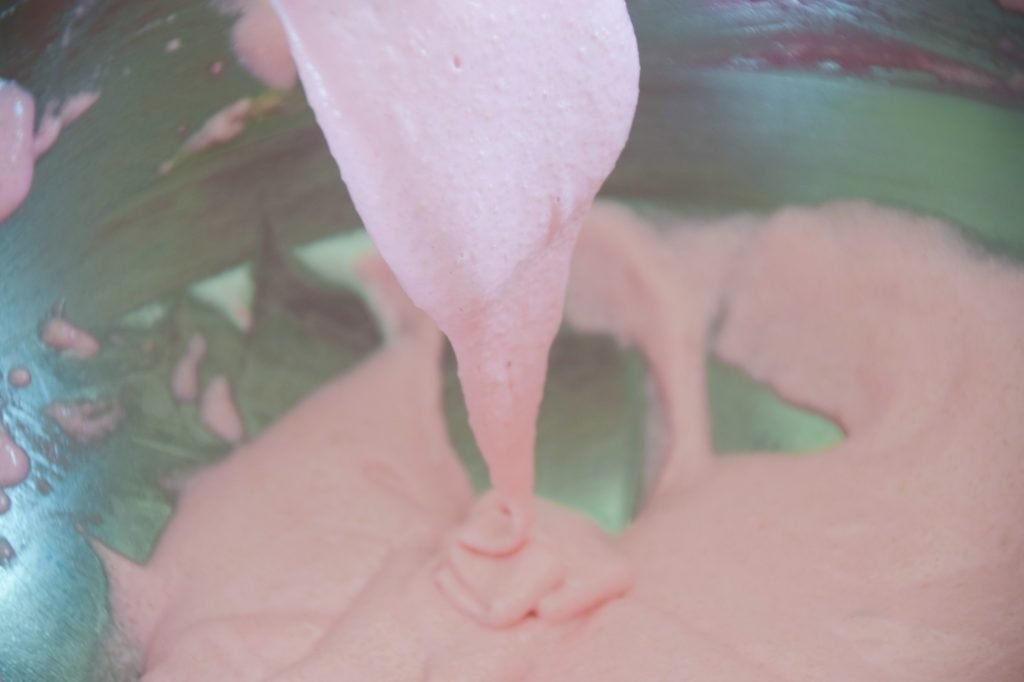
- Under-mixed: thick, breaks as it falls, and leaves pointed tops.
- Ready: flows in a slow ribbon and settles gradually.
- Overmixed: runs quickly, spreads immediately, and cannot be reliably repaired with more dry ingredients.
The figure-eight test is useful only when the ribbon thickness and settling rate also look correct. See the complete macaronage guide.
9. Use a Template and Pipe Vertically
Slide a printed template beneath parchment or a translucent silicone mat, then remove paper templates before baking. Hold the piping bag at 90 degrees with the tip centered over each circle. Apply steady pressure, stop squeezing, and lift straight up.
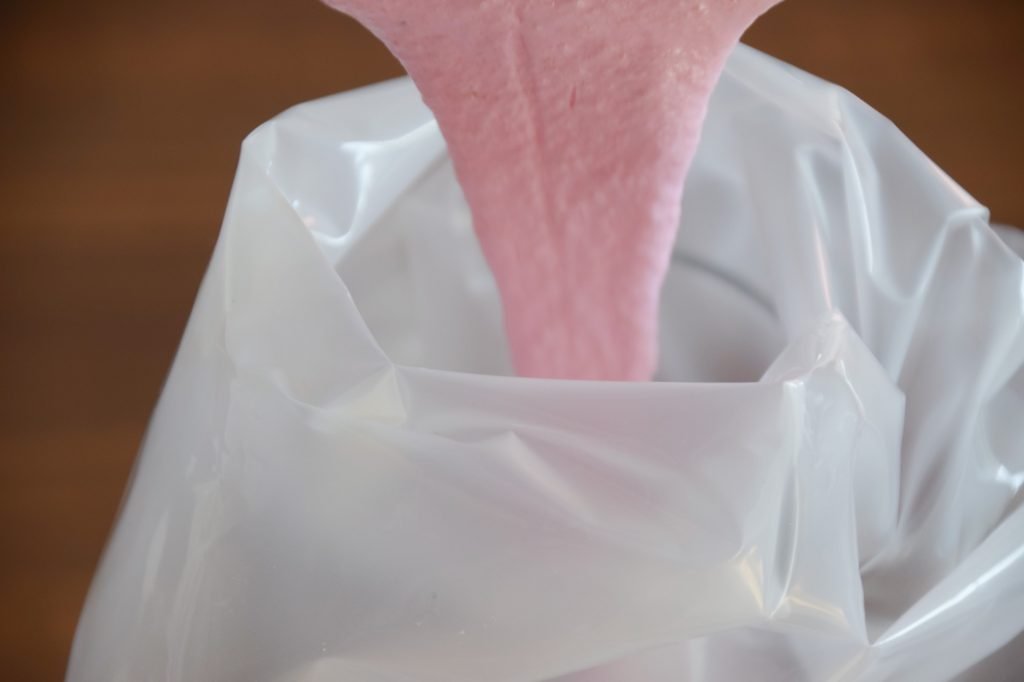
Consistent diameter matters because small and large shells finish at different times. Leave enough space for air to circulate around each round.
10. Tap the Tray and Pop Visible Bubbles
Tap the tray firmly against a flat counter several times, rotating it between taps. This brings larger bubbles to the surface. Pop visible bubbles with a toothpick or scribe before the skin begins to form.
Do not keep tapping until the rounds spread beyond the template. If they continue expanding, the batter was probably over-macaronaged.
11. Rest According to the Recipe and Surface
Many French-method recipes ask for a dry surface before baking; some formulas and commercial workflows do not. When your recipe requires resting, use the shell rather than a rigid timer: the top should look matte and a light touch should not pick up batter.
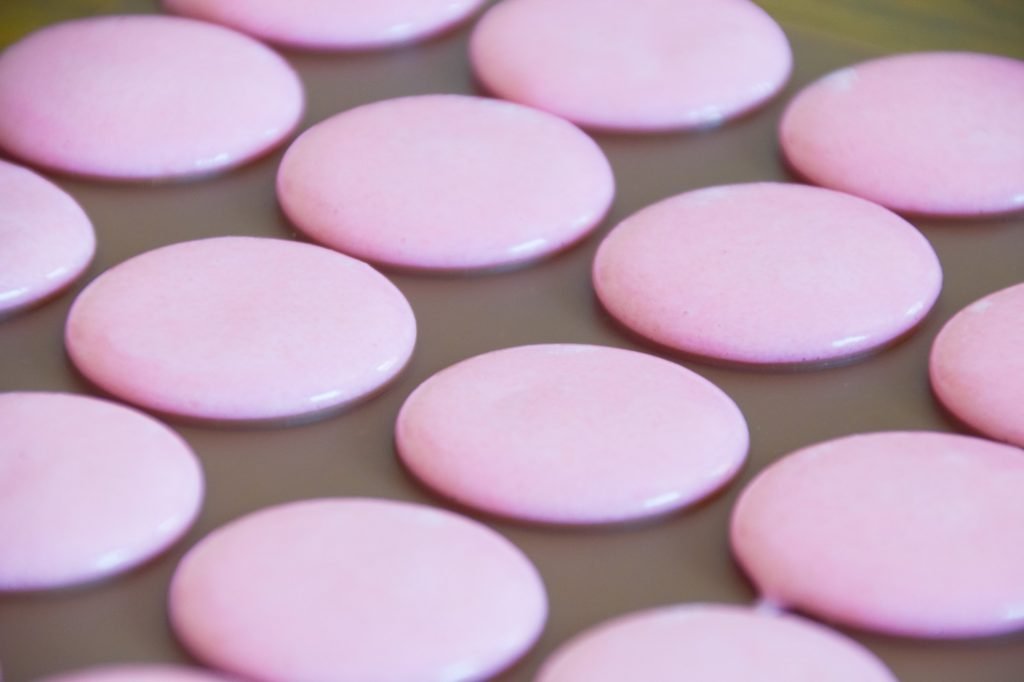
Humidity, coloring, airflow, and batch size change the time. Too little drying may contribute to cracks, while an excessively thick skin can restrict or distort the feet.
12. Measure the Oven, Not Just the Dial
Place an independent oven thermometer near the baking level and allow the oven to preheat fully. Home ovens cycle above and below their setting, and some have strong top heat, bottom heat, or side-to-side hot spots.
- Start with the recipe’s temperature and tray material.
- Bake one test tray at a time while learning the oven.
- Change heat in small steps—about 3–6°C (5–10°F)—instead of making a large jump.
- Do not apply one universal fan-to-conventional conversion; fan strength and oven design differ.
- Map where shells brown, lean, or remain underbaked on the tray.
13. Keep the Tray and Baking Surface Consistent
A flat, heavy baking sheet helps shells rise evenly. Warped pans, one-sided lips, dark metal, stacked trays, parchment, and silicone mats all change airflow or heat transfer.
Choose one setup while troubleshooting. If every shell leans the same way, check whether the tray is level and whether convection airflow is pushing the batter.
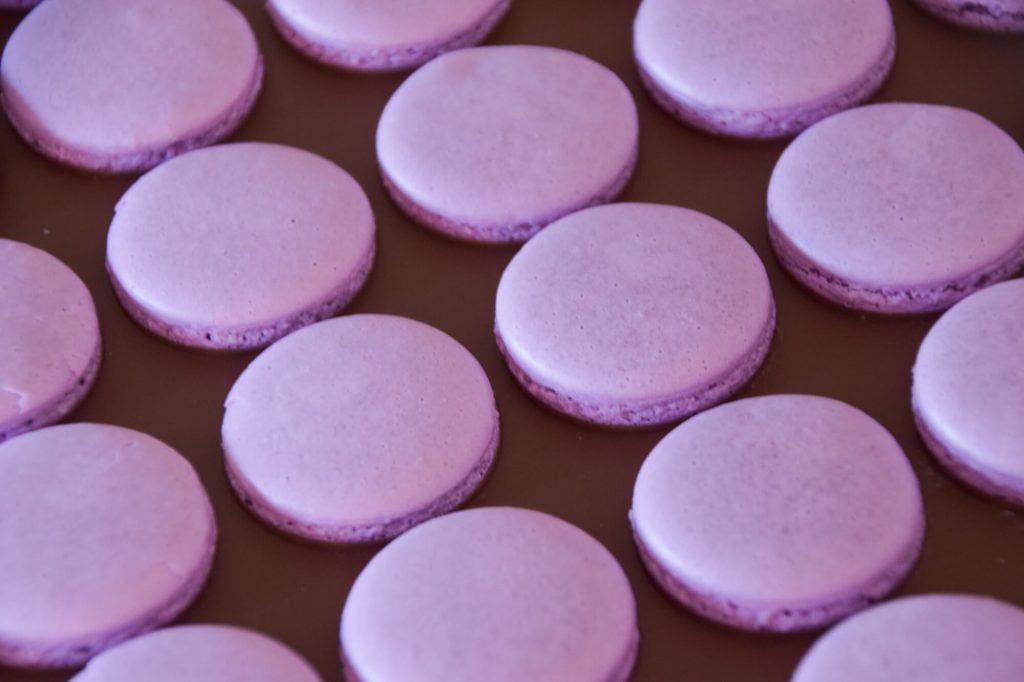
14. Bake Until the Interior Is Set
The shell tops should not wobble on their feet when nudged gently. A cooled shell should release from the liner without leaving a wet center behind. If the top looks ready but the base sticks, the shell usually needs more time.
- Add 1–2 minutes when the center is wet but the color is good.
- If tops brown before the center sets, test a lower rack or an empty heat-shield tray above.
- If bases brown, try a lighter tray or a second tray underneath.
- Let shells cool completely before judging texture or removing them.
15. Fill, Mature, and Keep a Batch Log
Pair shells by size, add a controlled amount of filling, and refrigerate them airtight when the filling requires it. Many macarons improve after 12–24 hours because moisture moves from the filling into the shell, but maturation cannot repair raw or severely hollow shells.
Record ingredient brands, meringue endpoint, batter flow, rest time, tray, oven mode, measured temperature, bake time, and the result. If a batch fails, use the macaron troubleshooting guide and change one variable at a time.
Macaron Problems These Tips Help Prevent
| Problem | Check first | Next controlled test |
|---|---|---|
| Cracked tops | Dry surface, bubbles, and actual heat | Rest to touch-dry, tap the tray, or lower heat slightly |
| No feet | Meringue and batter consistency | Strengthen the meringue endpoint or stop folding earlier |
| Lopsided shells | Piping angle, tray, and airflow | Pipe vertically and test conventional heat |
| Hollow shells | Dry cavity versus wet center | Adjust meringue/heat or extend the bake |
| Sticky bottoms | Doneness and cooling | Bake 1–2 minutes longer and cool completely |
| Pointed tops | Under-macaronage | Fold slightly farther |
The King Arthur Baking macaron workbook likewise treats these faults as patterns with multiple possible causes, including meringue, macaronage, drying, tray shape, airflow, and oven heat.
Frequently Asked Questions
Do egg whites need to be aged?
Not always. Some tested recipes use aged whites, while others use fresh whites successfully. Follow the chosen formula. If whites are separated ahead, keep them covered in the refrigerator and handle them safely.
Do I need a stand mixer?
No. A stand mixer is convenient and repeatable, but a suitable hand mixer can make stable meringue. Learn the visual endpoint and avoid choosing equipment advice by brand promotion alone.
What is the best temperature for macarons?
There is no universal temperature. Recipe, shell size, tray, liner, rack, oven mode, and measured heat all matter. Start with the tested recipe and adjust by 3–6°C (5–10°F) only after identifying a consistent pattern.
Should I bake macarons on parchment or silicone?
Both can work. Parchment often transfers heat faster; silicone may need a slightly different bake. Keep the surface consistent while testing and read the parchment versus silicone guide.
Can I fix overmixed batter?
Not reliably. Pipe it promptly and use the result as a diagnostic batch. Adding almond flour, powdered sugar, or extra meringue changes the formula and usually creates new problems.
Final Perfect-Macaron Checklist
- One tested recipe and method are followed exactly.
- Every ingredient is weighed in grams.
- Tools are clean, dry, and grease-free.
- Meringue is glossy and at the correct endpoint.
- Batter flows in a slow ribbon and settles gradually.
- Rounds are even, tapped, and free of visible bubbles.
- Resting follows the recipe and surface condition.
- Actual oven heat and tray position are recorded.
- Shells are fully baked and completely cool before removal.
- Only one variable changes between test batches.
Perfect-looking shells come from repetition, not luck. Keep the process consistent enough that every batch teaches you something useful.
Enjoy your macarons!
Belli xx